It’s the beginning of a wonderful season- a season of great Food! Great dinners, treats, soups, etc… I love baking and the cooler weather lends itself nicely to great food! The beginning? Homemade andes mints (or any other flavor you like!).

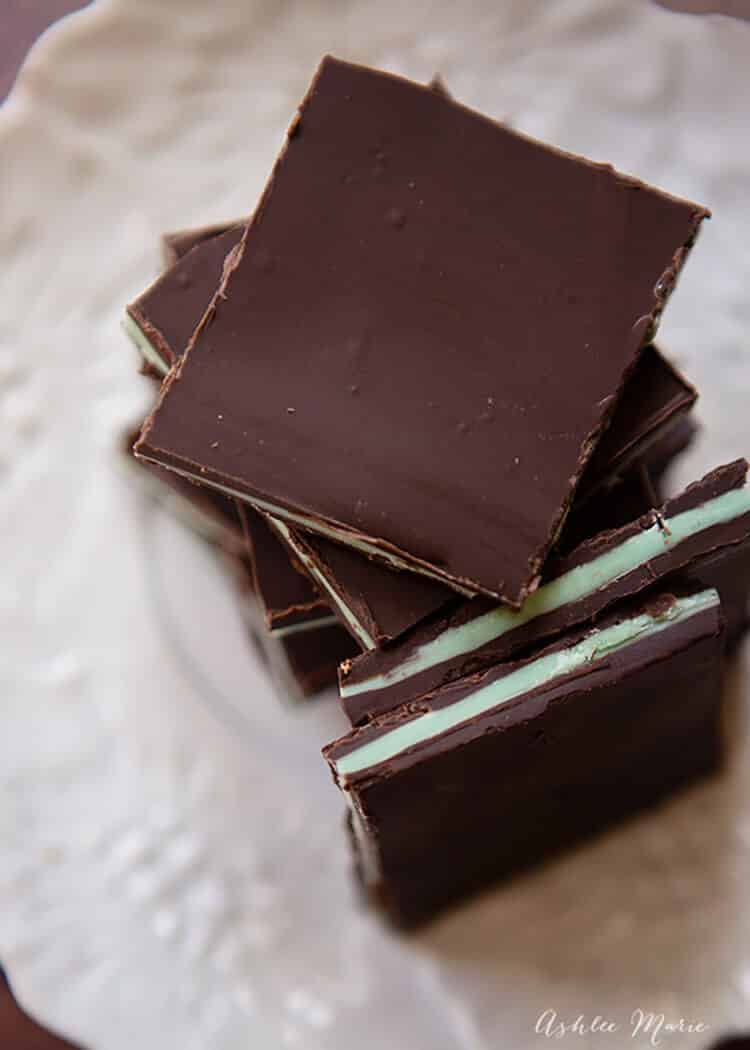
Aren’t they pretty? And the best part you can do it in any color and flavor. Start with high quality chocolate and use whatever extra flavoring you’d like and this creates a terrific treat! Whatever you do DON’T skimp on the quality of the candy melts. I prefer working with Merkens, Guittards and Callebaut, they taste great and they melt well. You can use dark, semi sweet or milk chocolate and then make sure your colored chocolate are the basic vanilla.
So this was actually one of the VERY first video’s I filmed, BUT I never shared it cause it just didn’t really fit SPRING or SUMMER the way it fit’s into Holiday goodies! So this is pre kitchen makeover completed, but I thought it was still worth sharing! Enjoy!

Homemade Andes mints- this week’s treat
Ingredients
- Jelly Roll pan
- wax paper
- 10-11 oz chocolate wafers I like Guittard and Callebaut
- 10-11 oz green white chocolate I like Merckens and Guittard for this
- 10-11 oz chocolate wafers I like Guittard and Callebaut
- candy oil- peppermint is my go to
Instructions
- Melting the Chocolate:
- Get 3 oven safe bowls.
- Put the chocolate for each layer in three different bowls.
- Put them all in the oven on Warm for 20 mins.
- Then turn off the oven and pull out the first layer (leave the other two bowls in the oven to keep warm).
- Cut the wax paper to fit the length of the pan as well as come up the sides a bit. take some of the melted chocolate in each corner to hold the wax paper in place. Make sure your wax paper is pulled tight across, we don't want any bubbles, bumps or wrinkles in the paper, it will show in the chocolate.
- Stir the bowl of chocolate until it's smooth and add 7 drops of oil based candy flavoring to the bowl.
- Now QUICKLY pour the chocolate around the pan. then starting on the outer edges smooth it with your spatula.
- Then grab the side of the pan and shake/knock it on the table. After a bit of shaking/knocking the chocolate will smooth itself out.
- The key to the next layer is to know when to pour it on! If you pour to soon you'll risk mixing the layers together, they'll still taste great, but not be as pretty. AND if you wait too long the layers won't stick together!
- When the whole layer goes from glossy to matte you're read!
- Grab your colored candy melts out of the oven, add your oils (7 drops) and stir it smooth
- Then spread it over the chocolate layer, and shake it smooth and let it cool until it's matte
- Pull out the last bowl, add the 7 drops of oil and stir it smooth.
- pour it on, spread it out and shake it smooth
- like spreading if you cut to soon you'll mix your layers, if you wait too long you'll shatter the chocolate! Once it's matte take a Sharp knife and cut it!
- I like to cute the rounded edges off (and my husband likes to eat those small edges) and then cut the rest into 2 1/4 inch squares
Video
Nutrition
Neighbor gifts and goodie plate recipes


Jessica
Oh my! I love mint! I wish I could reach through the screen and take a handful of those. Yummy!
justenoughstyle.blogspot.com
Ashlee
I agree. mine are all gone now and just looking at the pictures is making me hungry for them! Good thing I have stuff for another batch or two!
Katy
These look delicious! I did a small feature on my blog, feel free to grab a button!
http://thecraftymamablog.blogspot.com/2010/11/weekend-highlights_15.html
Ashlee
Thank you so much! I’m so glad you liked them, and I am up there with so many other wonderful crafts from this last week! I’m tickled!
Madigan at madiganmade
These look great! I love Andes mints.
Ashlee
They taste even better! You’ve got to try them!
Kristi
Woah, those look perfect! I love Andes Candies. Not only do they taste great, but they remind me of my grandpa who always had a stash of them. Thanks for sharing this. I’m definitely adding these to my candy list this year.
~ The Speckled Dog
Ashlee
What a fun memory! I always liked andes mints, but never actually bought them, so these are just a treat! I hope they turn out well for you!
April
Those look fantastic. I never would thought to make these myself!
Ashlee
well I didn’t! I was introduced to this at a church activity! This woman has been coming every year for 5 years teaching the ladies in my neighborhood! But I do like to mix and match my own flavors…
the cape on the corner
wow, looks good. what a great gift these would make!
Ashlee
That’s what I thought!!!! I do goodie plates every year, but some of these would make a great teachers gift and much less messy!
Maggie
This are totally going on my treat list this year… I can’t wait!
Ashlee
RIGHT? They are so good, I think I might have to buy even more supplies than the 3 batches I have!
Angie
OOOOO YUMMY! I cant wait to try these!!!
Ashlee
They are SOOOO good!
Allison
Thanks Ashlee for linking up! These look so yummy in my link party!!
http://vintagepollyanna.blogspot.com/2010/11/tell-me-tuesday-link-party-1.html
Ashlee
Thanks! And I have to say your button necklace is really fun!
Carrie
I really think the best part is that I can make them any size I want. Not tiny like the manufacter!!!
Thank you 😀
Ashlee
That’s right! Mine are MUCH bigger. Those tiny ones are completely useless! Like half a bite!
Lyndee
I cannot wait to try this!
Ashlee
Just make sure you get the GOOD candy melts. It makes all the difference!
Katrine
Seriously? I am so making these! Thanks for the recipe!
Ashlee
They are terrific! In fact I’m craving them right now! Every time I get a comment on them I wish I had some of my own again!
Sarah
Ooh, I love Andes mints – I bet they are even better homemade!
Ashlee
They really are better! Good luck trying them out!
Nichelle
Thanks so much for sharing! I found your link at tipjunkie!!! I would love it if you would stop by my blog, http://www.vwbblog.com/! I’m doing a giveaway of a bag I made! I LOVE IT!
Mucho love!
-Nichelle
Ashlee
I LOVE your princess inspired head band flowers! They are GORGEOUS! I am SO going to have to make some sometime soon!
Michelle
Oh my… I NEED to make these! They look sooo good, and yours look perfect!! Thanks for this tutorial!!!
– Michelle @ Bunch of Craft
Ashlee
You DOOO need to make them, I insist!
marissa
oh man this looks awesome I definitely am going to try it out!
Ashlee
You should. The great thing about them is they don’t have to be mint, you can make them in any flavor you want~
Angie
I love this…so quick and easy even I can handle it! 🙂
Ashlee
Exactally! I don’t think you could mess them up worse than just getting the chocolate a little swirly! And even they they still taste amazing.
Beth@A2Z
They look so beautiful and yummy! Great tutorial. I think I could do this one :).
Ashlee
thanks! They do turn out really pretty and you can totally do this! There are lots of pictures and instructions, but they really are very easy!
Crystal
Love,love,love this!! I need to make some asap! Thanks for sharing.
Ashlee
Yes you do (need to make them right away!). I’m so glad you liked them!
christy
these look like they came from a fancy chocolate shop. chocolate and mint is my fave combination. your tutorial is great too! found you through tatertots…so glad i did.
Ashlee
Don’t they (look all fancy and stuff). And so easy, I love pretty and easy and tasty. The perfect combination!