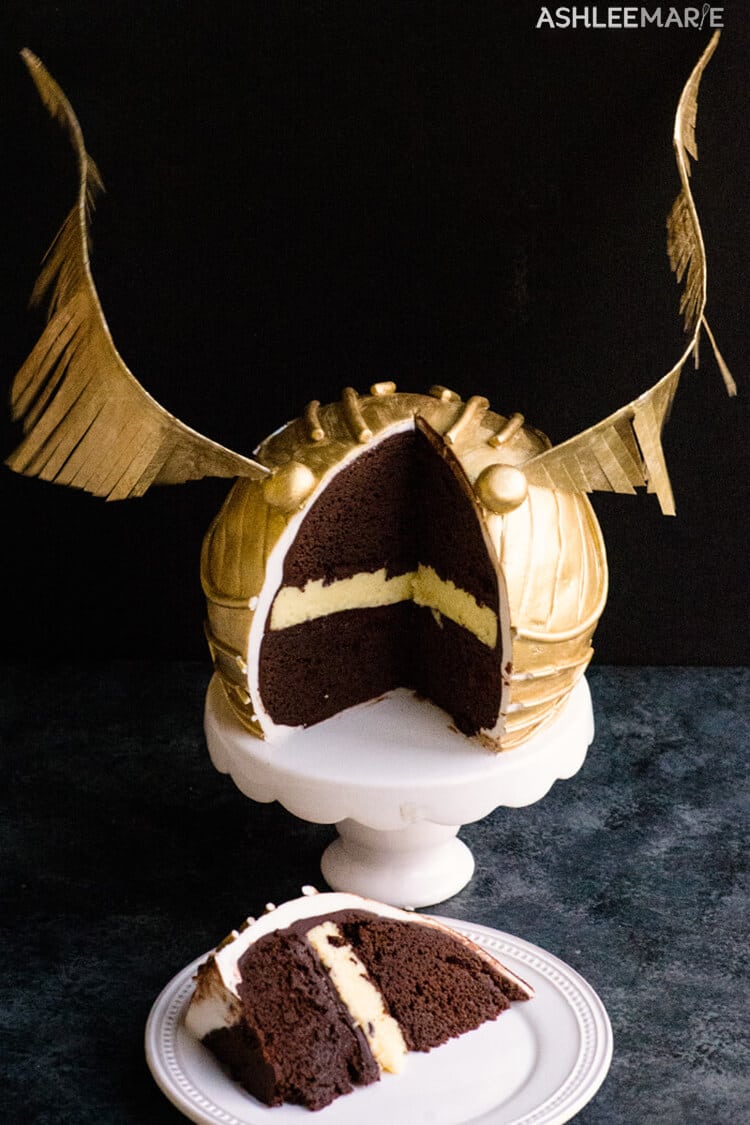
This Harry Potter Snitch cake is easy to make and quite a statement piece, perfect for any Harry Potter Party, Celebration or event. This cake doesn’t need a ton of supplies or time to make and everyone always loves it.
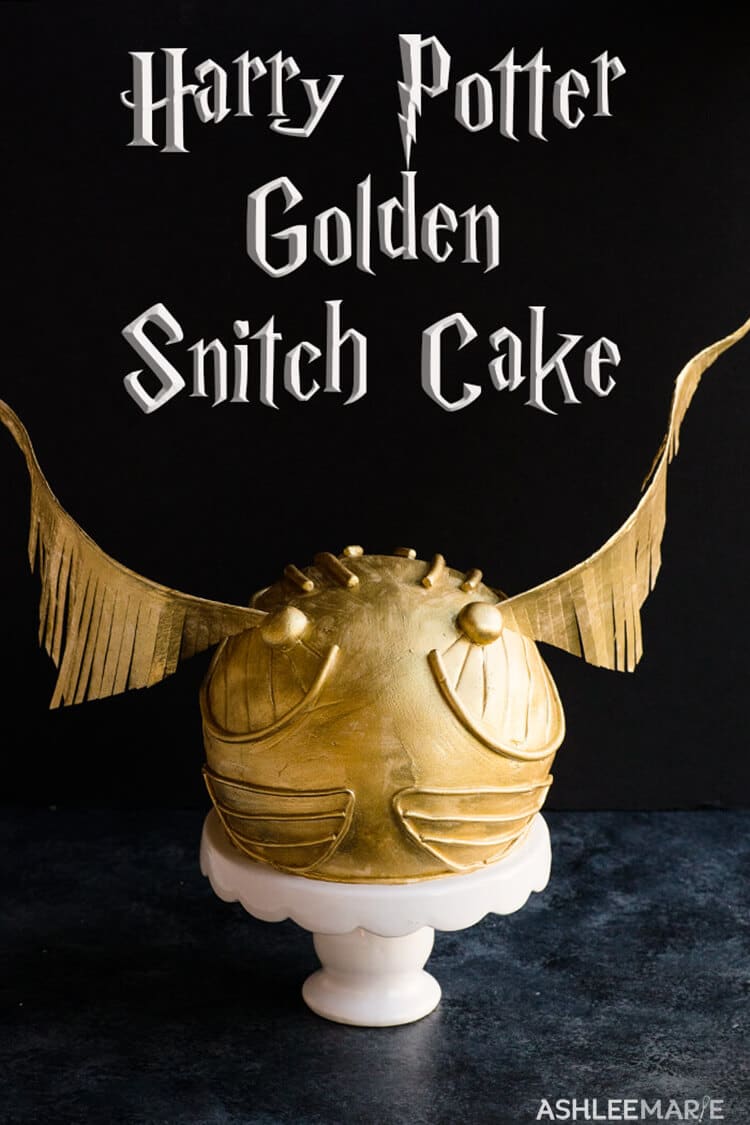
How I designed this Harry Potter Snitch Cake
July 31st is Harry Potters birthday so it’s the perfect day to celebrate. My kids love Harry Potter (we spent a week at Universal Studios last year and they were in HEAVEN!).
And of course any birthday party is a good excuse to celebrate with a Harry Potter theme. This specific cake was originally created for my friend Kaylynn, but it’s an easy and quick enough cake I’ve made it quite a few times over the last few years.
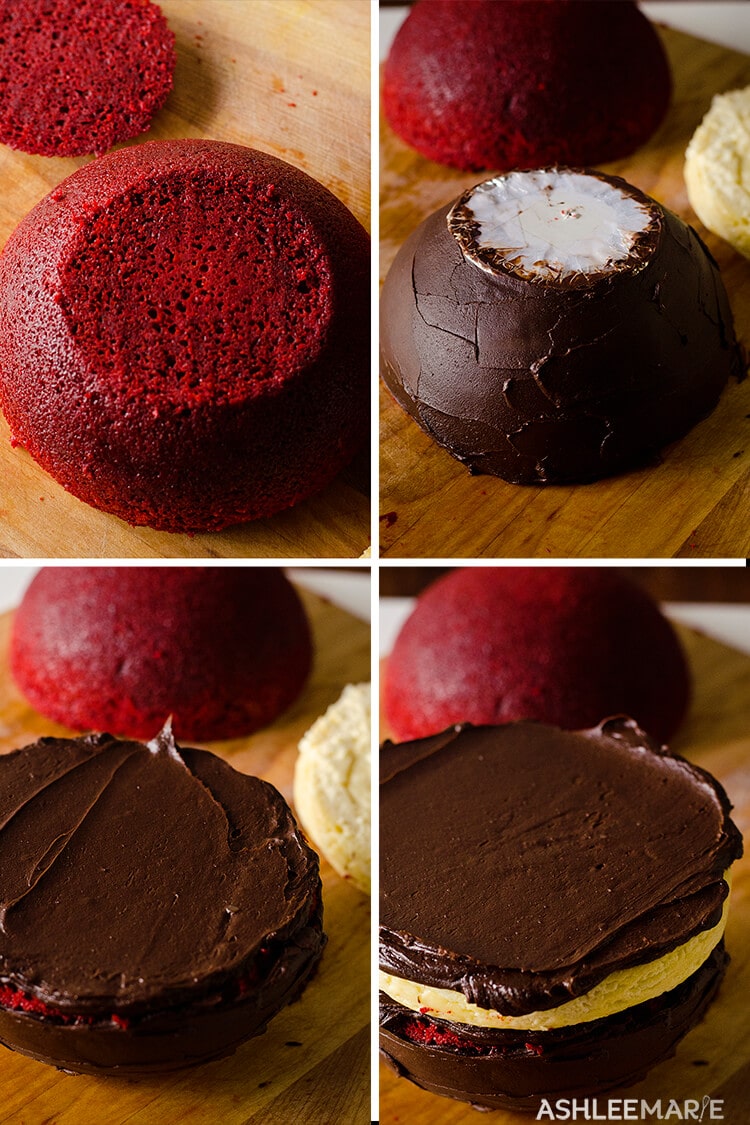
Now you can carve a round cake or simply bake a round cake. I baked two half ball pans, AND a filler layer.
The ball pans don’t bake perfectly even so once you level it it doesn’t make a perfect circle so that’s when a filler layer comes in. You can bake another cake layer in a normal round pan or do something fun.
I used a layer of crustless cheesecake. The first time I made this cake I used 6 inch pans, the second time I used 8 inch pans.
Now if you’ve seen the Big Bang Theory you know that a perfectly round cake tend to roll… and since we don’t want our cake rolling off the cake plate I cut a 3 inch circle out of one of the half circles.
This creates a flat section for our cake to stand on. Add ganache to a foil covered cardboard circle and stick it to the flat section.
Because it’s easier to frost the bottom half of the cake while it’s still upside down that’s what I do. Using Ganache of course, it’s what I always use for shaped cakes, esp cakes, like this, that could easily fall apart, off balanced.
Turn it right side up. Then cover the cake with ganache and add the cheesecake.
Add more ganache (best edible glue ever) and top with the other half circle. Finish frosting the cake with more ganache, smooth it out and let it set!
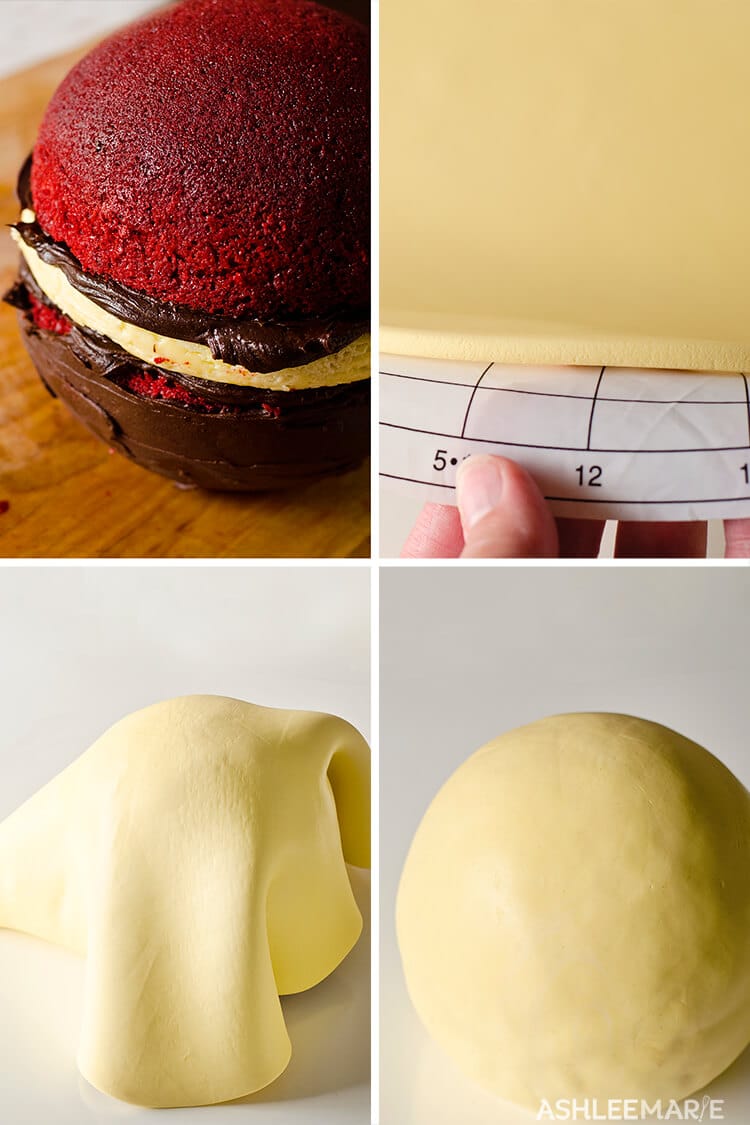
Roll out your yellow/ivory fondant circle, you want it about 1/4 inch thick. That way it will be easier to stretch, pull and push into place without creases when you start thick.
BUT you need to make sure you have a strong dense cake that can hold up under the weight of the fondant.
Cover the cake with the fondant and working around (not one side at a time, work around evenly) finally cutting off the excess and smoothing it with your hands, softly, so as not to leave a handprint anywhere.
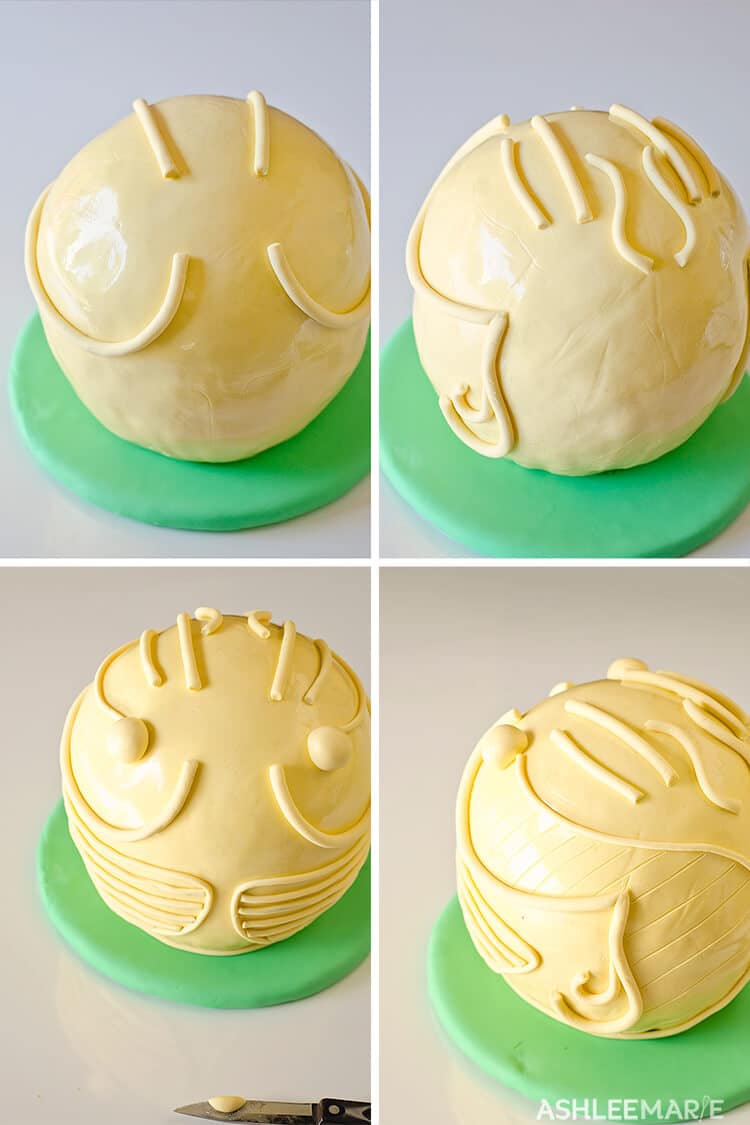
Now it’s time to add the details. To get it to stick I use a steamer and steam the cake, it makes it tacky so it will hold the details.
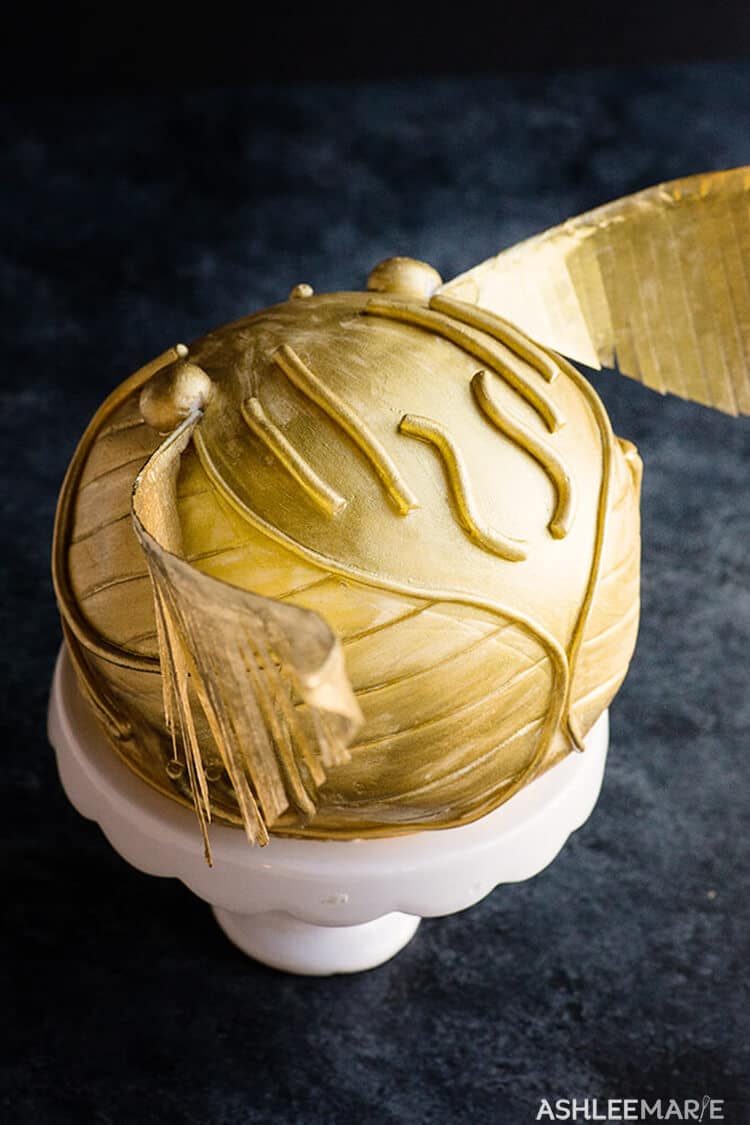
I use a clay extruder (only for food though, don’t cross contaminate). I started with the largest circle and added the main swirl around the side and the main lines on the top. Don’t forget the turn and curl on the sides.
Using the Medium circle i added the second line and center top swirls. Then added another swirl to the side as well. Then using the next size down circle I added the large wing line swirl around the entire snitch.
Next up, with the same circle, add the petal shape on the sides and the lines, I broke the petal up into thirds and made the lines there. Then, between those long lines again.
And finally add the round balls that the wing’s attach to, but not too large, not a full circle, but not a half circle either. Along the sides, between the original fat swirl add the last smaller swirl, take a dull tool and draw lines (indentations) on the diagonal, on both sides.
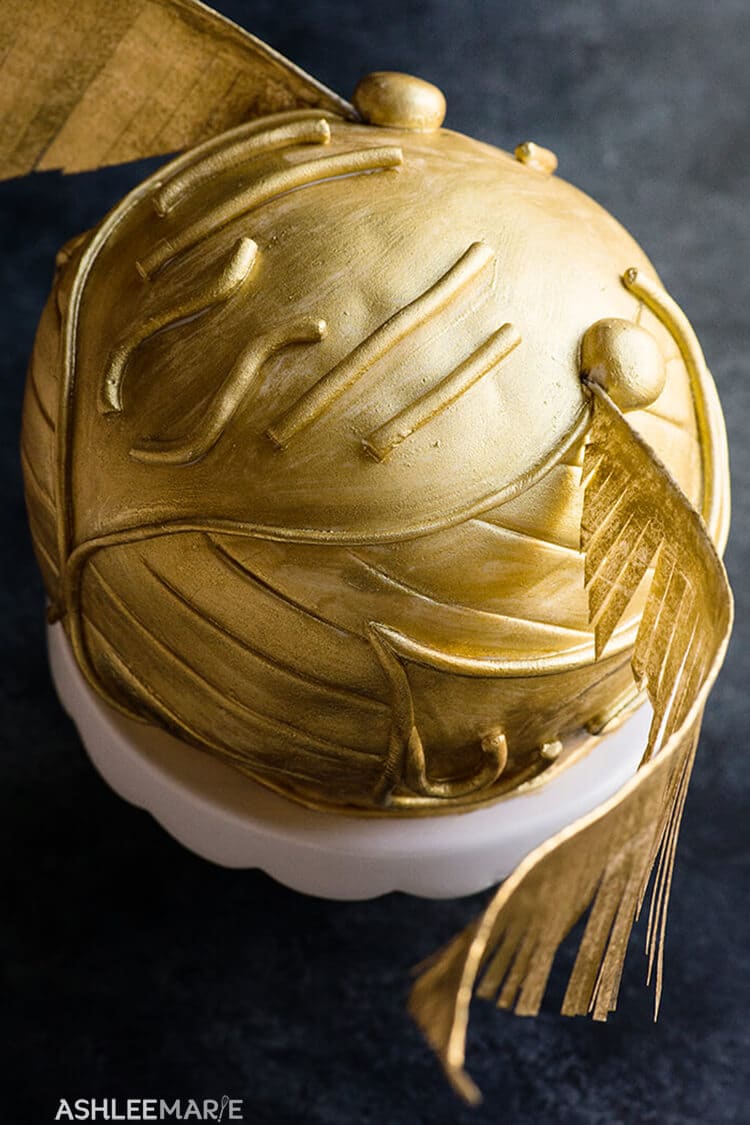
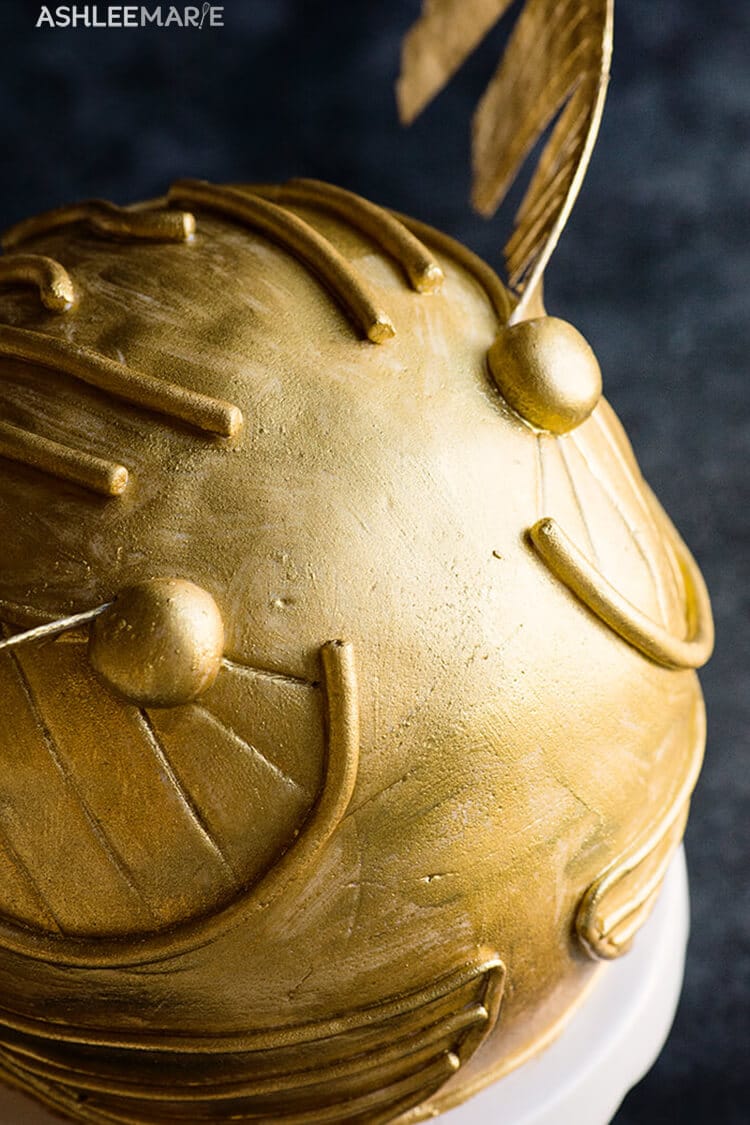
Finally it’s time to paint the cake gold! The first time I used a gold airbrush, but I didn’t love the gold, too yellowish and not shiny enough.
I finally found a gold dust I love the shade of – There are a lot of options out there. I found that all the ones I liked best were dusts that you mix with some food grade alcohol to make a paste for painting.
Now for the fondant underneath – you can use ivory or yellow like me, but also with the right gold you can use black underneath to create a nice depth as well..
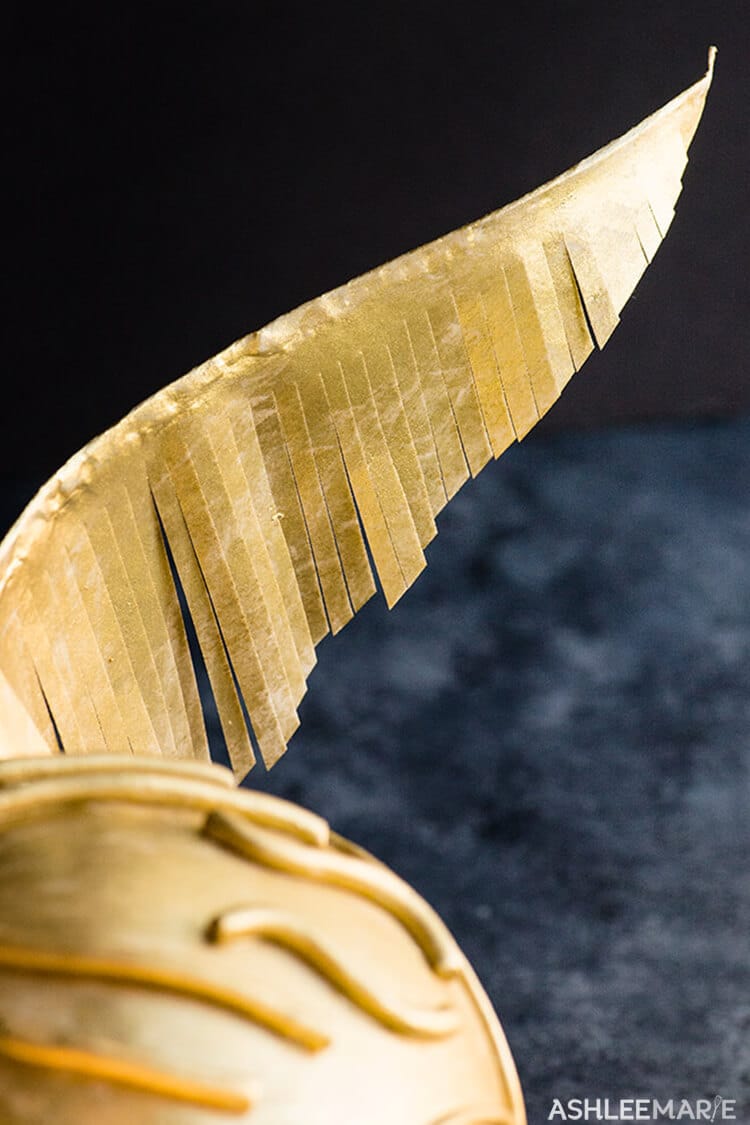
I will say right now that the wings were the hardest part, I even had an EPIC fail. The first time I made it I used gumpaste and it was just too heavy when it was so detailed.
I got the cake all ready for pictures and the feathers just started falling off (more down below) GAH, but when I switched to using wafer paper instead (still edible) I got the light and flowy effect I was looking for!
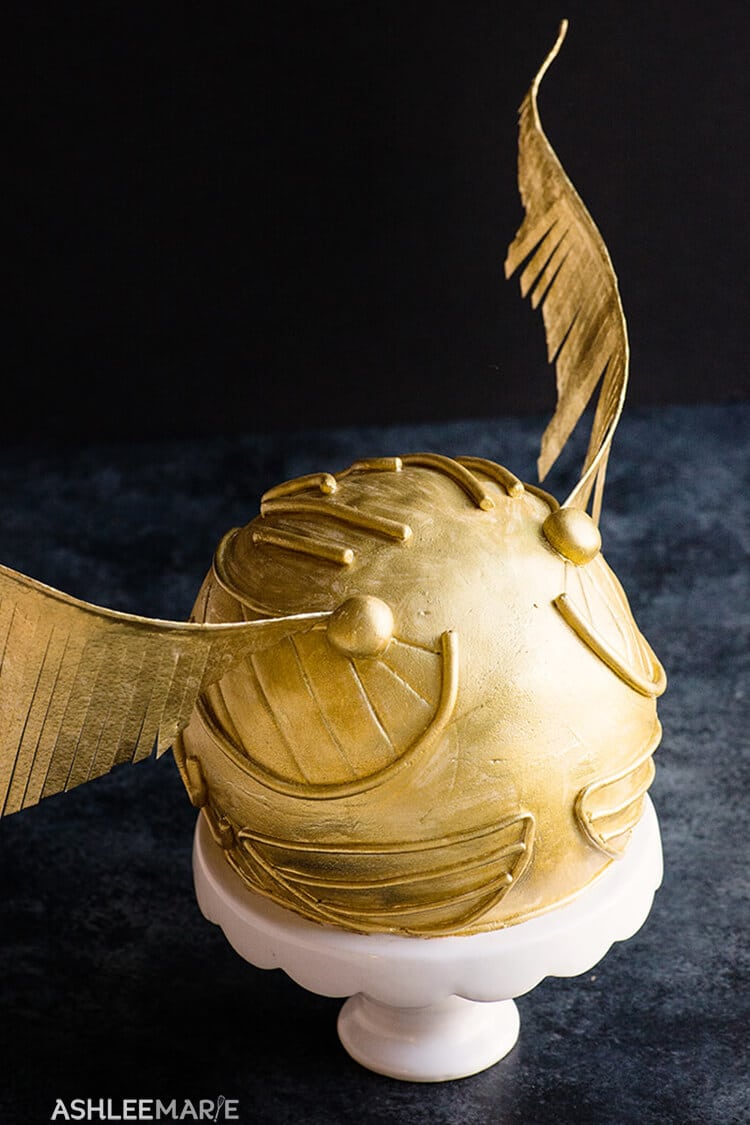
For the wings the first thing I did was bend the wire where I wanted it to go into the cake so I knew the length I had to work with for the wing itself. I used 18 gauge covered wire for strength.
Then I cut the wing shape – leaving some extra along the top for wraping around the wire. For wafer paper to stick it to itself you get it slightly damp, but not super wet. Do get the edge damp and wrap it around the wire.
Then I painted one side with my gold dust paste, let it dry, flip it over and painted the other side. Once both sides were dry I cut strips – trying not to cut all the way to the wire so you can still control the shape.
Next up bend the wings how you want and using a needle nose pliers slide the wings into the cake!
Tools to make this Harry Potter Cake
- 2 half ball pan cakes
- 1 filler cake/cheesecake
- ganache recipe
- fondant
- fondant extruder
- fondant mat
- fondant rolling pin
- 18 gauged covered wire
- shortening
- wafer paper
- gold dust
- food grade alcohol
Connect with Ashlee Marie!
If you love this Snitch cake you’ll love these other themed cakes too!
Tamtoa Cake |Pikmin 2 Spaceship Cake | Glow in the dark Good Dinosaur Cake
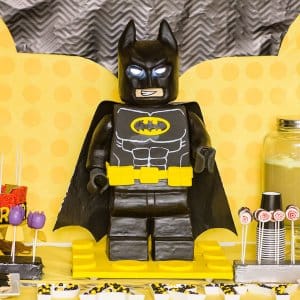
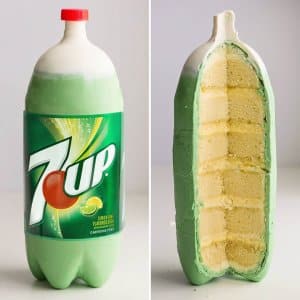
Standing Lego Batman Cake | Soda Bottle Cake | Doctor Strange Cake
This week Marissa, from Rae Gun Ramblings, is having a ton of guests and features, like this one, to celebrate Harry Potters Birthday! Head on over to her site so see all the posts and links for this fun week! Crafts, food and more!





Amber @ Dessert Now, Dinner Later!
Wow! Red velvet cake and a cheesecake center! YUM! This looks amazing Ashlee!
Ashlee
Thx Amber! I don’t love red velvet, but I love Kaylynn, so she get’s whatever she wants on her big day.
Aimee @ like mother like daughter
Oh my goodness, this. Cake looks amazing! It looks not only delicious, but just like a golden snitch! Now I really wish I could go to kaylynn’s party tonight!
Ashlee
Thanks so much! It was actually SUPER simple and worked up super fast! We’ll have to do another blogger party soon!
Alli @ Cupcake Diaries
Love love love!!! How perfect is this cake??!! It’s amazing. Pinned!
Ashlee
Thank you so much! I am thrilled with how it turned out!
Becky @ lovetobeinthekitchen
Wow! This is so amazing! You did so good!
Ashlee
Thx! Not much I enjoy more than creating fun cakes!
wendy
Love this cake its so Awesome! I love anything HP 🙂
Ashlee
agreed, HP is always such a fun theme to create for
Ali
This looks so fun. You make it look easy. Pretty sure I would use your “FAIL. Gah!” quote and laugh more than a few times while trying something like this. I have only made one fancy fondant cake and it was really fun – but I have a lot to learn from your blog about technique.
Ashlee
ha! it’s really not as hard as you think if you know the right tips and tricks! come on over anytime and we’ll play
Grace Tabuzo
Looove it! I hope i can make that cake on my son’s 7th birthday on May. You are amazing Ashlee!
Heather
Hi Ashley! Love the cake!!! I am hoping to replicate it 😉
I’m wondering about the wings.. did you let the fondant dry a little before you hung it on the wire? Did you fold the fondant in half and kind of hang it on the wire? How much gum-tex did you use to fondant? Thank you!
Ashlee Marie
I now use edible wafer paper instead of gumpaste for the wings.
Emma
This cake looks amazing but is it safe to put wire into food? I thought that flower picks needed to be used to protect against food poisoning. This is quite important.
Ashlee Marie
I use covered wire I buy specifically for cake decorating
Holly
Wow this cake looks amazing. I’m going to give it a try for my son’s birthday this weekend. In the past I’ve made Dr Who’s tardis, a millennium falcon and a light sabre (which looked more like an adult toy if you know what I mean, still haven’t lived that one down with the mums!)
The cheesecake middle sounds delish, but I’m confused! Do you bake it exactly as the recipe you link to? with the crust and everything?
Any advice gratefully received 🙂
Ashlee Marie
I make the cheesecake without a crust when I use it for cake filling
Lucy
I’m so excited to do this in a couple of days!!
A couple questions: Can I construct the cake on Thursday for a Saturday afternoon party? And should I keep it in the fridge? Wrap it in plastic? Or just leave it in the air?
Thank you!!!!
Ashlee Marie
I am so sorry I didn’t answer this earlier – yes you can construct the cake early. Normally I never refrigerate cakes because it drys out cake, but because of the cheesecake center you have to refrigerate this one – the fondant and ganache will protect the cake quite a bit – once you slice it it will dry much faster.
Lucy
Girl, I did the cake!! I DID IT!! Dude. It’s Huge. 8 inch dome pans. Dude.
that is all.
Ashlee Marie
DANG! 8 inch round cake is HUGE! good job!