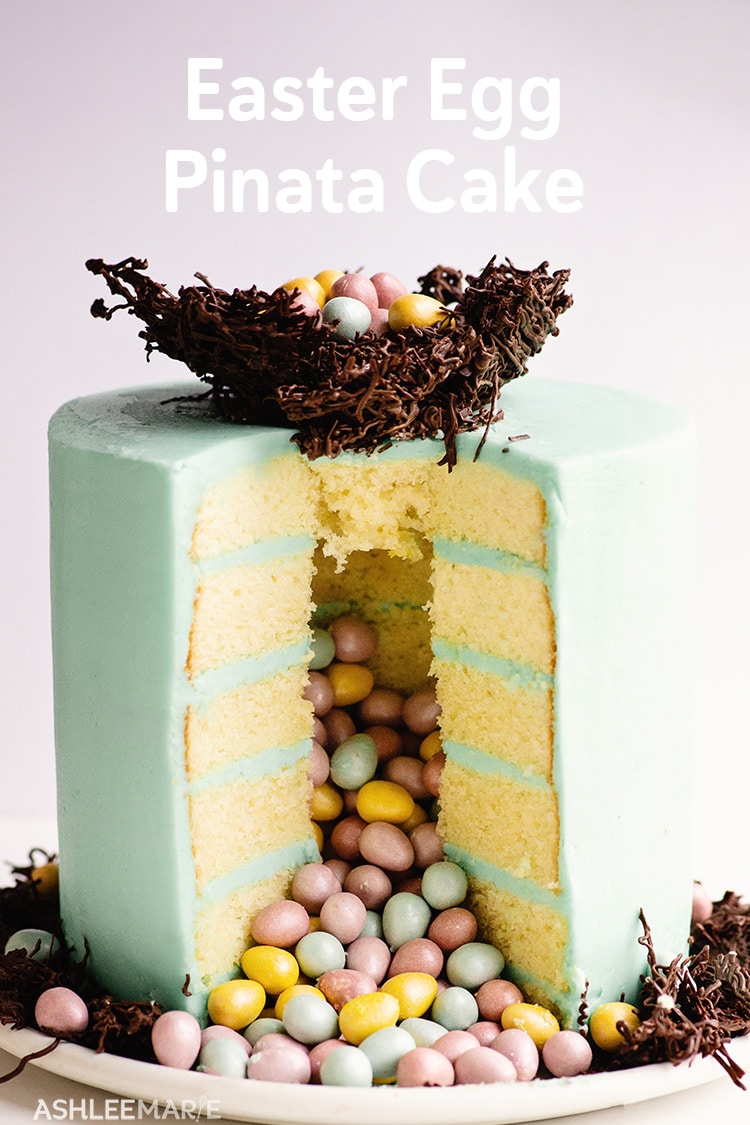
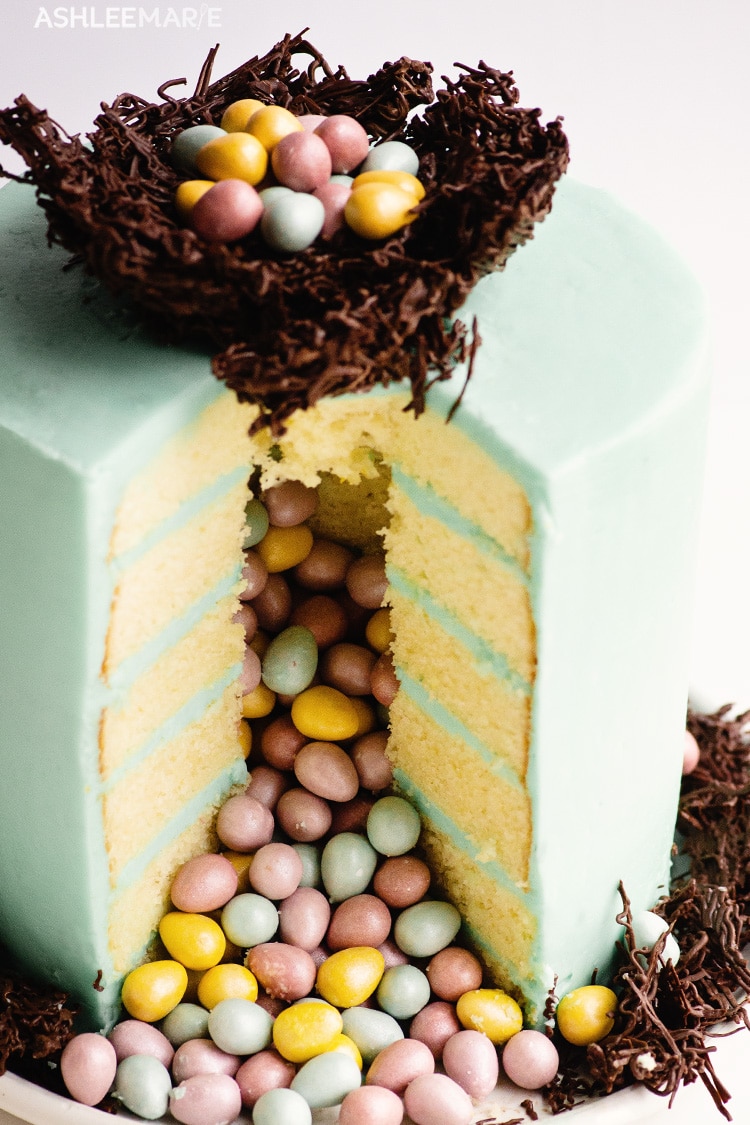
This pinata Easter egg cake is easy to make and always impressive. You can use any type of Easter egg candy for this cake!
How I created this Easter cake
Last year I decided to make cakes for every holiday for my weekly live stream cooking show. As eater approached I was debating what to do when I came across these shiny pearl chocolate eggs and thought they’d be great for a Pinata cake!
Pinata cakes are so easy to make and such a fun surprise when you serve them and cut into them so I enjoy doing them.
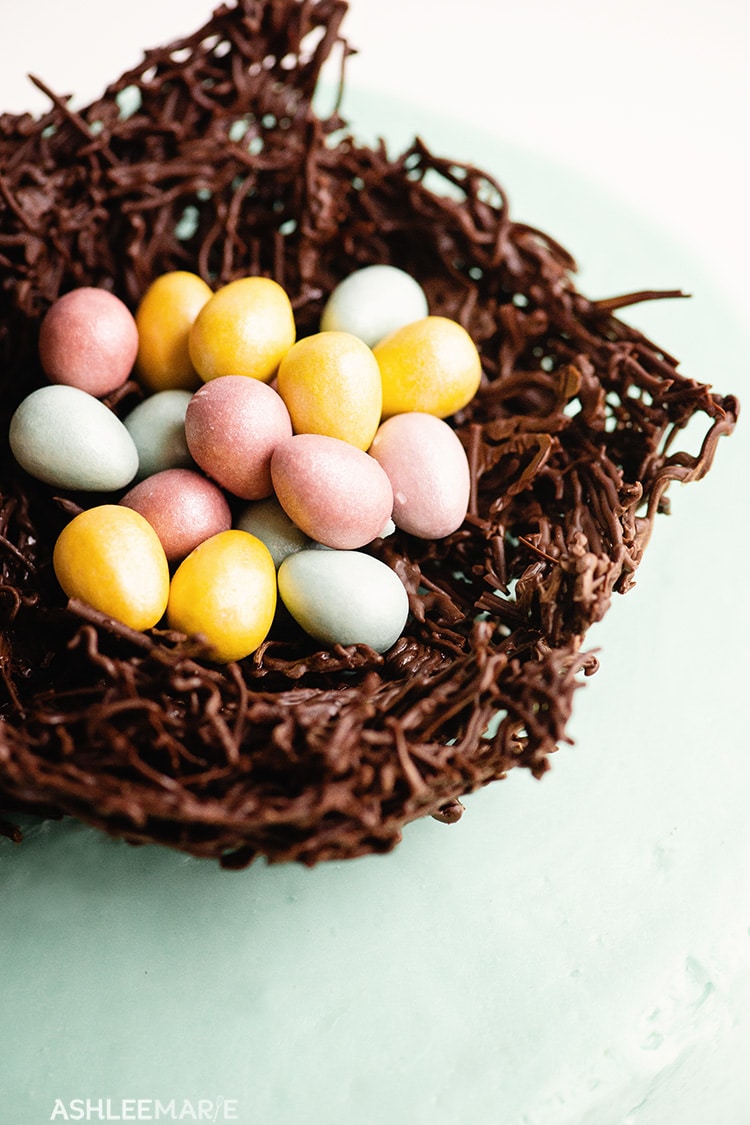
Since I was using candy eggs in my cake I decided to go for a chocolate nest for the decorations. There are a lot of way to make chocolate nests so I debated how to make them.
At first I was thinking of doing a chocolate chow mein noodle nest (using the crunchy chow mein noodles!), but then decided that the chow mien would simply be too chunky in the end and I wanted something more delicate.
Just take me to the white cake and buttercream frosting recipe already!
If you’d rather skip my tips and tricks for this pinata cake, along with links to other holiday cake recipes and get straight to this delicious white cake recipe – simply scroll to the bottom of the page where you can find the printable recipe card.
Tips to make the Chocolate Nest
- pick a smaller bowl than you’d think, the nest gets really large so start smaller than you’d think
- cover the bowl with plastic wrap to easily remove AND use some oil outside the plastic wrap so you can pull the plastic away from the chocolate easily
- I recommend oil based chocolate (compound chocolate) vs cocoa butter chocolate that needs to be tempered.
- Don’t use chocolate chips – they are coated with something that helps them hold their shape at high heat and they aren’t good for melting
- Cut the hole in the piping bag small to start with, you can always cut more if you need to.
- As you pipe the chocolate into the ice water don’t do too much at once, you want to be able to pull it out and wrap it around the bowl easily. Also it will look more real with more layers vs larger clumps.
- pipe extra for using around the base of the cake for extra decorations!
Tips for making a Pinata cake
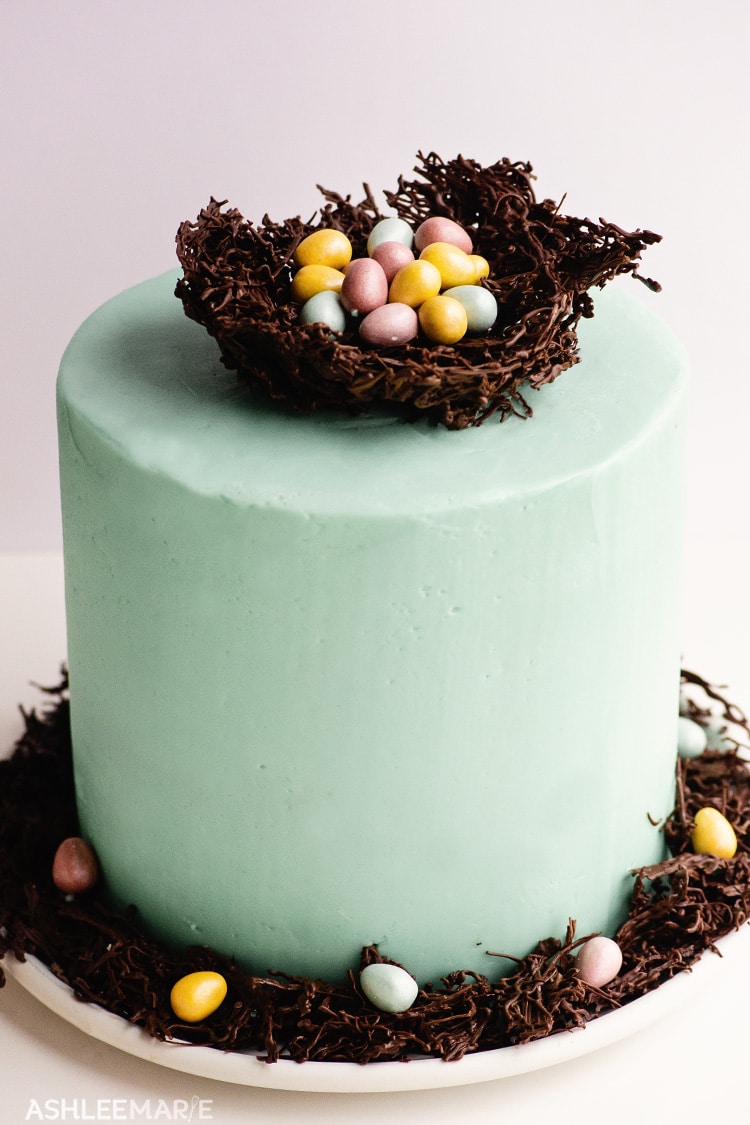
- I think taller cakes look better so I recommend doing 5-6 cake layers
- Because the cake is tall AND your going to be damaging the strength of the cake putting a hole in it make sure you make a stronger, more dense cake (this recipe is great, don’t use cake mix)
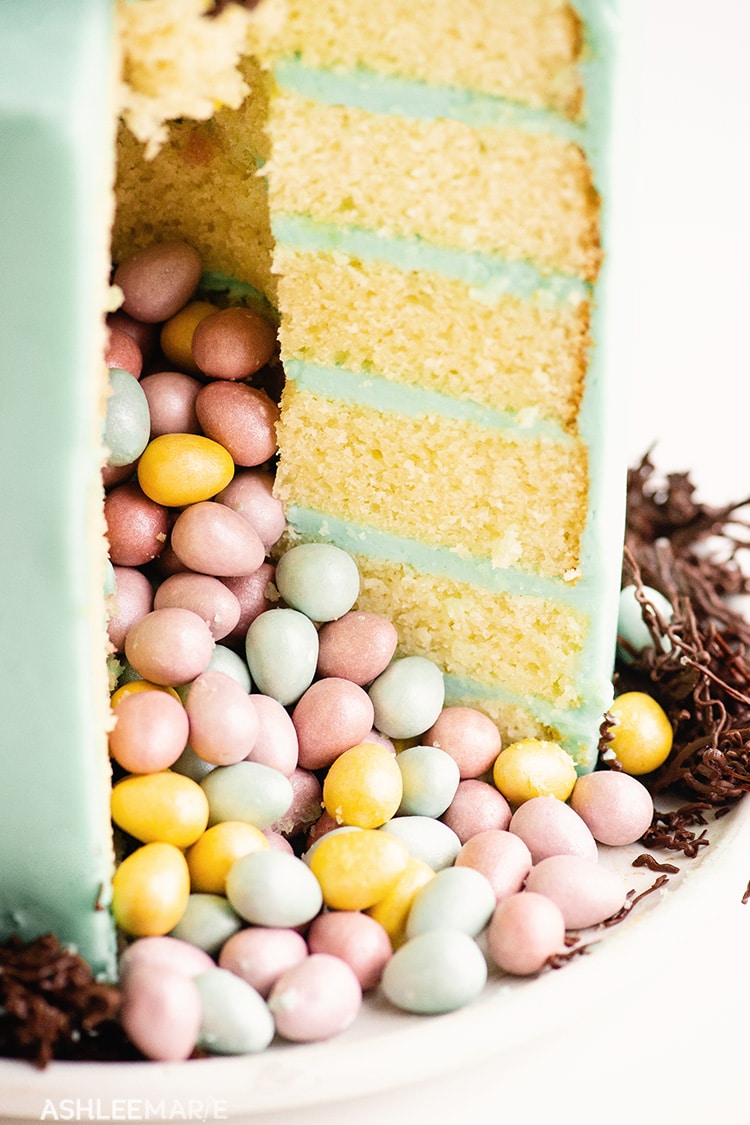
- I bake 3 tall cake layers then cut them in half to get the 6 layers, if you don’t have tall pans bake the 6 layers separately.
- level the top of each layer then flip over and trim the bottom of the layer – this will make it so you don’t have dark cake in your slices and will have pure white throughout.
- use a tall biscuit cutter so it’s taller than the cake layer, so it cuts all the way through and doesn’t get stuck in the cake layer.
Easy Pinata cake
If you love these cake tutorials as much as we do, please leave a 5 star review and be sure to share on Facebook and Pinterest! If you want to stay updated on new recipes sign up for my newsletter and join my Facebook Group!
If you love this Easter Cake check out these other holiday cakes
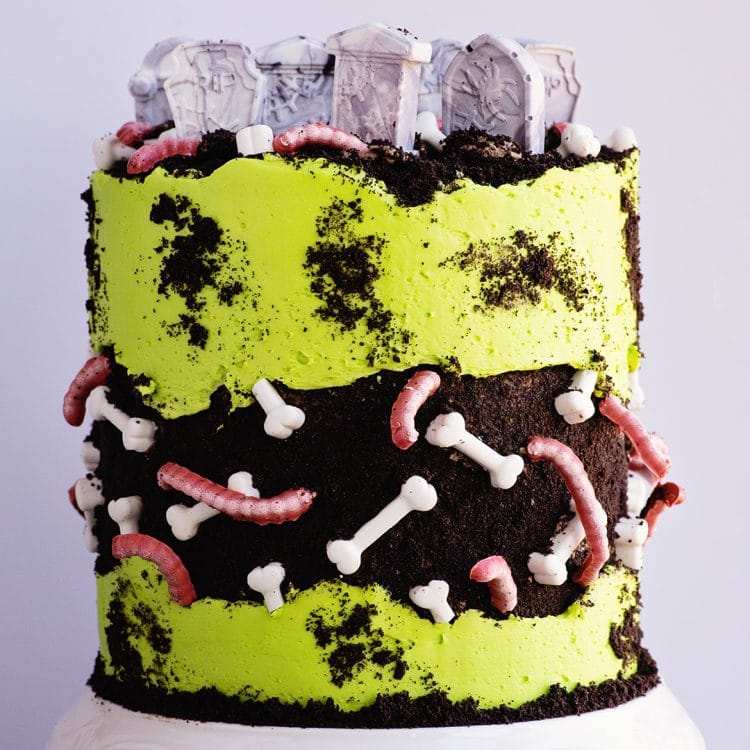
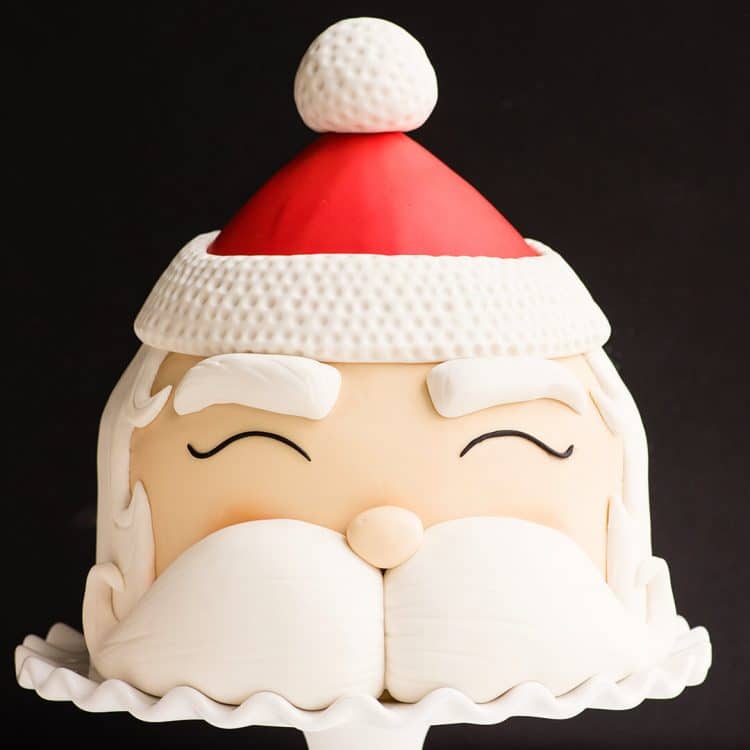
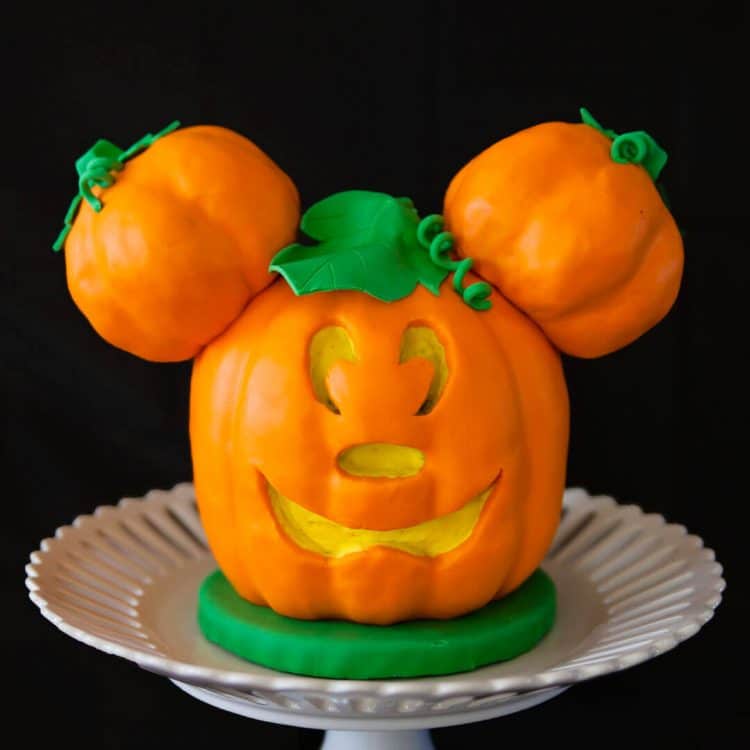
Graveyard Fault Line Dirt Cake | Santa Cake | Mickey Jack O Lantern Cake
If you love this white cake recipe you’ll love these other cake recipes!
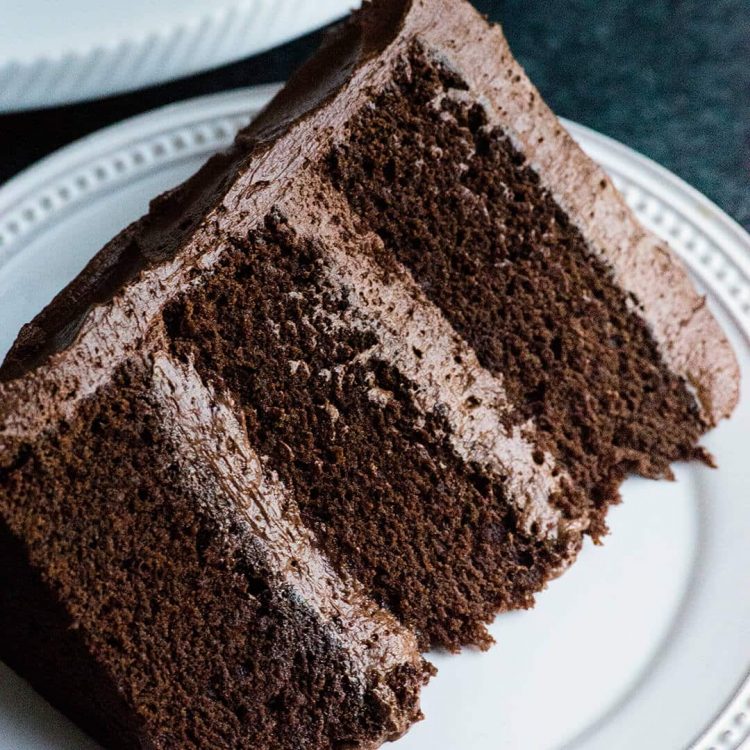
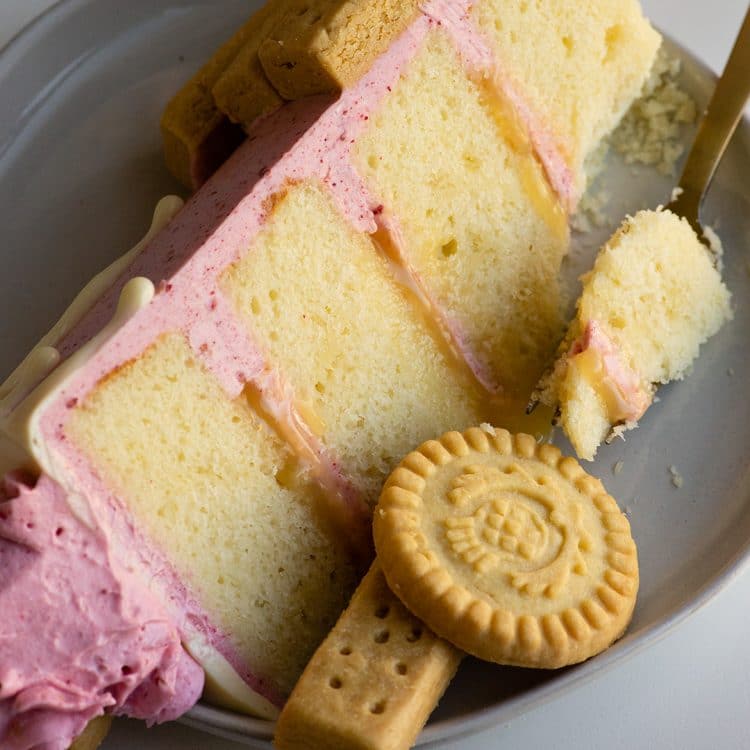
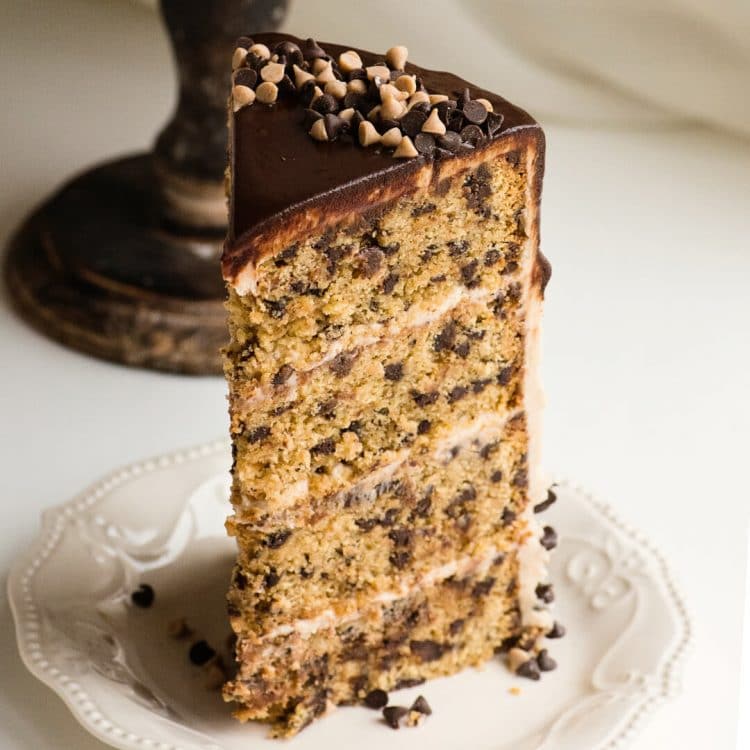
Chocolate Cake | Lemon Cake | Cinnamon Chocolate Chip Cake
To watch me make this pinata cake in a live cooking show play the video in the recipe card. There should also be a short teaser auto playing for you.
You can find all my cooking show style recipe videos on YouTube, or my short recipe videos on Facebook Watch, or my Facebook Page, or right here on our website with their corresponding recipes.
Easter Egg Pinata cake with Chocolate nest
Ingredients
WHITE CAKE RECIPE
- 7 C cake flour
- 2 Tbsp baking powder
- 2 tsp baking soda
- 2 tsp salt
- 4 C sugar
- 1 C butter softened
- 8 large eggs room temperature
- 1 1/3 C plain greek yogurt or sour cream
- 1 C mayonnaise
- 4 Tbsp vanilla
- 2 2/3 C milk
EASY SWISS MERINGUE BUTTERCREAM
- 1 C pasteurized liquid egg whites
- 8 C powdered sugar
- 1 tsp salt
- 4 C butter – room temperature
- 2 Tbsp vanilla
- 5 drops gel food dye
DECORATING
- 8 oz Chocolate
- ice water
- 18 oz Chocolate mini eggs
Instructions
WHITE CAKE RECIPE
- preheat oven to 350
- in a stand mixer or large bowl mix together the cake flour, baking powder, baking soda, salt and sugar
- add the softened butter and beat on medium low speed until you end up with a fine crumb
- in a small bowl whisk together the eggs, yogurt, mayo and vanilla until smooth
- our the egg mixture over the flour mixture and beat on medium speed until combined
- while the mixer is on low slowly add the milk, scrapping the bottom and the sides – the batter will seem wet
- pour into 3 8×3 round cake pans for tall layers you’ll level later, or 6 normal 8 inch round pans
- bake until a the cake bounces back when you press on it, the sides start to come away and a cake tester comes out clean (for the taller cakes about 40 mins (check around 35) but for 6 pans around 20-25 mins.
EASY SWISS MERINGUE BUTTERCREAM
- In a large bowl or stand mixer beat the egg whites, sugar and salt for about 5 mins until white, shiny and soft peaks have formed
- while beating on medium add the butter 1 1/2 – 2 Tbsp at a time
- once all the butter is mixed in add the vanilla and neat on high about 10 mins until the frosting is thick and ready to spread
- add the gel dye and beat until the color is smooth
DECORATING AND ASSEMBLY
- before I started making the frosting I made the chocolate nest –
- take a bowl the size you want the inside of the nest and cover in plastic wrap
- then spray with non stick spray (don’t forget this like I did!!!
- melt some chocolate and fill a piping bag
- pipe long lines of the chocolate over some ice water, when is starts to dull pull out of the ice water and layer over the back of the bowl
- repeat as many times as you need to get the bowl shape you want
- I use the warm chocolate to pipe between the layers of the cooled strands to help hold the bowl together
- pipe some extra strands to use around the bottom of the cake
- refrigerate until ready to use
- level and torte the cake layers and level the bottom as well for a nice clean slice
- using a 2 – 2 1/2 inch small round cooking cutter (or biscuit cutter because they are taller) cut circles in the middle of all but one cake layer (use a parchment circle guide to keep them even)
- stack and frost the cakes with the lining up the cut circles – careful not to get the frosting inside the center
- fill with chocolate candy Easter eggs
- add the final cake layer with no cut out and frost the whole thing!
- add the chocolate nest to the top of the cake and the extra shards around the bottom and add more eggs to the nest and around the bottom




Leave a Reply