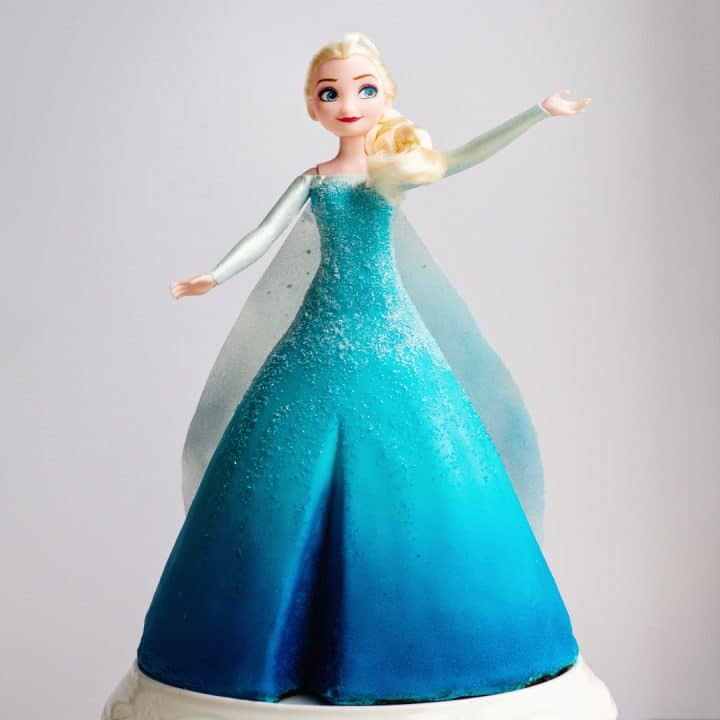
A cake decorating video tutorial making this gorgeous Queen Elsa doll cake from Frozen 1
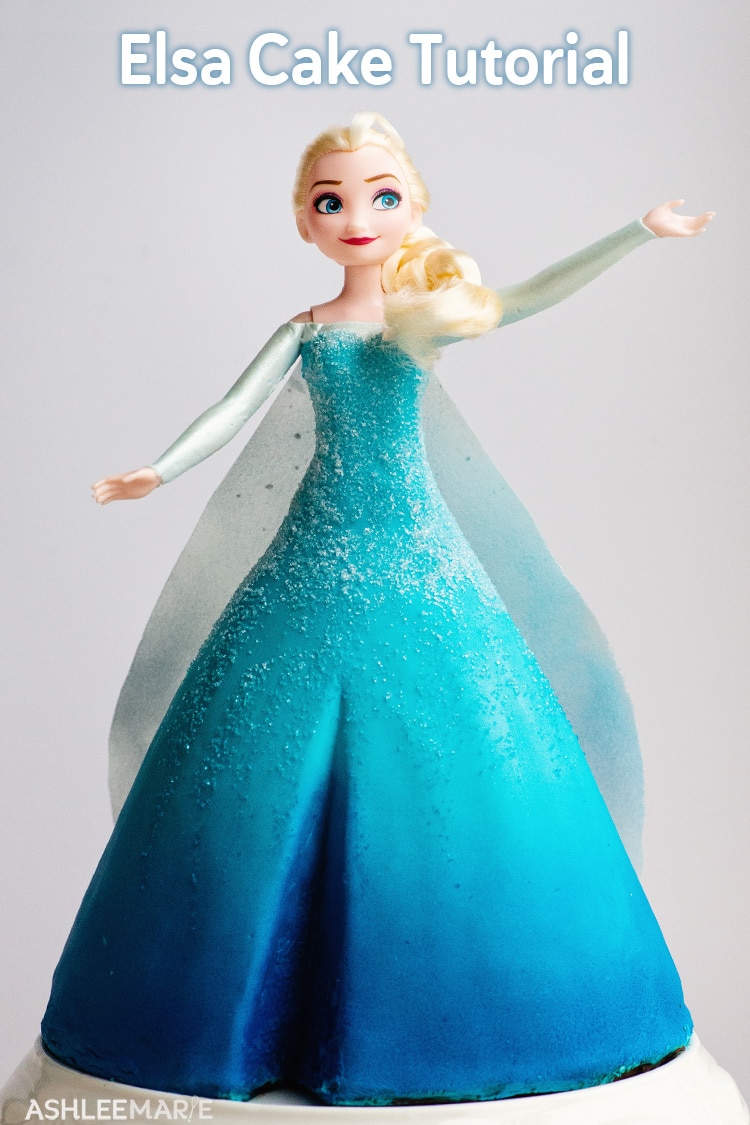
How I created this Elsa Frozen Cake
When I threw my daughter a Frozen birthday party the centerpiece was the Elsa and Anna cakes! I mean who didn’t throw a Frozen party that year!
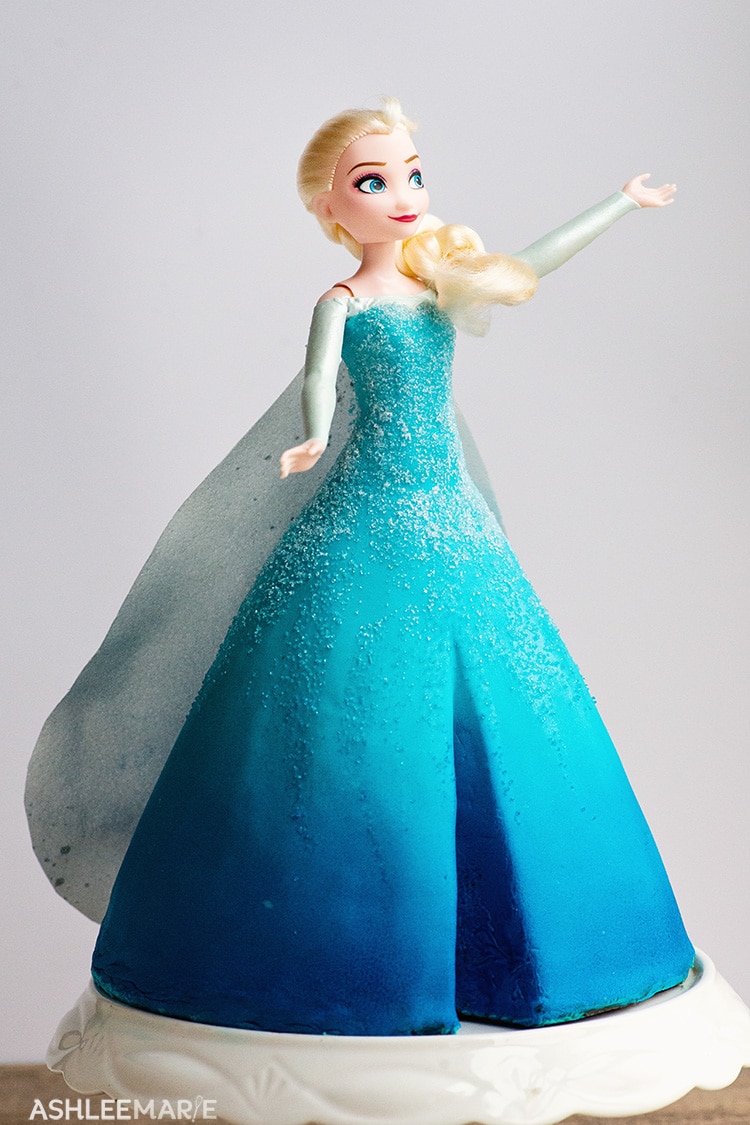
There was never a question about which dress to do, but the question was HOW to do it! It’s a slinky little number, really no room for cake, so of course the skirt needed to be much fuller so there was something to eat.
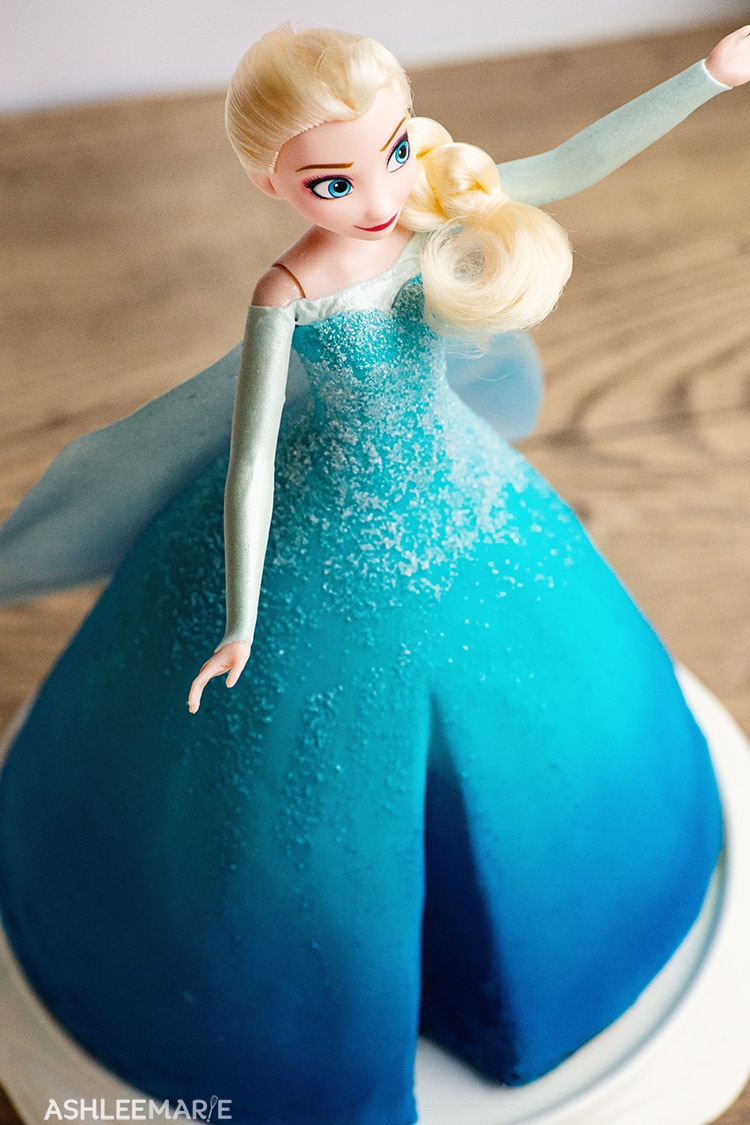
To give the illusion of slinkiness (is that a word) I went as A line as I could with one deep carved “ripple” to give the illusion of the slit.
The week of the party I had sick kids so I was rushing through the cakes the first time around. And while they turned out just fine there were always things that bugged me about the first Elsa cake I wanted to redo.
So when Frozen 2 came out I decided it was the perfect time to remake the original Anna and Elsa in addition to making updated NEW Anna and Elsa Cakes and make a video tutorial!
It’s a long video (down in the how-to card below) but it’s filled with tips and tricks and tons of detail!
Just take me to the how-to card and video already!
If you’d rather skip my tips and tricks for making princess cakes, along with links to other frozen cakes and recipes and get straight to this video tutorial– simply scroll to the bottom of the page where you can find the printable how-to card.

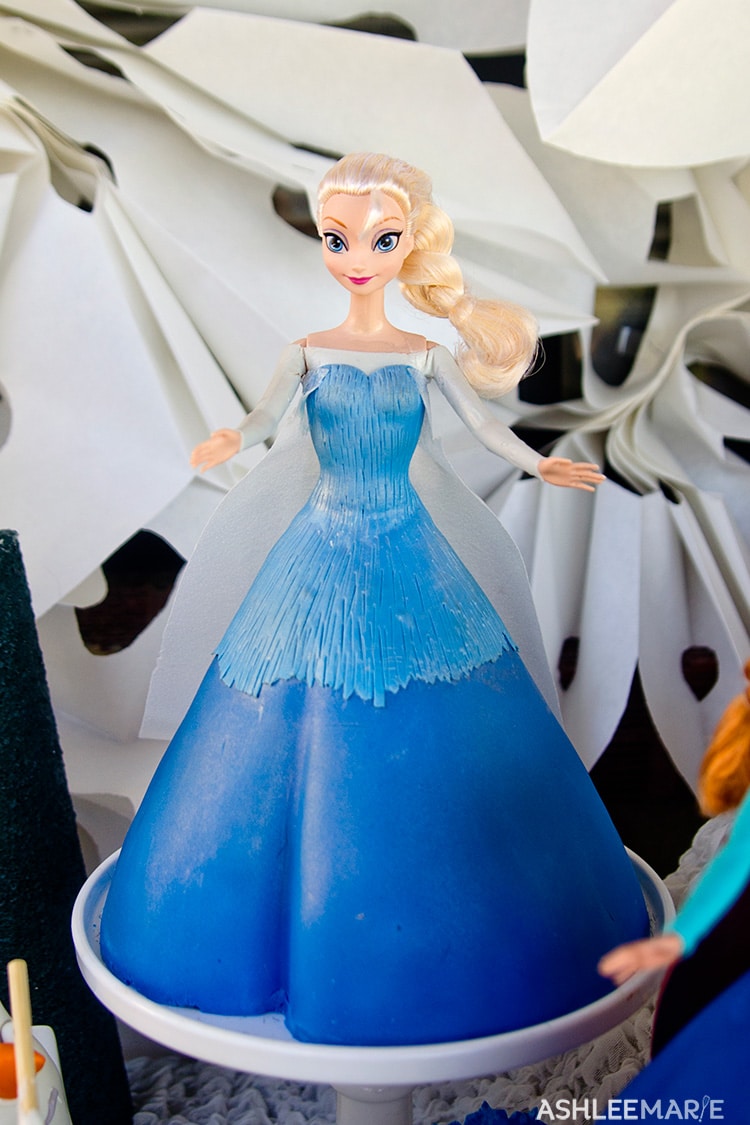
So here is an image from the first time around – I wanted to make sure I showed it to you for a few reasons. One because the original cake is in the party posts and I didn’t want it to be too confusing when you clicked over from there.
And two so you can see all the changes I made this time around. First off the coloring. I’ve gotten better at getting my fondant colors just so – and I think it’s perfection. Also I made the slit deeper and more distinct.
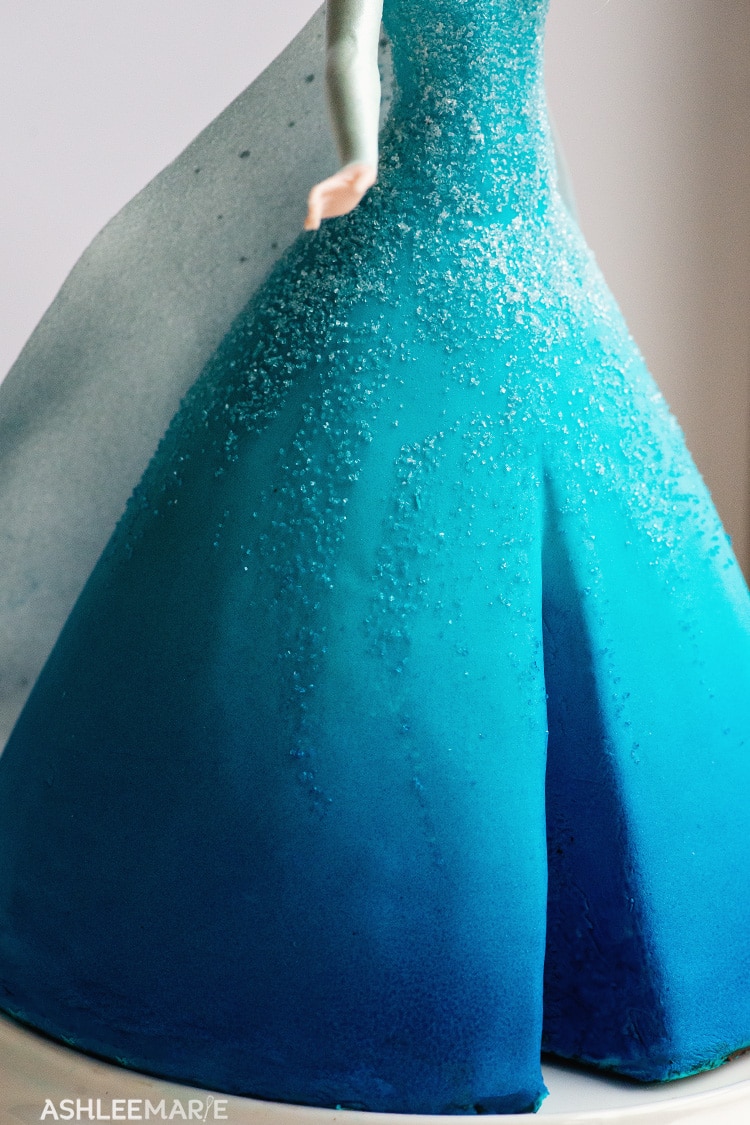
Next the ombre effect – the first time around it was really choppy, with two different colors of fondant trying to achieve the ombre look, and not very well IMO. This time around I used an airbrush to get the effect.
The bodice “sparkles” – the first time I used a fondant tool to create texture then luster dust to brush on some shine. This time around I used silver sugar and MAN does it look amazing.
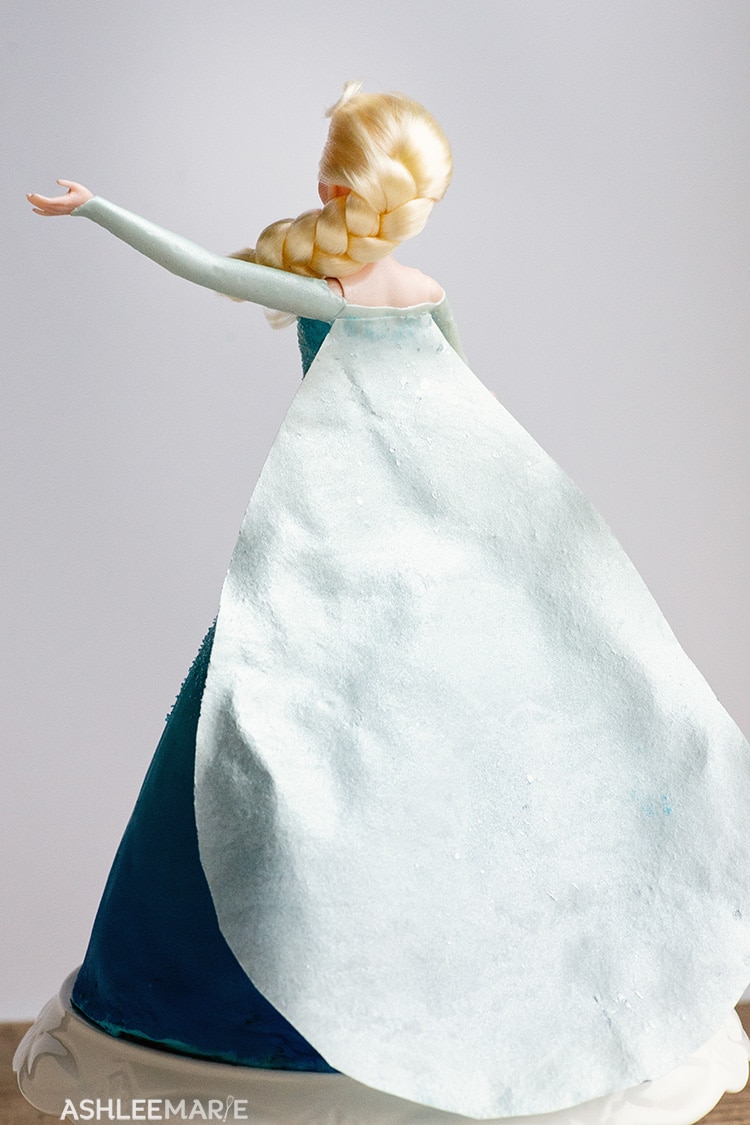
I also used the airbrush to give the sleeves some shine as well as the wafer paper cape. And I made the top of the cape smaller so it just fit in the back, not around the bodice. Minor but it keeps the front of the dress clean.
Tips for making princess cakes
– First off pick your princess doll – This will hep you determine the height you need your cake. I tend to go with the 13 inch barbie style.
– Design your cake! I like to sketch mine out. Decide what the shape of you want to carve the skirt (leave it full or carve an A-line). Then will you be adding slits, or ripples to the skirt…
– Decide what aspects of the skirt/dress will be fondant and what colors you’ll need as well as what other techniques will you be using? Airbrush, hand painting, stencils and royal icing, fondant (clay) extruder…
– To prepare your doll get it undressed and use plastic wrap to hold the legs together – this keeps the cake food safe, and makes it easier to slide into the cake.
– Wrap up her hair so it’s out of the way. You can use a rubber band or I just use more plastic wrap, it also protects her hair and face from the airbrush.
– Bake your cakes – I use this wonder mold pan to get the beginning of a dress shape but you can always stack round cakes and carve from there. The wonder mold is too short on it’s own so I also bake and stack a 2 -3 inch round 8 inch cake to the bottom.
– I recommend a nice dense cake for carving. If the cake is to fluffy and light it just crumbles as you carve. I use my Chocolate cake recipe (just the cake, not the frosting) One full recipe makes one wonder mold and one 8 inch cake.
– Cut a hole in the center of the cake, down to the bottom and slide the princess down inside. Then start carving your skirt
– For the frosting use a straight ganache (2 to 1 ratio), not the ganache buttercream. It goes on like frosting but as it cools and sets it gets firm and will hold the details of the cake as you add the fondant and other details later.
– Next determine the order of your decorating. Are you starting with the sleeves or the skirt. How thick or thin do you want each layer (super thin for sleeves, thicker for areas like the skirt).
– Mix any fondant colors or paint colors you need to make. Start by making small amounts of the color to test what mixture it takes to get the color you want. Then make enough for the whole cake – You don’t want to have to try to match a second batch after you’ve already started.
– When using an airbrush gun multiple light layers is always better than going to dark to begin with. Hold the gun further away for a wider spray, and super close for a distinct line.
– Also the airbrush over sprays a TON – like you’ll have a thin layer of paint mist over everything, I’d recommend covering everything with plastic wrap you can just ball up and toss, otherwise you’ll be wiping the counter a week later and still be getting up blue paint!
– I use wafer paper for additions like capes – things that need to stand away from the body, or things that only partially attach to cakes. It’s still edible so I don’t mind using it!
– To color the wafer paper to match I use an airbrush gun. Now liquid effects wafer paper, so do a light layer to start with – it will curl the paper. Just flip the paper over and paint another light layer on the other side and the paper will curl the other way. Repeat until you are happy with the color and let dry – the paper will flatten out!
To make this Princess cake you’ll need
- Cake recipe
- Wonder mold cake pan
- Ganache recipe
- Fondant – I used satin ice blue and white with a touch of green
- Fondant mat
- Fondant rolling pin
- Electric pasta roller
- Fondant tools
- small shape knife
- Pizza cutter
- Paper towels
- Airbrush
- Airbrush paint – blue, pearl and silver
- Royal icing recipe
- Piping bag – I use parchment triangles for royal icing
- Stencil SVG files (below), with a cricut cutter and vinyl
- Fondant glue or clear alcohol
- Silver sanding sugar
- Wafer paper
- Small angled frosting spatula
- Paint brushes (ones I only use for cakes)
Frozen 1 Elsa Princess Cake
If you love these princess cake decorating tutorials, I’d love a 5 star review. Be sure to share on social media and tag me if you make it @ashleemariecakes! If you want to stay updated on new recipes sign up for my newsletter and join my Facebook Group!
If you love This Elsa Cake you’ll love these other Frozen recipes!
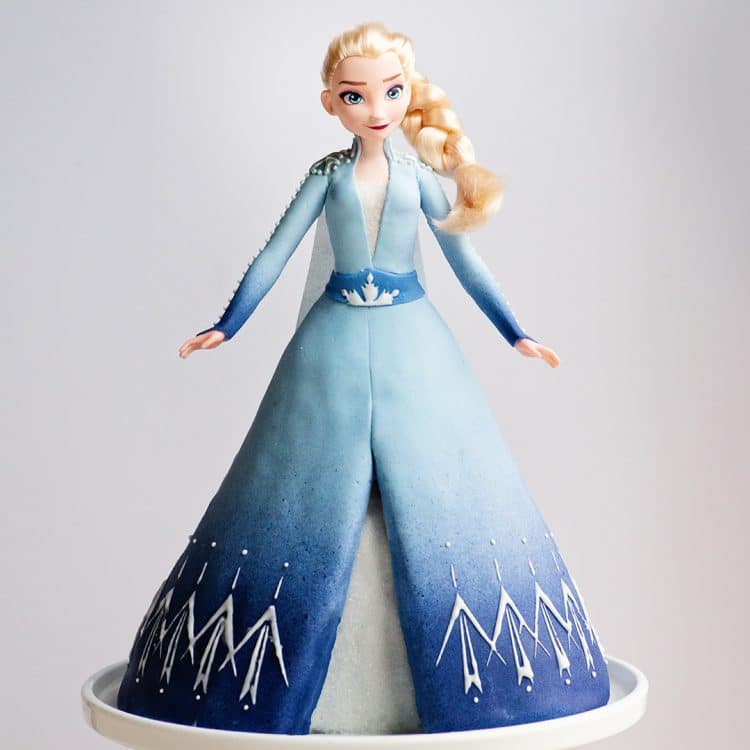
Frozen 1 Anna Princess Cake | Frozen 2 Elsa Princess Cake | Frozen 2 Anna Princess Cake
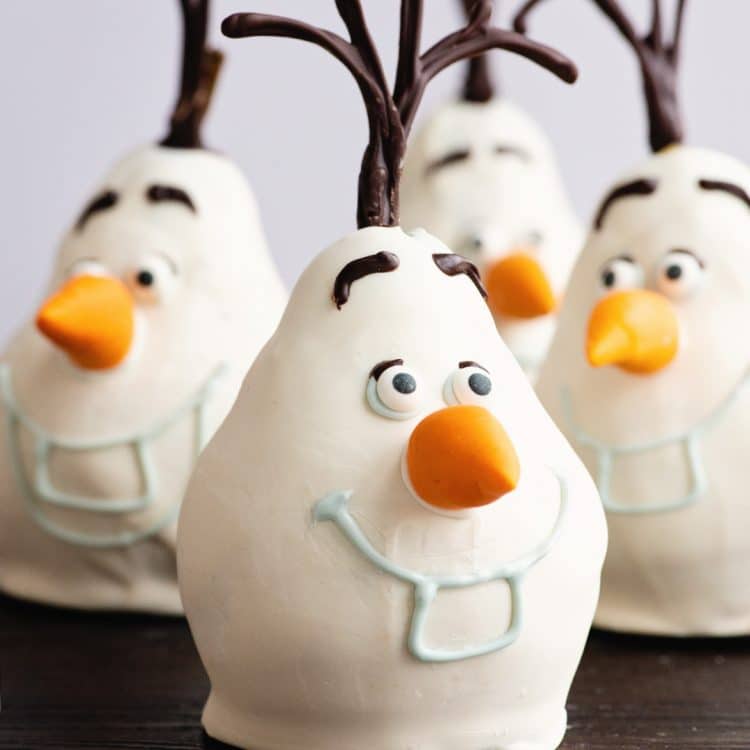
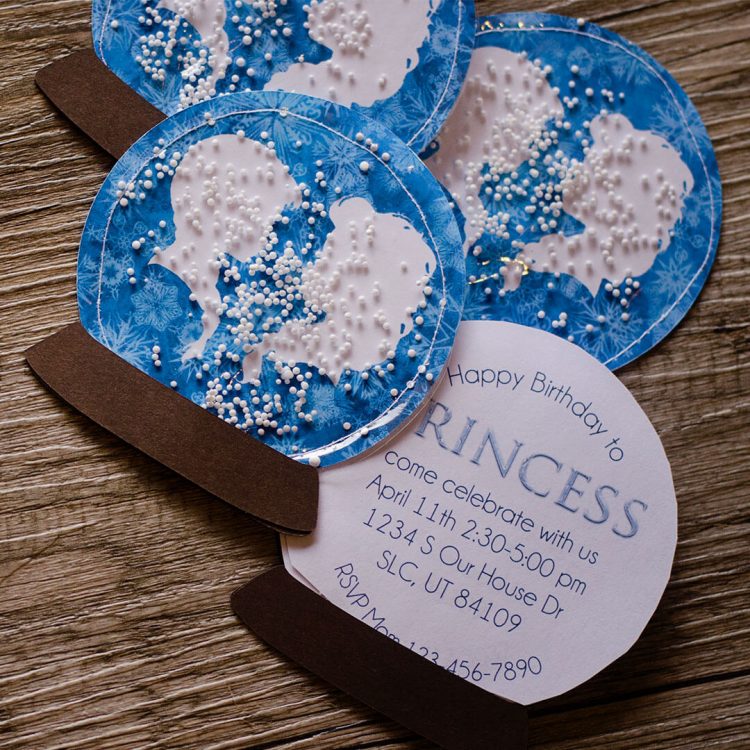

Olaf Caramel Pears | Frozen Printables | Rock Trolls Truffles
Connect with Ashlee Marie Online!

To watch me make this Elsa cake as well as the other three frozen princess cakes play the video in the how-to card.
You can find all my cake decorating videos on YouTube, or my short teaser videos on Facebook Watch, or my Facebook Page, or right here on our website with their corresponding recipes.
Frozen 1 Elsa princess cake
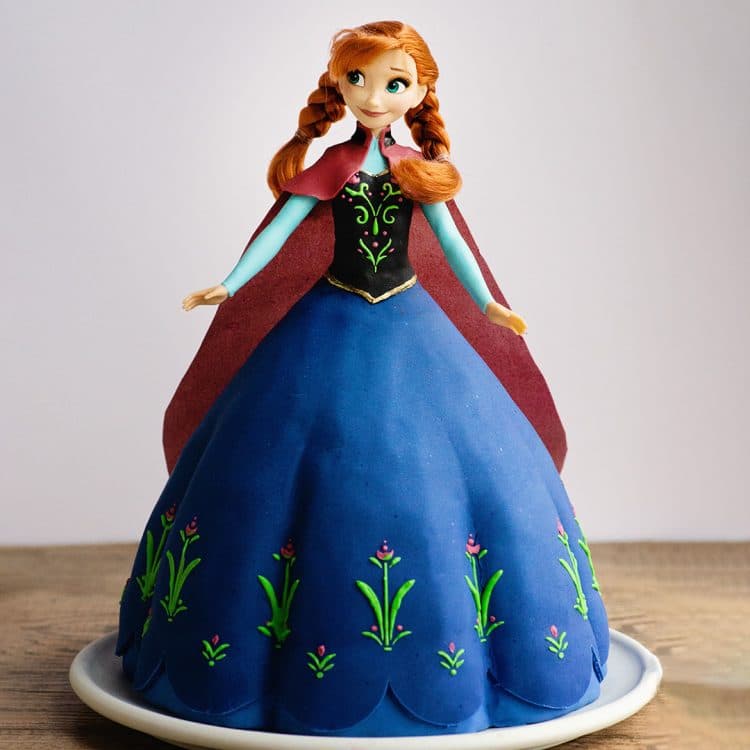
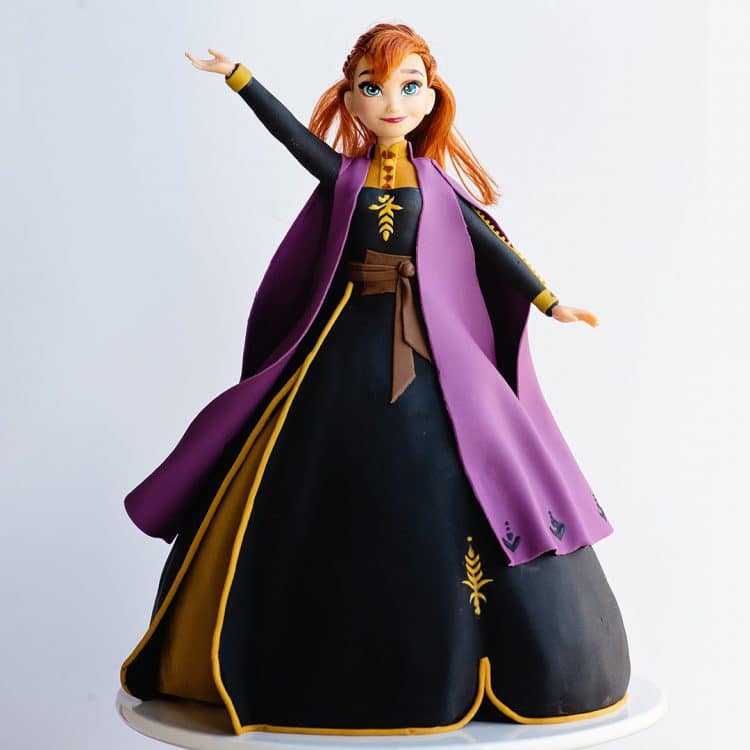
A cake decorating video tutorial making this detailed Anna princess cake from Frozen 1
Materials
- Cake recipe
- Ganache recipe
- Airbrush paint - blue, pearl and silver
- Fondant - I use satin ice Blue and white with a touch of green
- Fondant glue or clear alcohol
- silver sugar crystals
- Wafer paper
Tools
- Wonder mold cake pan
- Fondant mat
- Fondant rolling pin
- Electric pasta roller
- Fondant tools
- small shape knife
- Pizza cutter
- Airbrush gun
- Paper towels
- Paint brushes (ones I only use for cakes)
Instructions
- Level the cake and stick together with the ganache - freeze the cake for carving
- Cut out the center hole, about 1 1/2 inches through both cakes
- Wrap the doll's legs to easily insert into the cake
- Carve the skirt from the waist to the bottom in an A line design. Then cut a deep slit on the right side to represent the slit in her skirt.
- Cover the cake with ganache and let it set completely.
- Roll out a super thin super light blue and drape over her arms and chest in one piece. Cut under the arms and smooth. Add fondant to her back and merge with the rest with fondant tools. Trim around her chest and shoulders.
- Roll out a large turquoise sheet of fondant and add to her body, covering the skirt with the seem in the back.
- Use fondant tools to stretch the fondant into the slit.
- Smooth the body, skirt and slit and trim the top of the dress and the bottom.
- Brush the top of the dress down through the body with fondant glue or clear alcohol, letting it taper off after you past her waist.
- Sprinkle with the silver sanding sugar and brush off the excess.
- Spray her arms and upper bodice with pearl airbrush paint to help it shine.
- Spray both sides of some wafer paper with silver airbrush paint and cut the cape to the size you want and dampen the top edge paper and attach
- Roll out thin medium blue (I like adding a little purple to it) and cut a stripe around 1 inch tall wrap around the base of the skirt. Smooth the top of the stripe into the ganache.
- Roll out some navy blue fondant and wrap around the skirt with the seam in the back. Smooth around the base and all the ripples.
- Trim the waist and smooth and trim the base of the skirt.
- roll out some thing light turquoise fondant and add to the arms and chest for her blouse. it's okay to have seams at the shoulders. Make sure to have a high collar.
- Roll out some black fondant and cut the bodice and attach.
- Take down her hair and your done!
")


shan
gorgeous creations!
Thanks for sharing about the sequins – i can imagine how frustrating and satisfying the whole experience was.
looking forward to more of your tutorials.
Ashlee
Thank you so much. and you totally nailed it, frustrating and satisfying at the same time!
capturing joy with kristen duke
I love how you made sure those dolls were modest with that black bar;;) They look amazing!
Ashlee
right??? Have to keep things modest! HA!
Jill Greenlaw
You never stop amazing me. Beautiful!
Ashlee
Awww thanks Jill! It’s always fun to come up with new and fun ways to make my kids cake!
Angela young
Thank you so much for this! Any idea how many servings you were able to get out of Elsa?
Ashlee
It’s made with 2 standard size 8 inch cakes, so while it’s stacked and tall it’s easiest to get 24 tall slices. If you want to split the slices (they are big) to get 48 it’s more standard size pieces at that point.
Deb www.debcb.com
Love this!! So wish I had a little girl that would appreciate this! Sadly, I have a teen and we’re over anything Disney. At least in public.
Ashlee
that is SO sad, I’m not sure how I’ll handle it when mine get too old! Probably start throwing myself some fun parties! An adult Frozen party could be fun??? maybe?
Samantha
Beautiful cake. Please can you tell me where you bought your Elsa doll from?
Thanks!
Ashlee
I bought it before the movie came out so it wasn’t sold out everywhere yet! My go to is Amazon though, I know that if you catch Target in the morning when they restock you can get it there too! Good luck!
Seeto Wai Kee
so lovely… I have a request to make a Elsa princess cake for a four year year old girl who is the daughter of a dear friend… I will try this!!
Ashlee
have FUN with it! These were so much fun to make!
Elizabeth
This is fabulous! I’m making an Elsa cake for a friend and am using a doll that she provided, which is also the gift for her daughter. Does the fondant/gumpaste top clean off the doll pretty easily? I’m nervous to ruin her doll after all the looking around she had to do to find one.
Ashlee
I totally understand THAT! It was a nightmare finding this one! and yes comes RIGHT off. I wrap the legs in plastic so it doesn’t get in all the nooks and cranny’s of the legs, but it comes right off the body!
Karen
Wow!!! that just about covers what I think. All so wonderfully, fairytaily beautiful, and wholesome at the same time. You made me decide within seconds that this is what I would like to do for my daughters 7th birthday in January. WOW!!! And I dont even go for disney stuff normally. But WOW!!!
Ashlee
Thank you so much Karen! Have SO much fun with your daughters party! I’m adding the last of the food tutorials this week from the party!
Sarah
Forgive me if I’ve missed it on the page….but I wonder if you would share your cake recipe? It looks delicious! Thanks
Ashlee
I don’t share my business recipes, cakes and frosting’s. I’m saving them for a cookbook someday (I hope)
Stacy
Hi,
Can you please share what color gels you used?
Thank you!
Ashlee Marie
Ummmm I used blue fondant and white fondant mixed together I’m actually remaking the cake this week and am changing it up quite a bit, using a mix of white and blue fondant and then adding airbrush to get the gradual ombre effect.