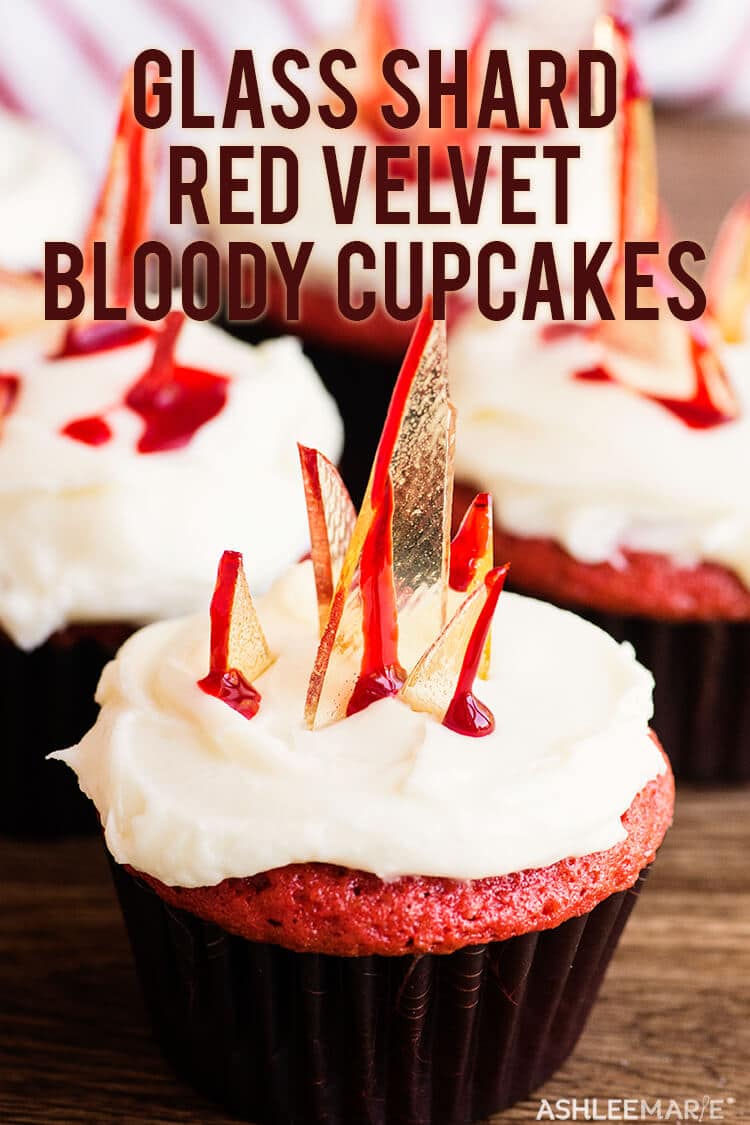
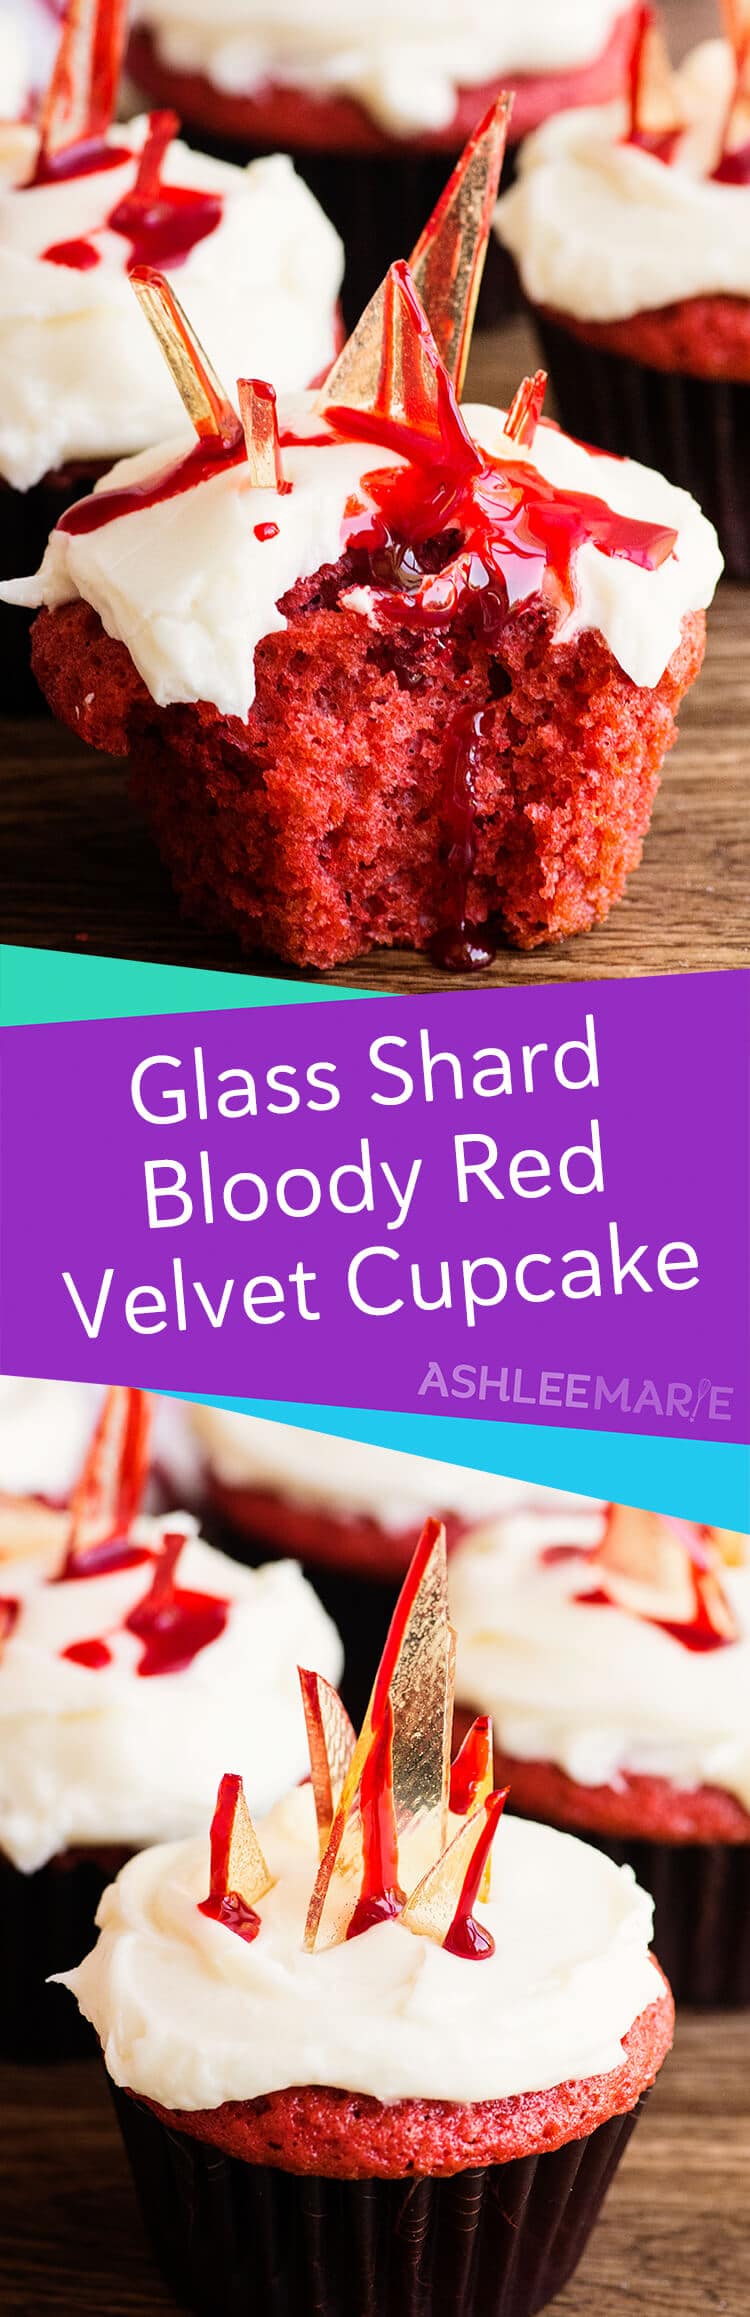
Easy to make red velvet cupcakes are made spooky with some edible glass shards and drizzled with some simple edible blood. These bloody broken glass cupcakes are perfect for any Halloween party.
How I created this Halloween Red Velvet Recipe
A simple and basic red velvet cupcake are the base of this treat, covered in a creamy and delicious cream cheese frosting.
Honestly I’m not the biggest fan of red velvet – but red is just perfect for these Halloween cupcakes. And the only redeeming part of a red velvet cupcake is that it’s the perfect base for holding cream cheese frosting.
There are two ways to make the glass shards – you can use isomalt – which is easy and I love. But it’s also fun to make your own suckers – you can also flavor them in any way you’d like.
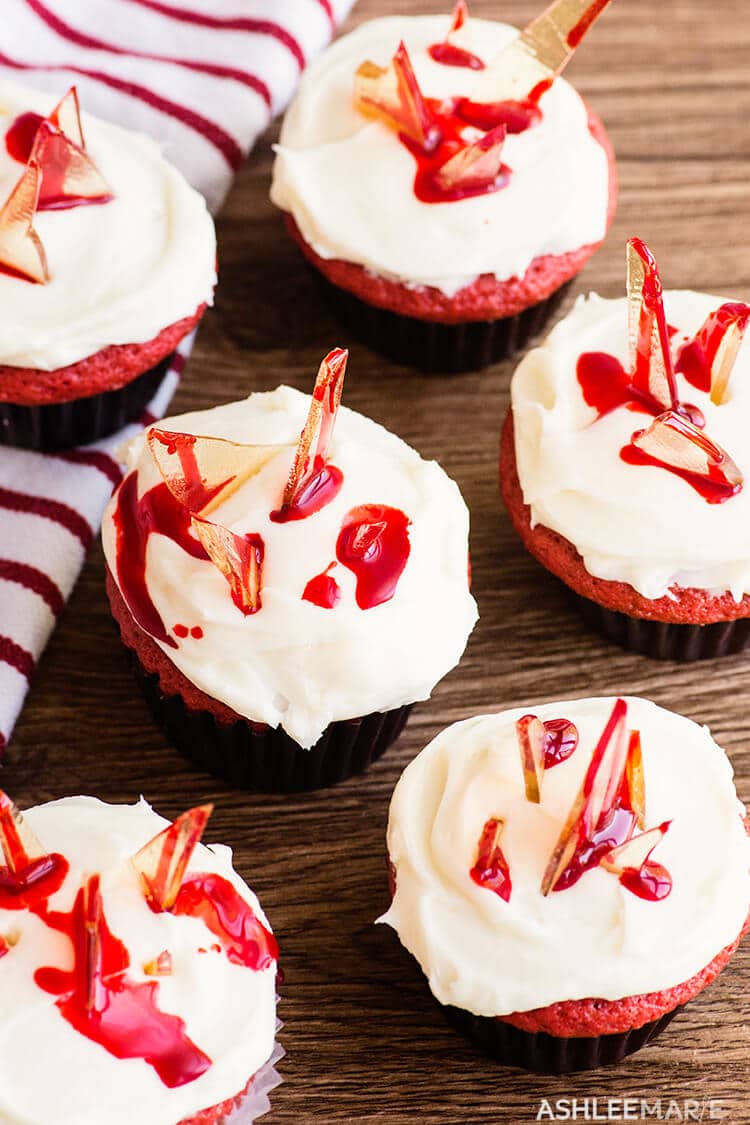
And then there are a ton of ways to make edible blood. I’ve used my berry coulis or my caramel sauce as well as my buttermilk syrup dyed red. But this died corn syrup method is the easiest and when you’re just making a small batch for a little amount like these cupcakes.
Two years ago I was over at the Allrecipes Facebook page doing a FB live featuring a ton of Halloween treats so come visit! One of the recipes are these red velvet cupcakes with edible “glass” shards and a simple edible blood!
Just take me to the Bloody Broken Glass Cupcakes already!
If you’d rather skip my tips and tricks for edible glass, along with links to other spooky recipes and get straight to these delicious Halloween cupcakes – simply scroll to the bottom of the page where you can find the printable recipe card.
Tips to Make the Perfect Bloody Broken Glass Cupcake
- After filling the piping bag twist the bag and pinch between your thum and hand to hold the twist. This way when you squeeze the frosting won’t go out the back end.
- Hold the tip perpendicular to the cupcake and starting on the outside squeeze while you move the bag. Stop squeezing before pulling away – continuing pulling up and away.
- The Silpat mat left small impressions on the slides – so if you want yours to be perfectly flat you’ll want to stick with just using parchment paper, personally I kinda like the texture.
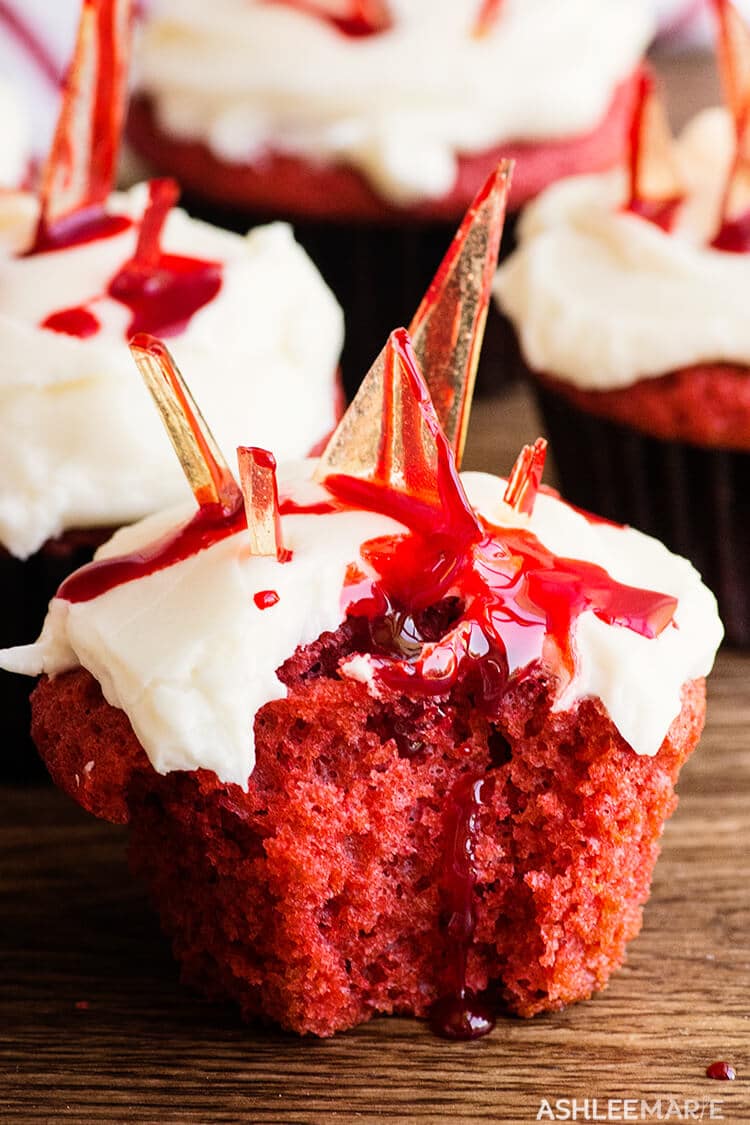
- IF you want it to be perfectly clear – without the yellowing you see here that comes from the heat, then using isomalt and distilled water is a better option (and would be sugar free too).
To make this Red Velvet Bloody Cupcake you’ll need
- Stand mixer
- Red food gel
- Cupcake tin
- Cupcake wrappers
- Silpat mat
- Candy thermometer
Bloody Broken Glass Cupcake
If you love these Halloween cupcakes as much as I do, I’d love a 5 star review. Be sure to share on social media and tag me if you make it @ashleemariecakes! If you want to stay updated on new recipes sign up for my newsletter and join my Facebook Group!
If you love Halloween Cupcakes with Edible Glass Shards you’ll love these other spooky recipes!
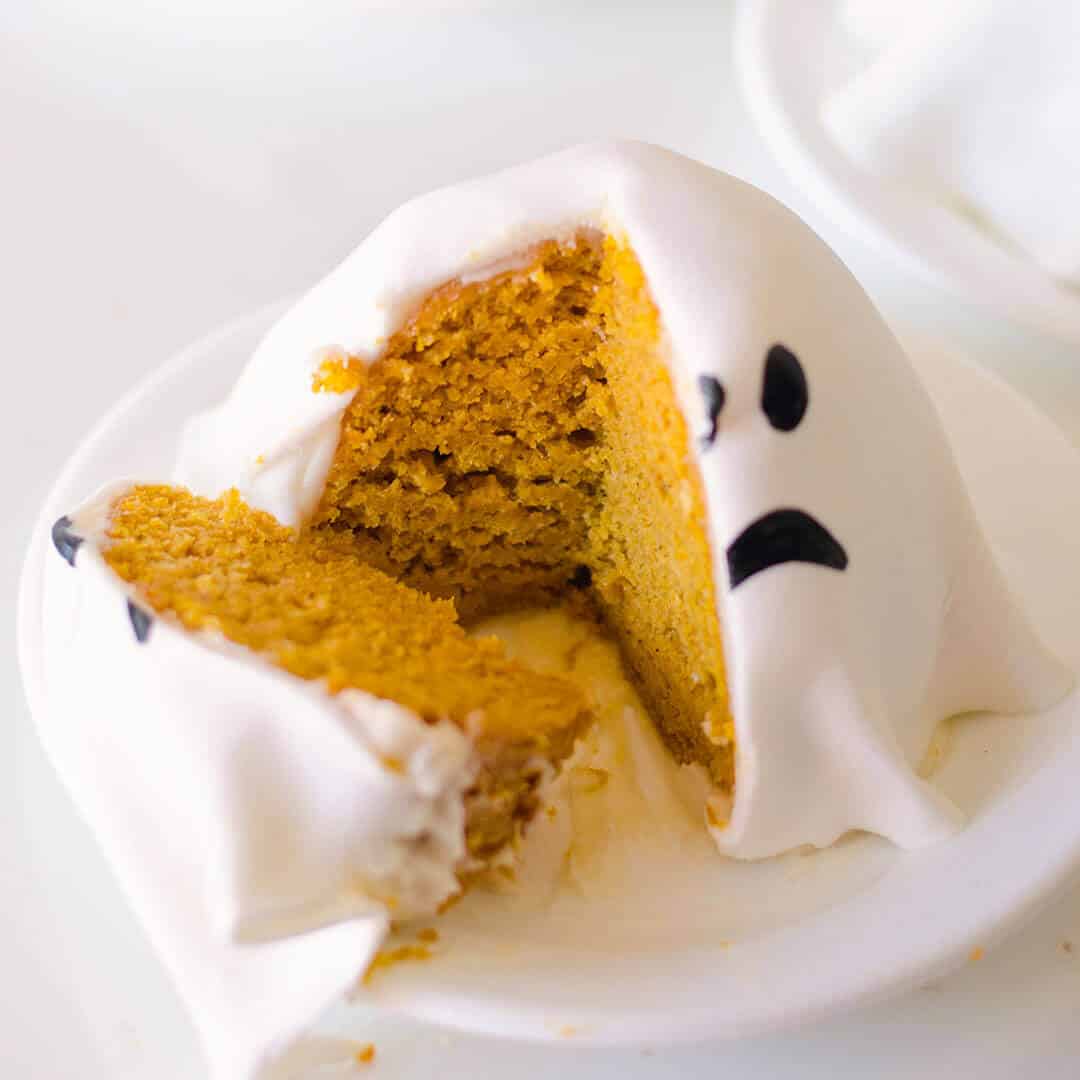
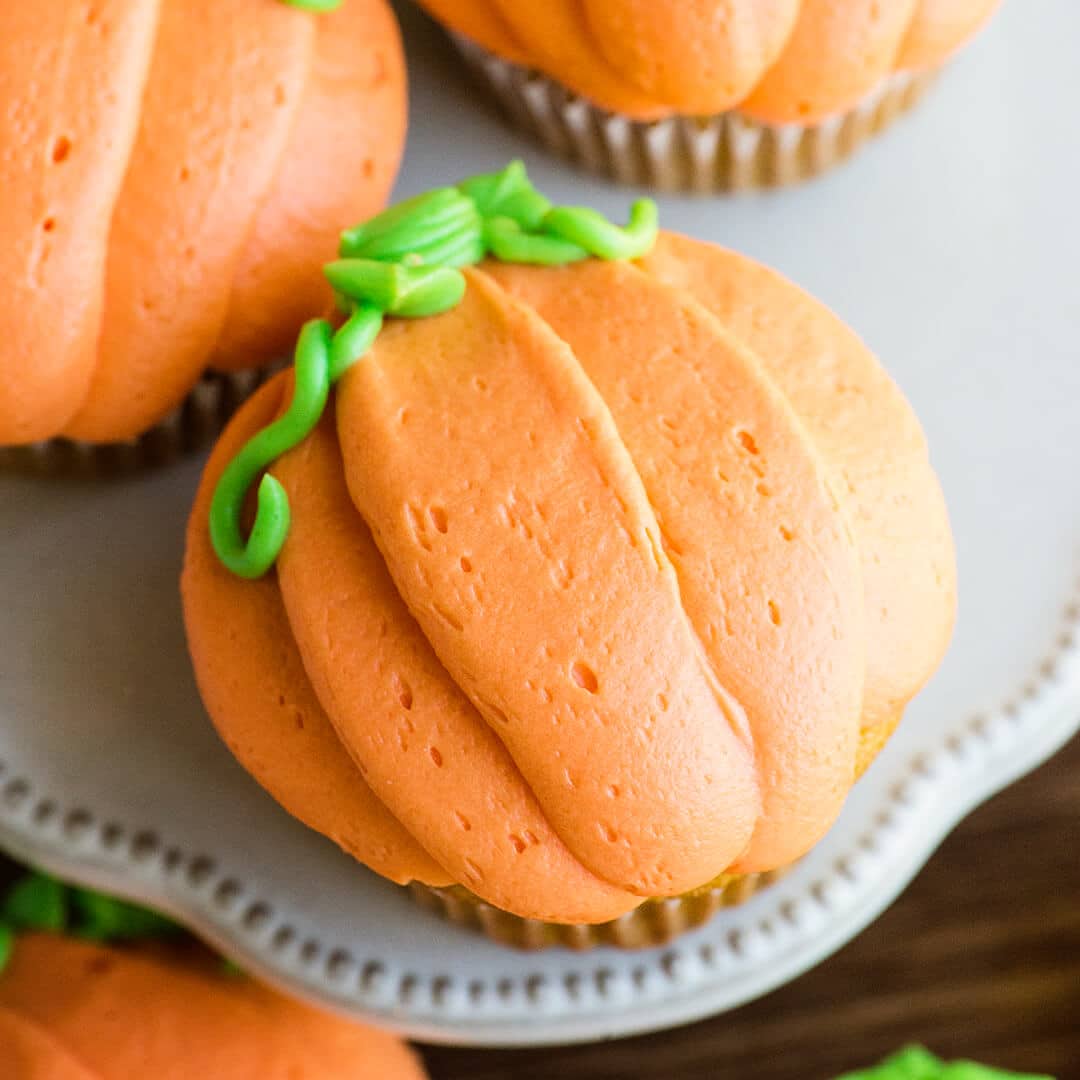
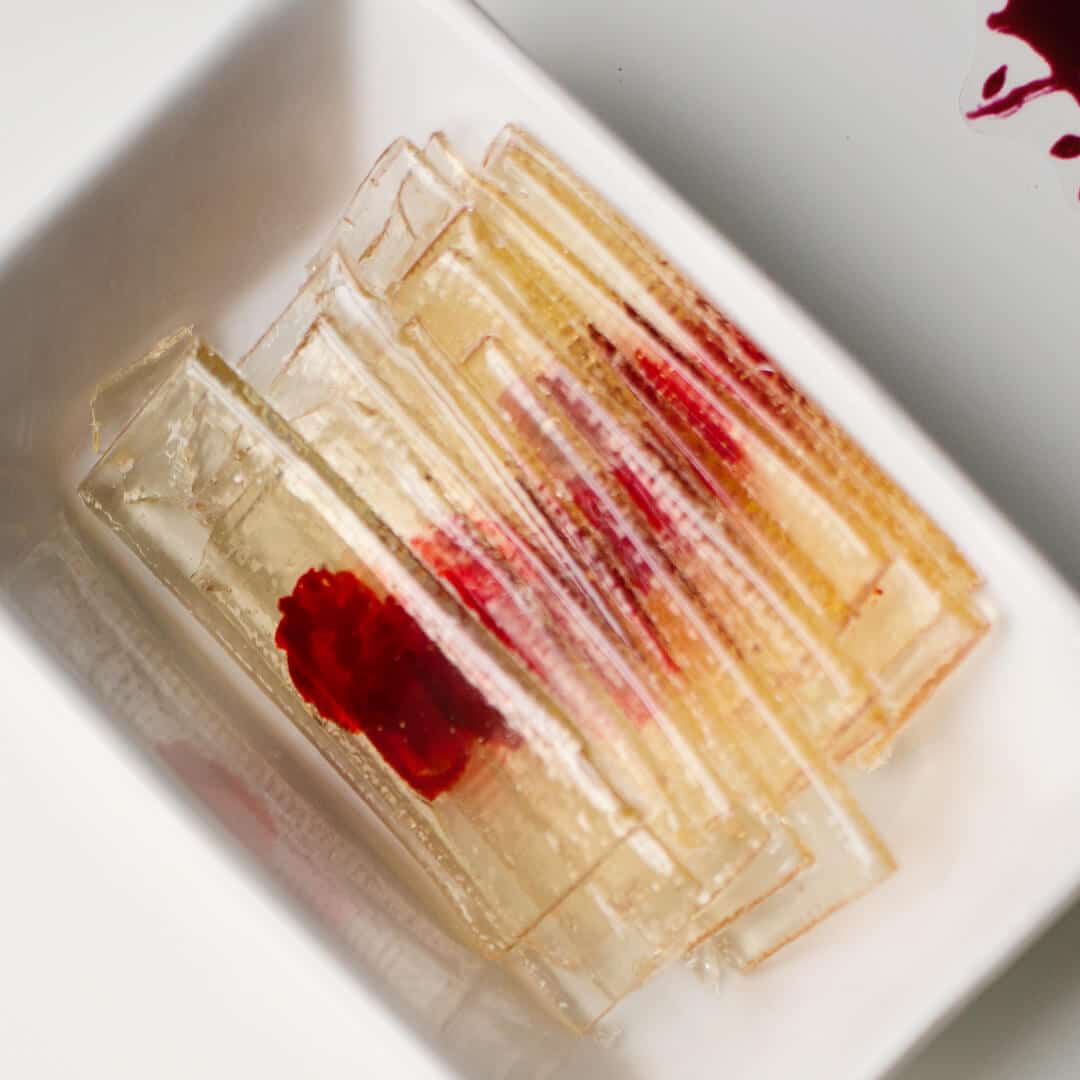
Mini Pumpkin Ghost Cake | Pumpkin Cupcake | Candy Bloody Slides
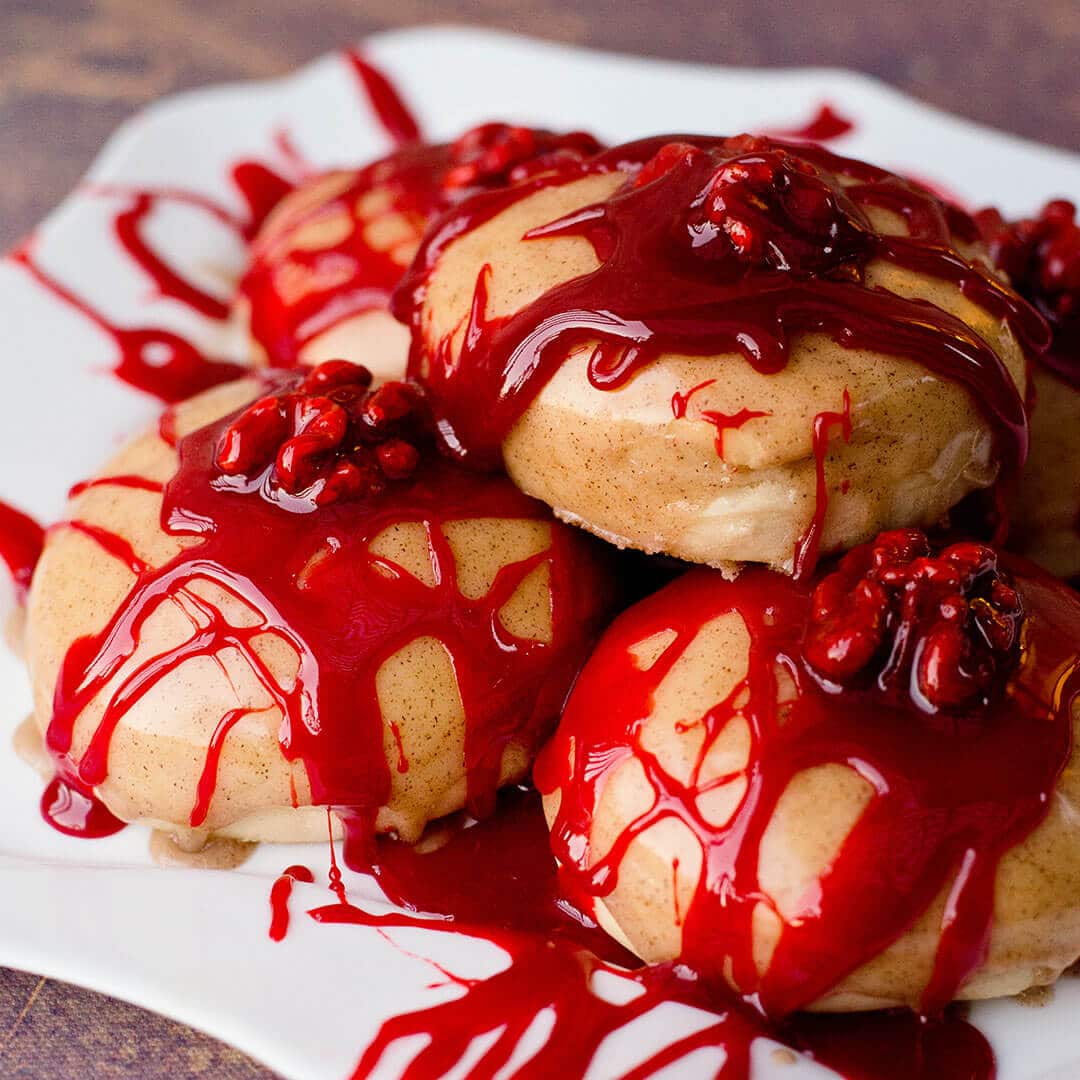
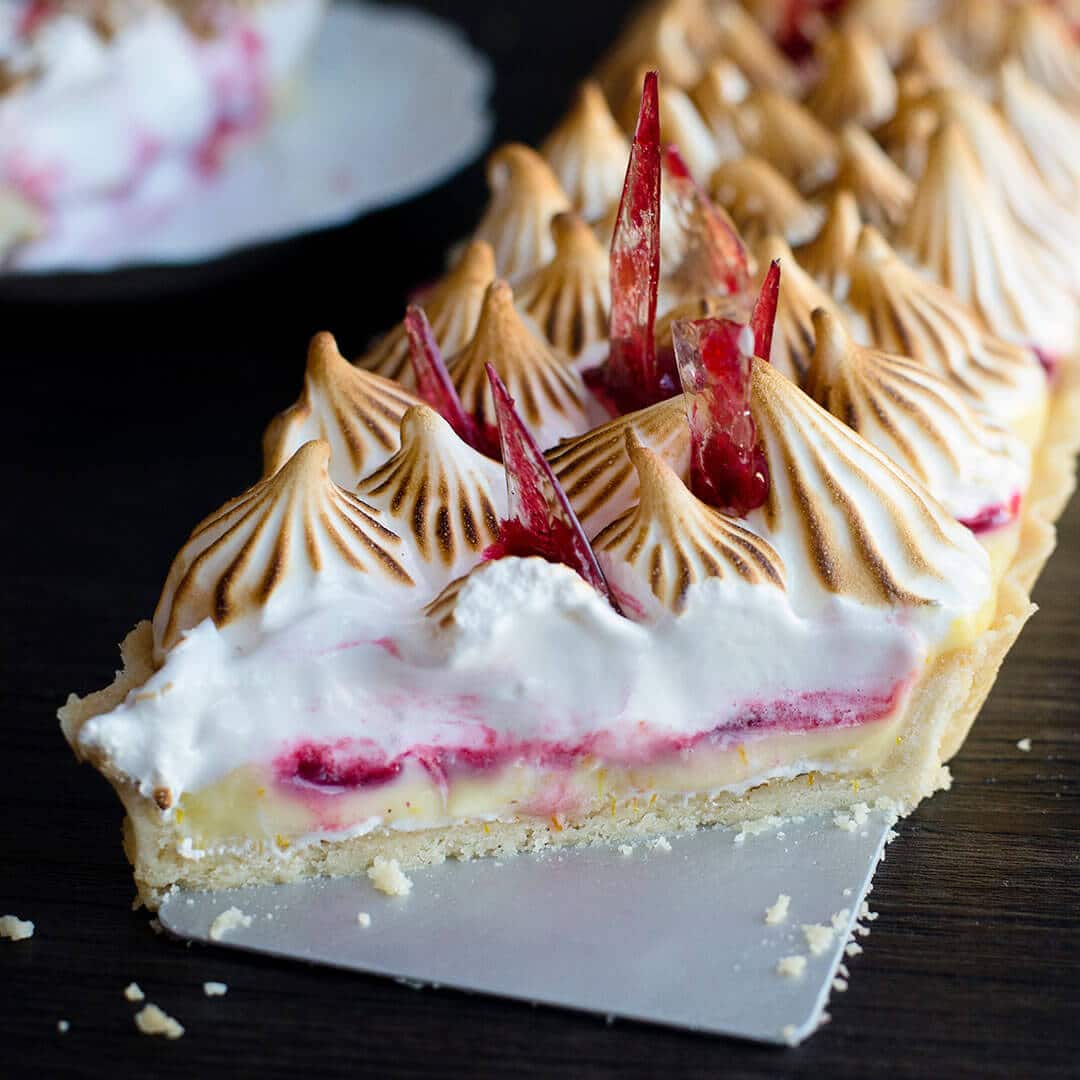
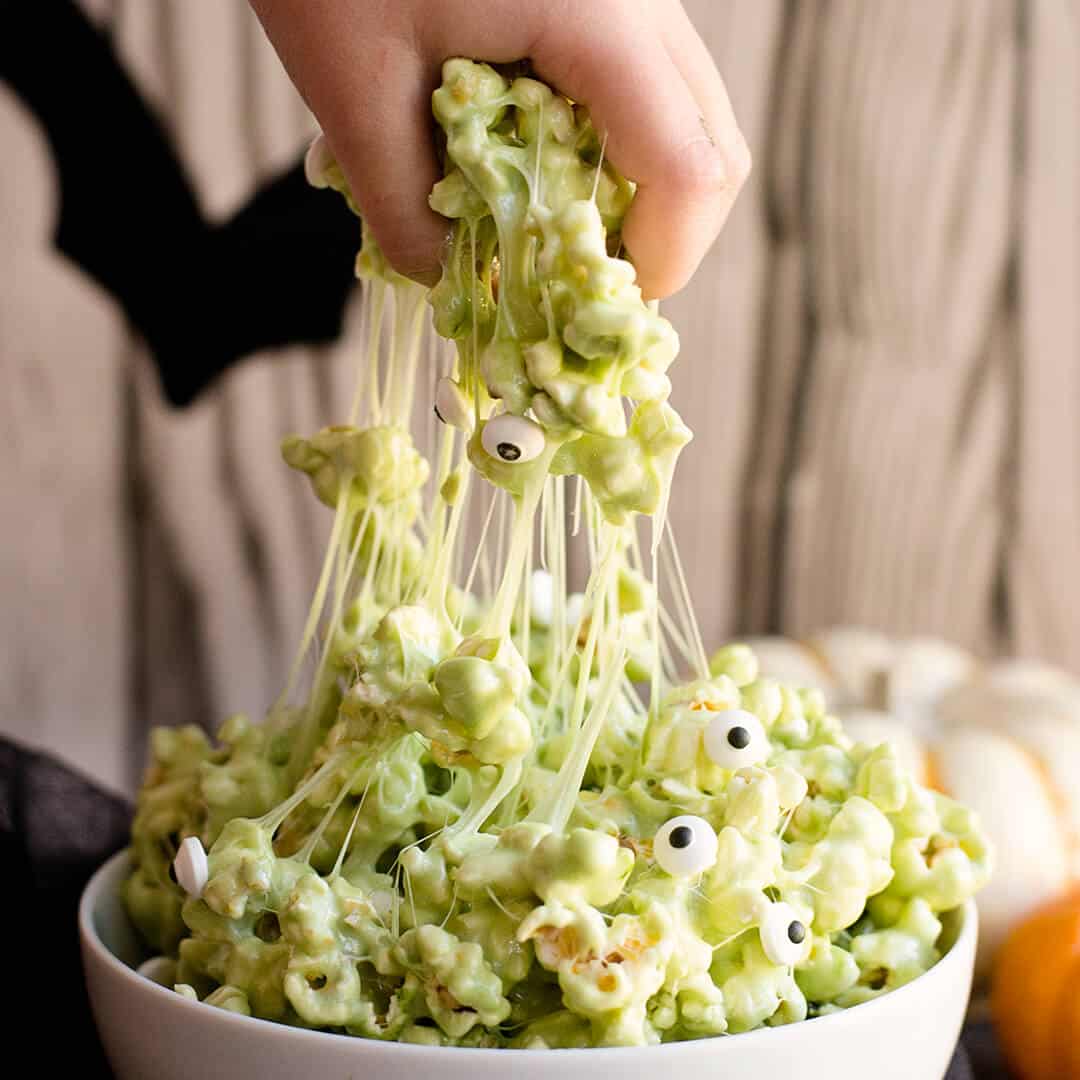
Bloody Brain Donuts | Charred Blood Orange Tart | Slime Popcorn
Connect with Ashlee Marie Online!
If you’re on desktop, a video tutorial should be auto-playing for you. You can find all my cooking show style recipe videos on YouTube, or my short recipe videos on Facebook Watch, or my Facebook Page, or right here on our website with their corresponding recipes.
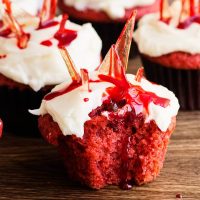
Edible Glass Shard Bloody Red Velvet cupcakes recipe
Ingredients
Red velvet cupcakes
- 2 1/2 C Cake Flour
- 1 1/2 C granulated sugar
- 1 tsp baking soda
- 1 Tbsp unsweetened cocoa powder
- 1 tsp salt
- 2 lrg eggs
- 1 1/2 C vegetable oil
- 1 C buttermilk
- 1 tsp vanilla
- 1 tsp distilled white vinegar
- 1 tsp red gel dye more if using liquid dye
Cream Cheese Frosting
- 8 oz full fat cream cheese softened
- 4 Tbsp butter
- 4 C powdered sugar
- 1 tsp vanilla
Sugar Glass
- 1 cup granulated sugar
- 1/2 cup water
- 1/3 light corn syrup
Simple Blood
- light corn syrup
- red gel dye
- unsweetened cocoa powder
Instructions
Red Velvet Cupcakes
- Preheat oven to 350 degrees.
- In a medium bowl, add cake flour, sugar, baking soda, cocoa powder, and salt. Whisk to blend.
- Add the eggs, vegetable oil, buttermilk, vanilla, and vinegar.
- Beat on low speed until well blended.
- Add the food gel 1/2 tsp at a time until it the color is to your liking. Beat until smooth, about 2 minutes.
- Scoop into cupcake tin and bake around 18-20 mins
- let cool
Cream Cheese Frosting
- beat the butter and cream cheese add the vanilla and beat
- beat the butter and cream cheese
- add the vanilla and beat
- add the powdered sugar and beat
- pipe onto cupcakes
Sugar Glass
- boil the sugar, water and syrup until it reaches 300 degrees on a candy thermometer
- pour onto a silpat mat in a pan, let cool until hard
- shatter in shards and place in cupcakes
Simple Blood
- add red dye until your happy with the color, add a little cocoa to give the color more depth
- drizzle onto the cupcakes and sugar glass
Video
Nutrition
")


Barbara Karr
How disgustingly wonderful some of these are. Sure to be a hit with the kids. They do to the kid in me! Keep ghouling !! Barb Karr
Ashlee
Thank you so much!
Debra
Hi Ashley Marie, This recipe sounds great. But…You don’t have the flour listed in the recipe. I’m sure its just an error, but it would be great if you would fix it so I can make these for Halloween
Also, the picture of the cupcakes doesn’t seem to be working, at least not on my devices. I love your recipies. Keep up the great work!!!!
Ashlee
fixed! thx for letting me know. Allrecipes asked me to get the recipe up before we went live, but I havn’t taken pictures yet, plan to make them Monday with my kids (day off school) and take pictures pronto!
Pat
Perfect for Helloween wedding! I’d love to make the same! Me and my fiance are now looking for bradford catering service to make an order for cupcakes!
Ashlee Marie
very fun! I hope you have a fun halloween wedding
Regina
I don’t have a candy thermometer, is it absolutely necessary?
Ashlee Marie
for candy making like this yes. You need some kind of thermometer, you can use something like a Thermapen, but then your having to put it in and out constantly so I prefer a candy thermometer since it sits in the candy mixture and you an constantly monitor the temp.