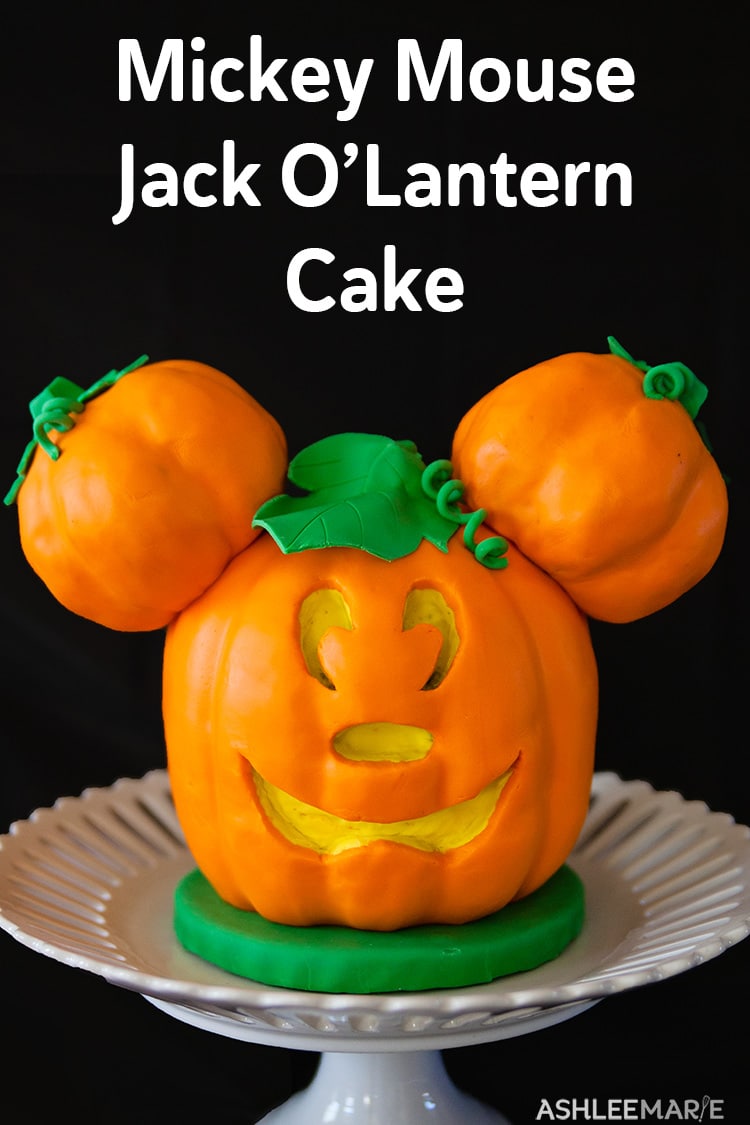
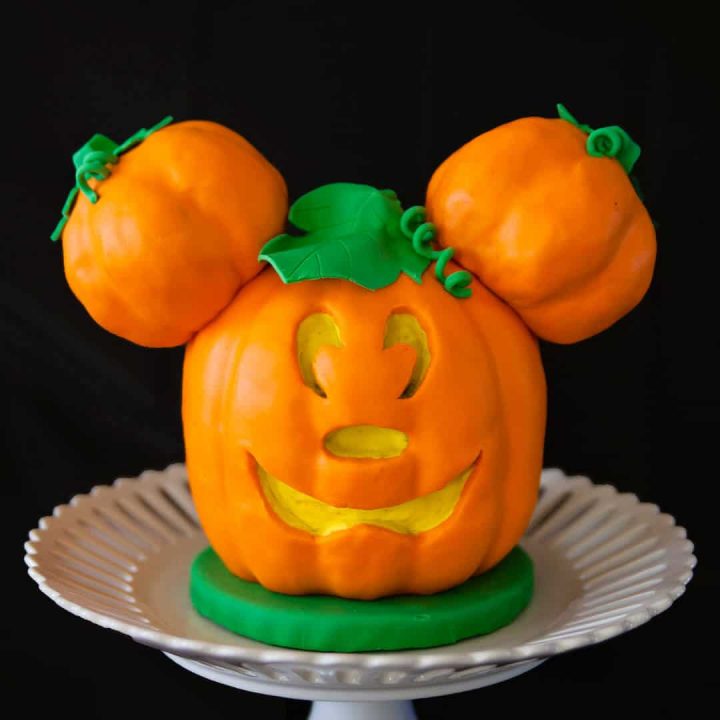
Cute, charming and simple, this grinning Mickey Mouse Jack o’Lantern cake is sure to delight any Disney fans at your Halloween party.
Creating this Disney’s Mickey Mouse Jack O Lantern Cake
My sister and her family goes to Halloween Time at Disneyland every other year so it wasn’t a huge surprise with her fall birthday daughter wanted a Halloween Time themed Birthday party.
So OBVIOUSLY we had to create the Mickey Mouse Jack O Lantern in cake form. It is actually a SUPER easy cake to create, I just went over one afternoon and knocked it out in a few hours.
You can make it out of any cake flavor you like as long as the cake is nice and dense and good for carving – I typically just use my Chocolate cake as it’s tried and true and everyone loves it.
This Halloween Cake can be used for any fall Disney party or Halloween Party. You could also use these same technique for creating any jack o lantern cake.
Just take me to the Mickey Mouse Jack o’Lantern tutorial already!
If you’d rather skip my tips and tricks for cake carving, along with links to other themed cakes and get straight to this delicious Jack o’Lantern cake tutorial – simply scroll to the bottom of the page where you can find the printable tutorial card with the video tutorial.
Tips for making the Perfect Mickey Mouse Jack o’Lantern cake
– Start with a dense cake – these are the best for carving. My Chocolate cake is amazing, or any pound cake works too. A fluffy cake breaks apart too easily.
– Ganache is my favorite frosting for carved cakes as well as round cakes. You don’t want the layers to be slippery at all with a round cake and ganache firms up and tastes amazing (it’s basically truffle).
– Also ganache holds the shape of the carving really well to and doesn’t get squished out of shape under the heavy fondant.
– Now my carved pumpkin cake is more uneven carving, with large and small sections like a real pumpkin – but for this cake you want to keep the sections as even as possible to match the Mickey Pumpkin.
– Carve the face and add the yellow fondant before covering the cake with fondant – the reason for this is that when you layer the orange fondant over the cake and cut away the orange will still be on the outside as it would be with a real pumpkin.
– If you cover it with the orange fondant first then cut the face and add the yellow the yellow will be too prominent instead of being hidden under the final layer.
– When you start cutting away the orange start with a toothpick to find the center first, then cut from there – make sure you don’t cut too deep or too far – go slow!
– For the pumpkin ears you CAN use cake but they will be heavy and will be hard to keep in place – using a small batch of rice krispies will be easy to shape and light enough that they will stay in place well.
– I don’t add as much cereal as the basic recipe calls for to keep it more sticky and hold together better.
– To make the pumpkin stem look more realistic hold about 15 toothpicks together and stab the end of the stem with them – quick and easy and a more realistic finish.
To carve this Jack o’Lantern Cake you’ll need:
- One 6 inch ball Cake (here are the ball cake pans) plus a 2×6 inch cake (I like this fat daddio pan) – a good carving cake recipe
- Ganache
- Small batch Rice Krispies
- Fondant: yellow, orange, and green
- Serrated Carving knife and small sharp knife
- Small frosting spatulas
- Fondant rolling pin
- Fondant mat
- Fondant smoothers
- Fondant tools – I like these plastic ones as well as these flexible ones
- Bamboo skewers
Mickey Mouse Jack o’Lantern Cake
If you love these cake carving as much as I do, I’d love a 5 star review. Be sure to share on social media and tag me if you make it @ashleemariecakes! If you want to stay updated on new recipes sign up for my newsletter and join my Facebook Group!
If you love this Mickey Mouse Cake you’ll love these other fun themed cakes!
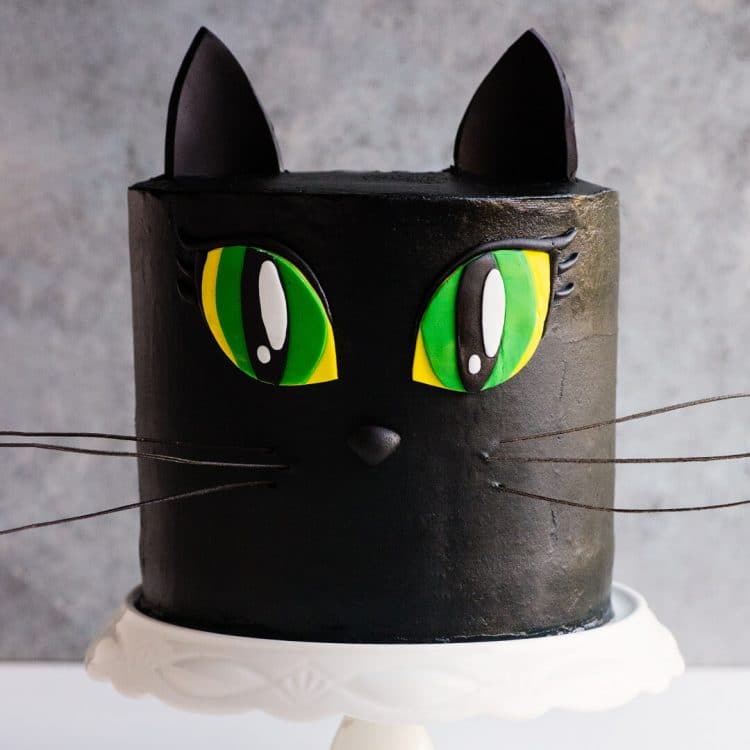
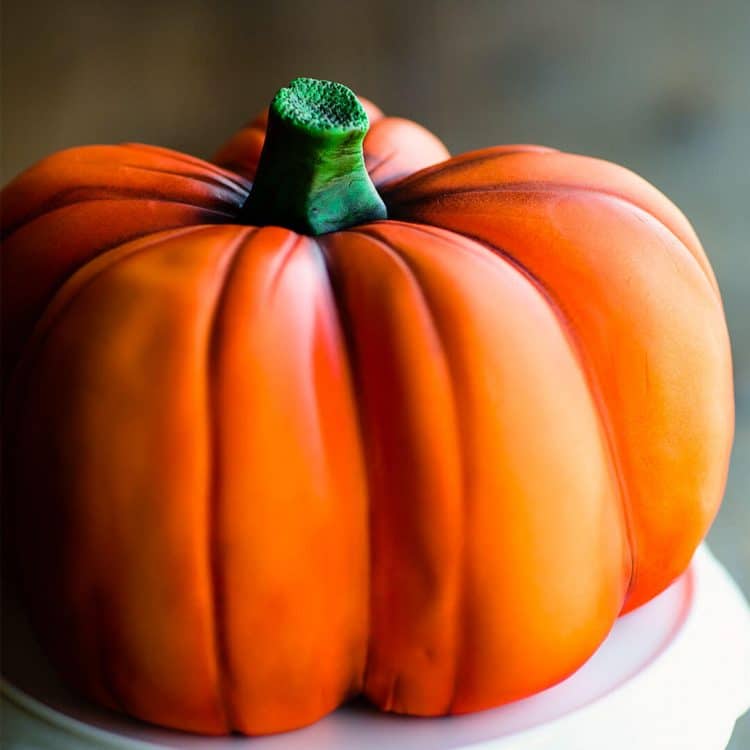
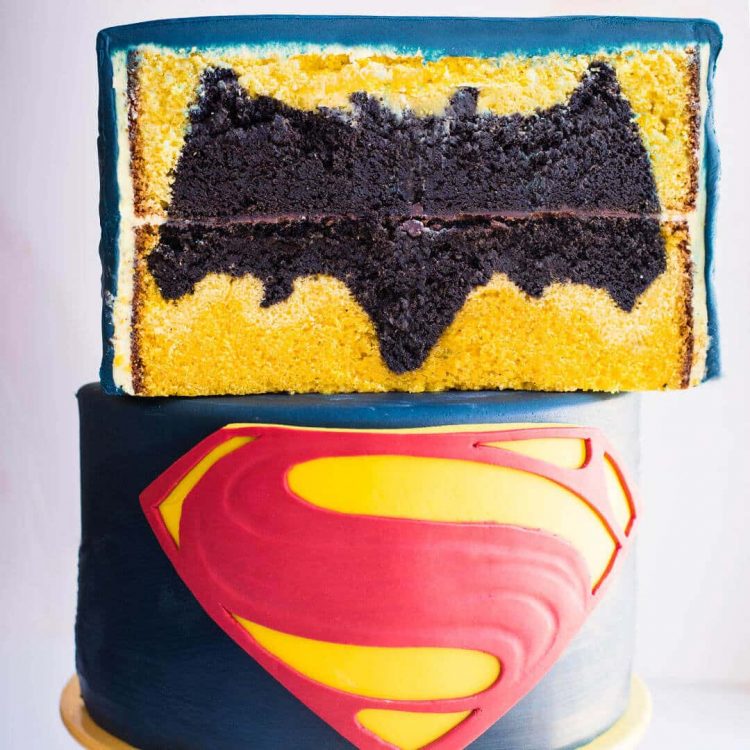
Black Cat Cake | Realistic Pumpkin Cake | Batman vs Superman Cake
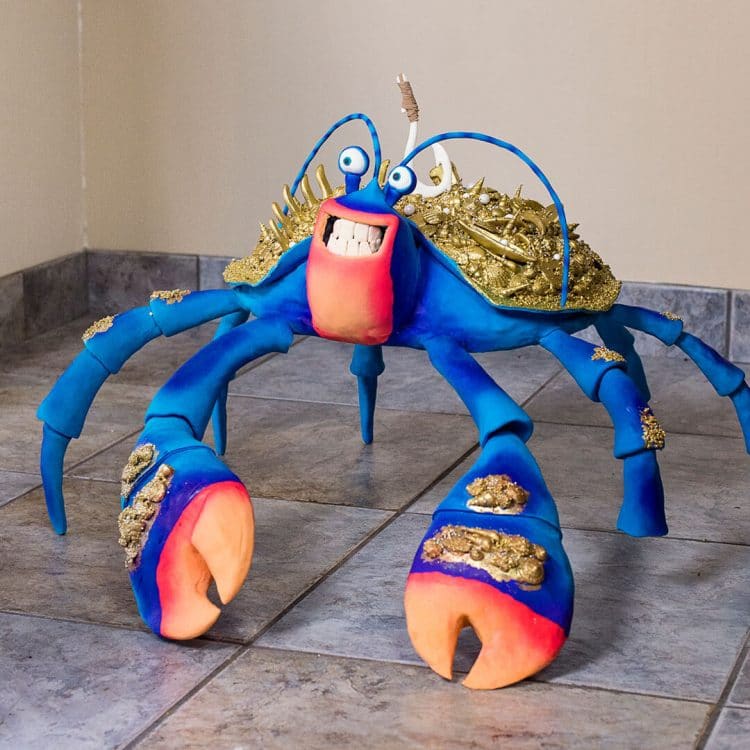
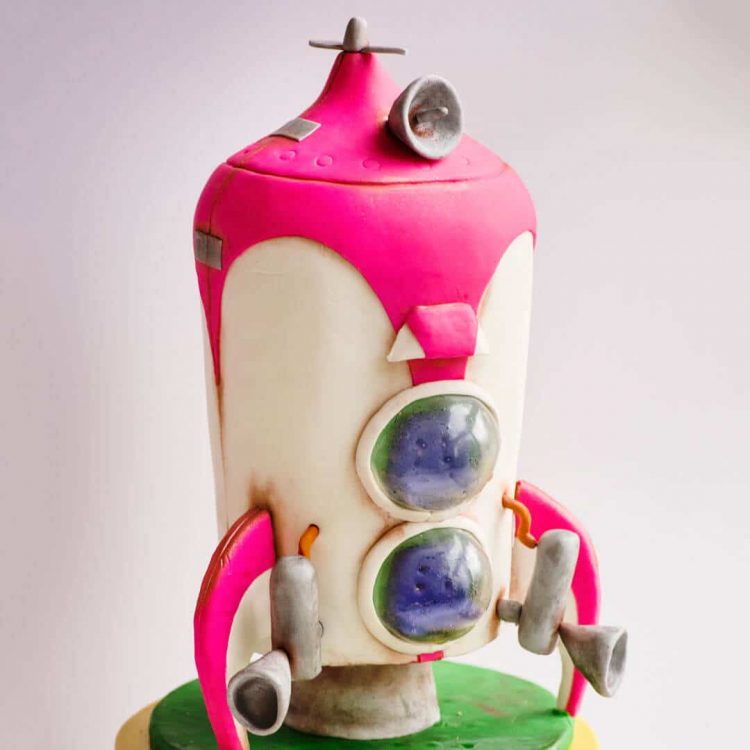
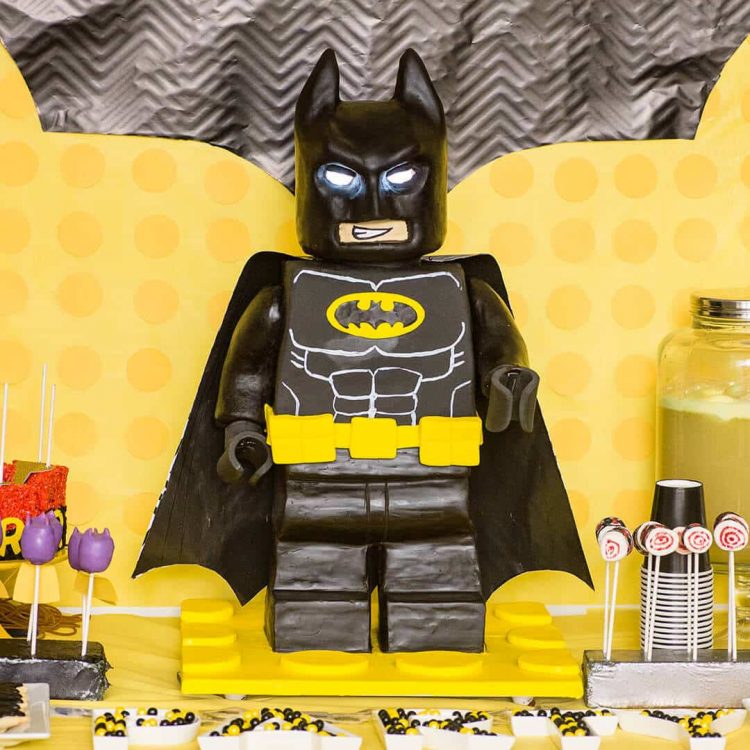
Tamatoa Cake | Pikmin Spaceship Cake | Standing LEGO Batman Cake
Connect with Ashlee Marie Online!
To watch me carve and decorate the cake live play the video in the card below. You can find all my cooking show style recipe videos on YouTube, or my short recipe videos on Facebook Watch, or my Facebook Page, or right here on our website with their corresponding recipes.
Mickey Mouse Jack o'Lantern Cake
As easy as it is charming, this Disney Mickey Mouse Jack o'Lantern makes for the perfect centerpiece
Materials
- Cake - 6 inch ball pans and a 2x6 inch round
- Ganache
- half batch of Rice Krispies
- Yellow Fondant
- Orange Fondant
- Green Fondant
Tools
- Carving knife
- Small frosting spatula
- Fondant rolling pin
- Fondant mat
- Bamboo skewers
Instructions
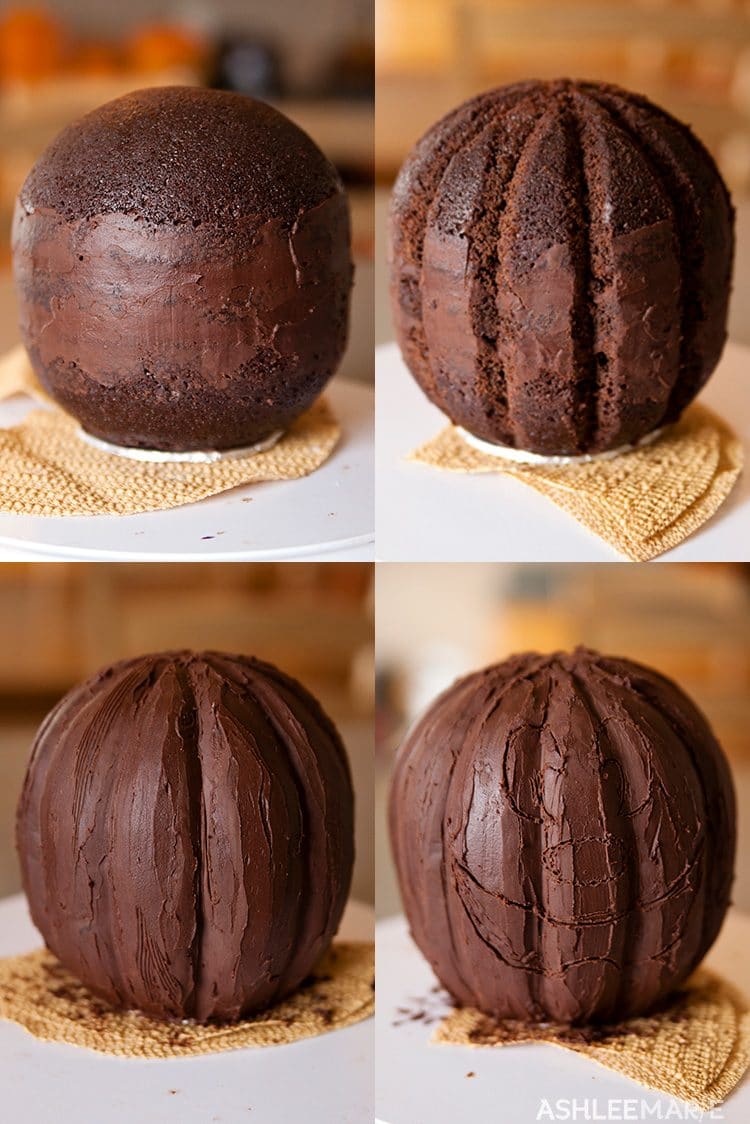
- Level the ball pan halves and the 6 inch round.
- Cut a small 3 inch section off one of the rounds - this will be your bottom - use ganache to stick it to a little 3 inch cake round.
- Stick all the layers together with Ganache - it's delicious and is a great "glue" for cake decorating.
- Then I carved vertical lines all around the cake from the center of the top down to the bottom. They don't have to be perfectly spaced, but I tried to make them mostly even Since the Mickey head is.
- Then Add the ganache frosting and make sure to get all the deep cracks and keep it smooth. A small tapered frosting spatula works great for these deep crevices.
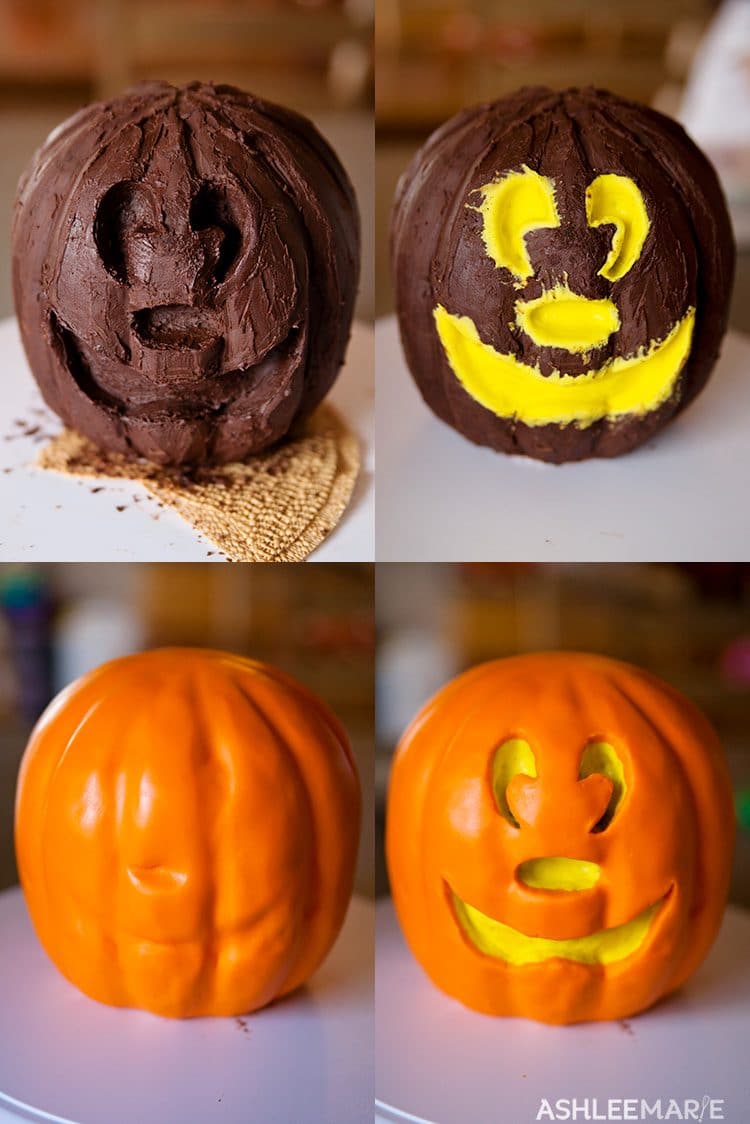
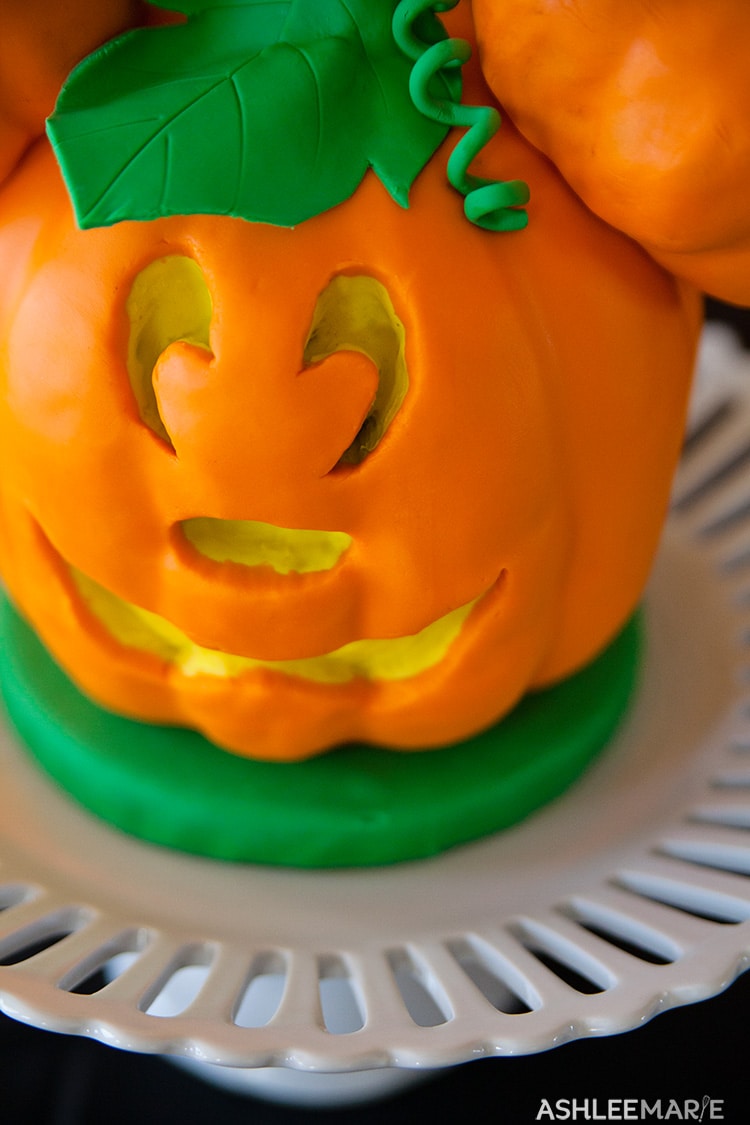
- Once the Ganache sets (it won't take long if your cake layers are frozen) mark out where you want the Mickey Face to be. I eyeballed it from a picture of the actual jack o lantern, but if you have access to a printer you can always print it out and use it as a guide. By using a toothpick to mark out the face it's easy to rub it out and start over if you make a mistake.
- Cut about an 1/2 inch deep, covering the new raw edges with more ganache (tapered spatula again).
- Roll out some bright yellow fondant and ease it into the face! Make sure to cover the sides too. This is how we're getting our glowing jack o lantern look.
- Now cover the cake with Orange fondant smoothing it all around and down into the cracks.
- Now, using a small, very sharp, knife, carefully cut out the face shapes again. I wanted it took have an orange outside and yellow inside so it looked more like a rind.
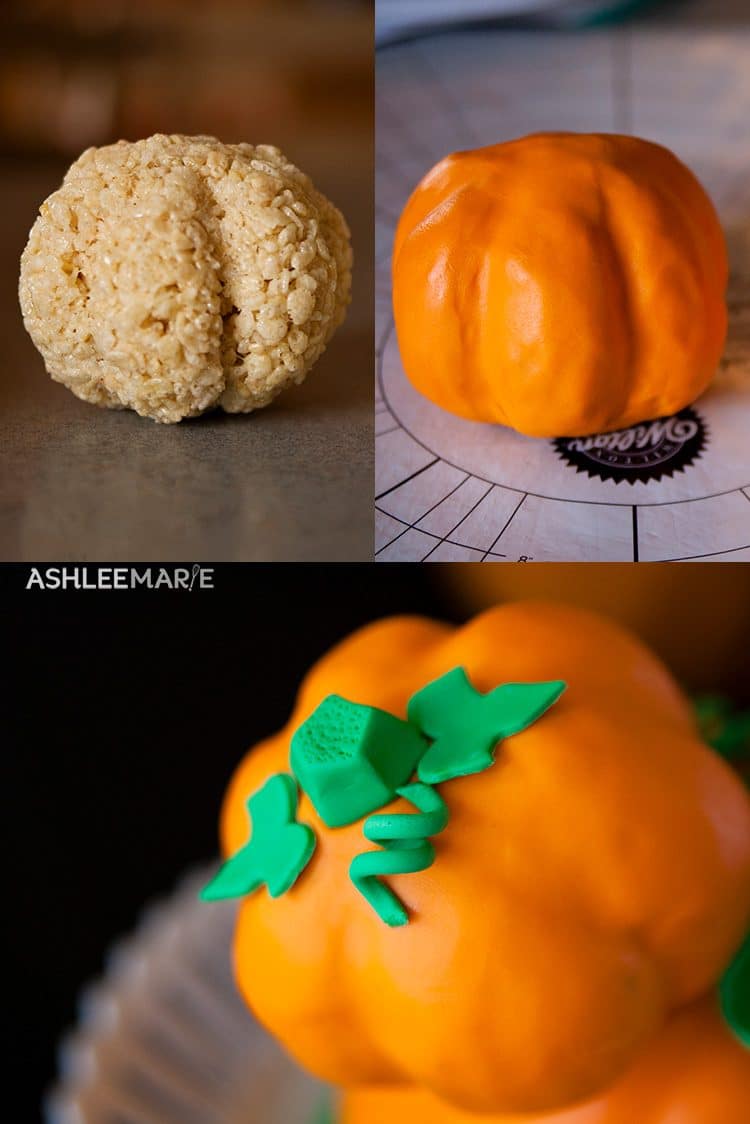
- Take a small batch of rice krispie treats and divide it - shape both halves into balls, and then created lines and made them into pumpkin shapes. Try to keep them as even as possible.
- Frost them with the ganache to smooth out the rough rice crispy edges. Then I covered them with the same orange fondant and smoothed it around and into the cracks.
- To stick the ears onto the cake I used long bamboo skewers. I first held the ears in place then jabbed the skewers into the ears, through the head and into the cardboard base to really hold it. I used 2 skewers in each just for safety.
- Then with Green Fondant add a stubby stem with leaves and some curls (fondant dried around a dowel). This will cover up the holes the skewers made too.
- I also dimpled the top of the stem with some toothpicks so it looked more like a rough stem end of a pumpkin!
- Now add a large stem, more curls and a huge leaf on top! I rolled up a paper towel and stuck it between the pumpkin and leaf and let it dry a few hours then took out the paper towel!!
")


Tawna
That is the cutest cake! I love it!
Ashlee
awww thank you so much! I loved making it, esp since my sweet niece was watching the whole time!
Yvonne @ TriedandTasty.com
Ohmygoodness – your talent blows me away. This is absolutely adorable – great job… now gimme a bite!!
Ashlee
thanks so much Yvonne! I love making these super fun cakes, makes me so happy! (and I ALWAYS have cake so come on by anytime!)
Becky @ Project Domestication
This looks just like a Christmas tree ornament i have. I love it. It looks so cute and delicious! 🙂
Ashlee
yay!!!! It’s supposed to look just like the giant jack olantern of mickey they have on display at the park, that I’m sure your ornament is created after!
Alexis @ We Like to Learn as We Go
Wow this is amazing! My daughter loves Mickey Mouse right now. I just pinned it!
Ashlee
My little guy does too! he loved this one too! And it’s really easy, esp for a carved cake!