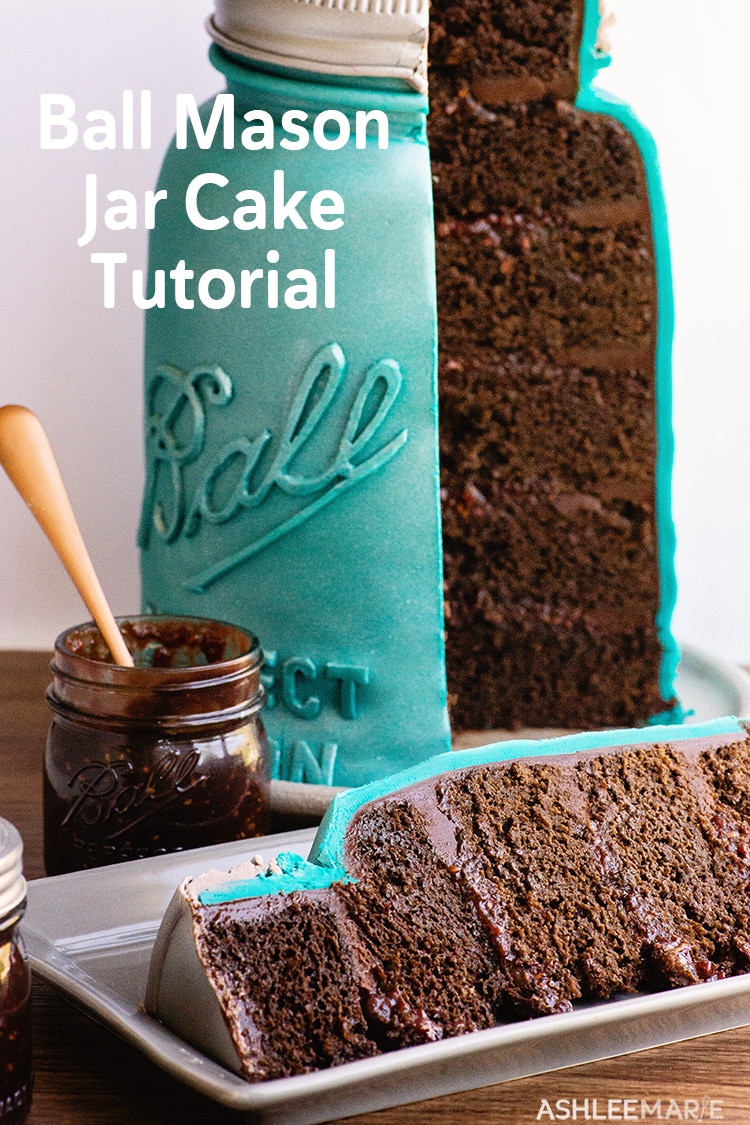
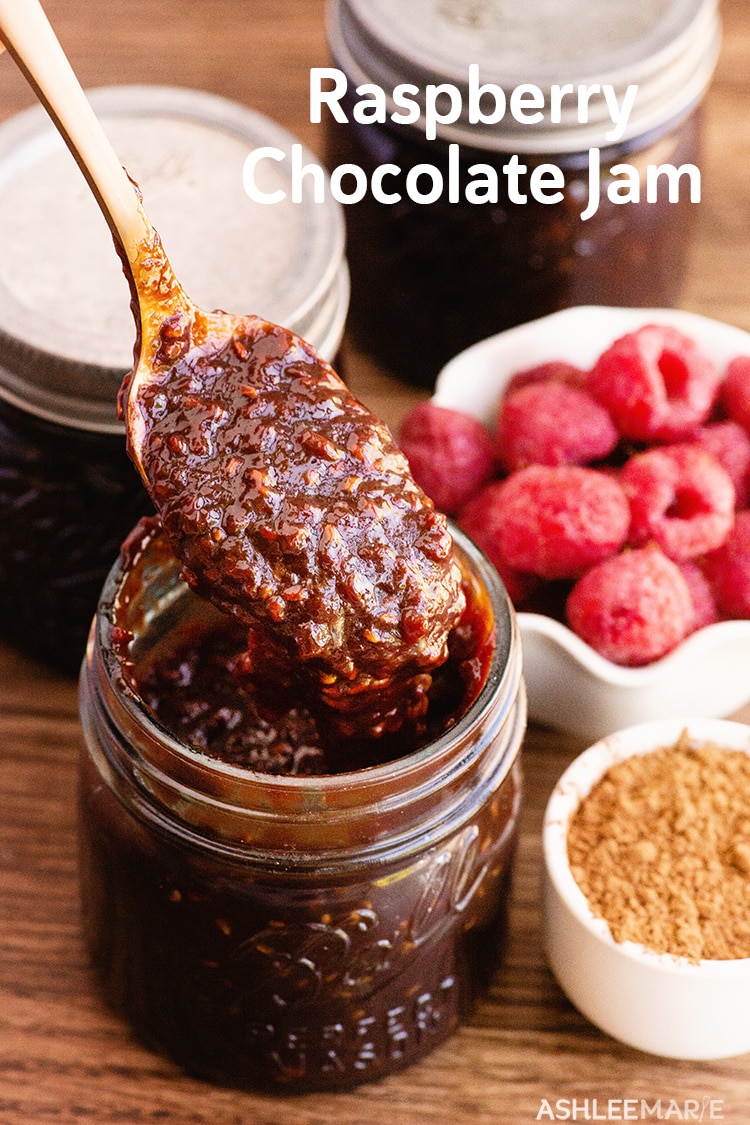
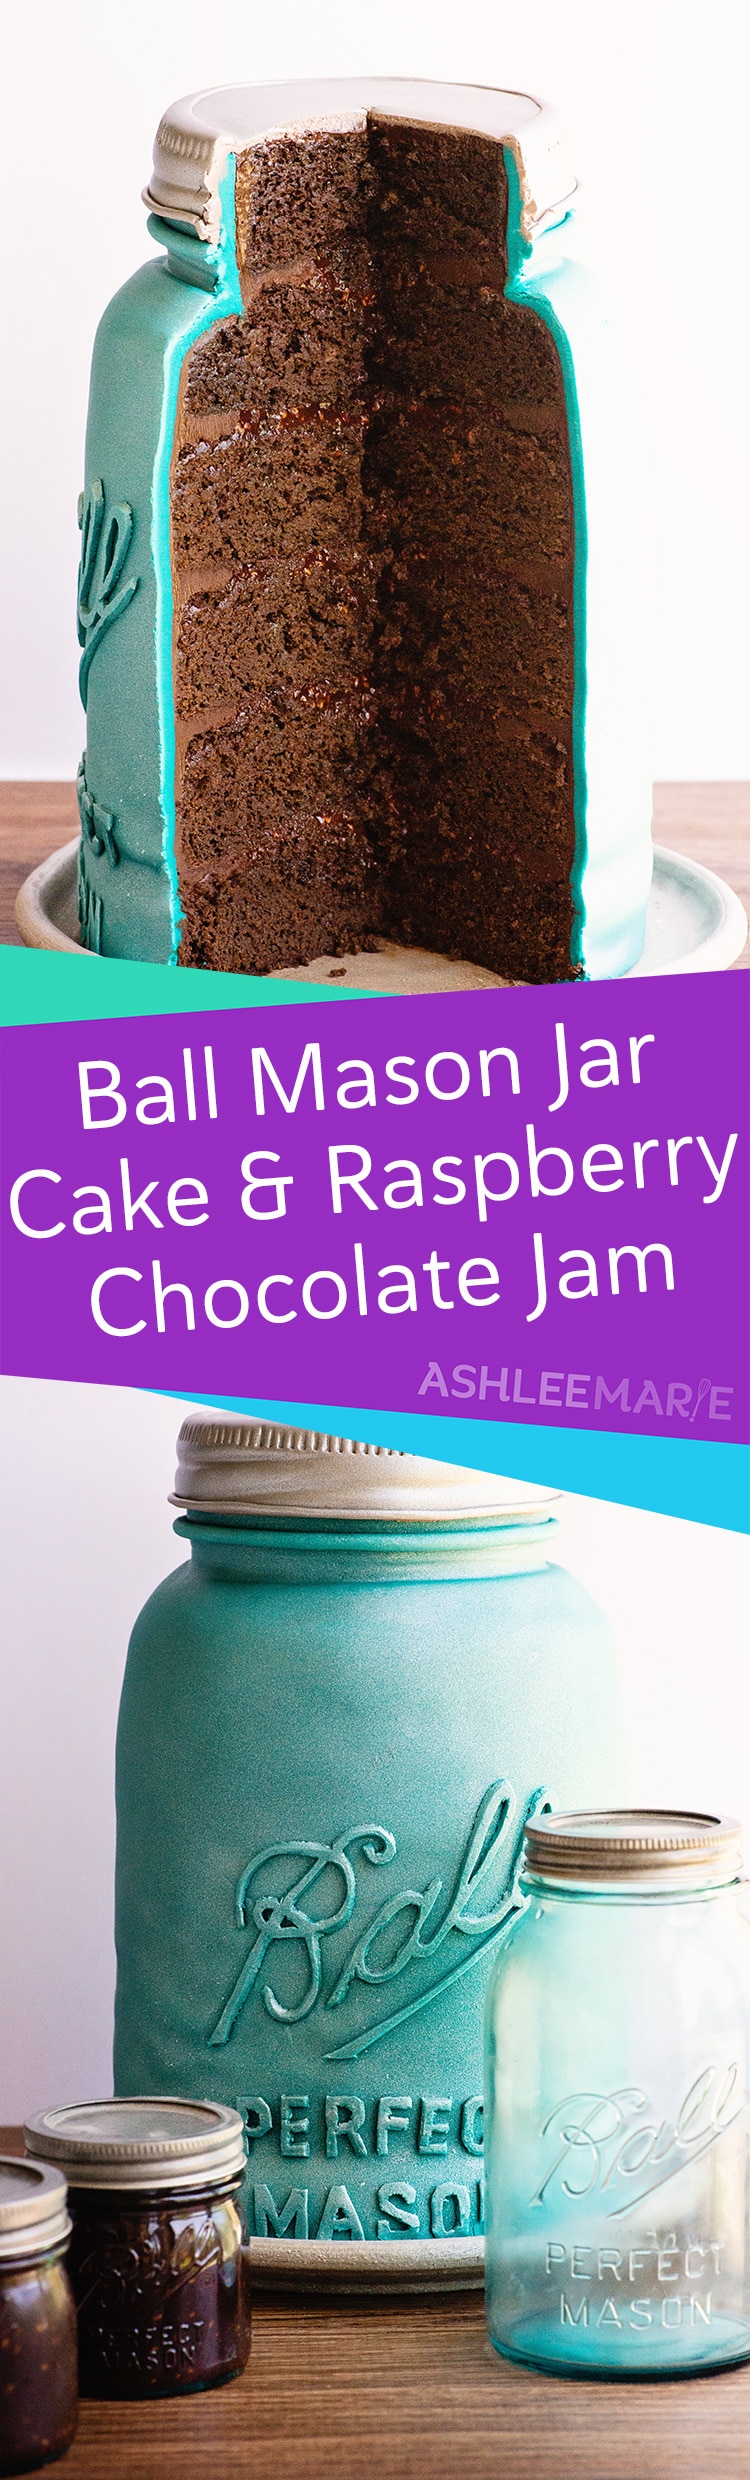
It couldn’t be easier to make homemade chocolate raspberry jam recipe with the Ball® Home Canning water bath method, tips and tricks. And this jam makes the perfect filling for this carved Ball® Mason Jar shaped fondant cake. This is a sponsored post but all opinions are 100% my own.
How I planned this cake and recipe
I actually made a carved mason jar cake years ago for a client and it turned out so good I’ve always wanted to remake it and film it. So when Ball® Home Canning reached out to work together I knew exactly what I wanted to make. And it turned out even better this time around!
To make the mason jar cake even more authentic I canned my own Jam to fill it with! How many of you grew up canning? Honestly I never canned growing up but as an adult a friend invited me over and we spent a day canning salsa and it was SO much fun (and seriously delicious)!
This was the first time I canned without another friend around so I needed to get some supplies. I ran to Target and got the Preserving starter kit – it has all the supplies I needed to get started. It has a the rack, jar lifter, funnel, headspace/bubble remover tool and even pectin and jars! literally everything you need!! It even has a coupon! There are always great deals in-store at target and on Ibotta.
And my kids were so excited to learn to can! They love cooking with me so they had so much fun trying out a ton of jam recipes. After we finished they all picked some local friends to take jars of jam to. They were seriously so proud to go deliver all their homemade jam! After testing a few recipes we decided to go with this Raspberry Chocolate Jam for the filling of this Chocolate cake.

I like water bath canning because it is SO dang easy and you don’t need to mess with a pressure cooker to have amazing food. Esp with trying it out for the first time or letting kids help. But I’ve done both successfully with the help of the Ball® website and all their tips. My kids were surprised at just how easy it was and I think we have a new favorite tradition!
Before I start working with a brand I love learning all I fan about them. Did you know that there were Five Ball Brothers that started manufacturing the glass jars back in 1884! I grew up working in a family business so I loved this! This year Ball® Home Canning is celebrating 135 years of preserving and have brought back the vintage aqua jars, and they are seriously so pretty!
Even cooler – the Ball Brothers donated the land and buildings from their first plant to a local struggling university in 1918 and that university became Ball State university! Gotta love companies that give back like that.
Just take me to the Chocolate Raspberry Jam Recipe already!
If you’d rather skip my tips and tricks for canning jam, or my instructions for making this cake or links to other raspberry recipes and cake decorating tutorials and get straight to this delicious chocolate raspberry jam recipe – simply scroll to the bottom of the page where you can find the printable recipe card.
Helpful tips for water bath canning
– Prewash the mason jars and check rims to make sure they are smooth so the lids seal properly.
– Preheat the jars in boiling water to before adding the jam, make sure the water is 1-2 inches over the lid of the jar.
– Use a rack on the bottom of the pot so the glass jars won’t break with the direct heat contact.
– Follow the recipe exactly – the sugar, berry and pectin ratio is important as is the boiling time.
– Use plump ripe berries with no bruises, mold spots or leaking.
– Use a ladle to add the jam to the jars so you don’t get any crystallization in the jars by pouring the jam straight from the saucepan.
– If you live at high altitude check this chart to see how much time to add to the canning boiling time.
– Take out the jars and fill them one at a time, to keep the jars in the water nice and warm.
– You can reuse the jars and bands but make sure you get new lids every time you can a new recipe.
– Start the processing time when the water boils, not when you finish adding the jars to the water.
– After boiling the jars let them rest in the warm water for about 5 mins before pulling them out, and placing them on a towel or cutting board as a buffer between the temperate difference between the jars and the counter.
– Let the jars rest for 12-24 hours – then test to see if they sealed. If they didn’t seal put them into the fridge and use them right away. If they did seal they’ll be good in a cool, dark, dry place for 18 months.

How to make this Mason Jar Cake
– Start by measuring the original jar, width, height and all unique measurements as the original. Decide what cake size you want to start with (I used 7 inch cakes) then divide 7 inches by the jar base size. Then use that number to times all the other jar measurements you took and this will give you the guide to the larger cake.
– I needed the cake to be 7×12 inches, so I used six 7×2 inch round cakes (I used my dense chocolate cake, 1 1/2 times this recipe) – stack the cakes for the pre carving.
– I used a 5 inch cookie cutter as the guide and cut straight down for the whole 2 inches of the top layer. This is the neck of the jar.
– Use the second cake layer for the rounded top of the jar.
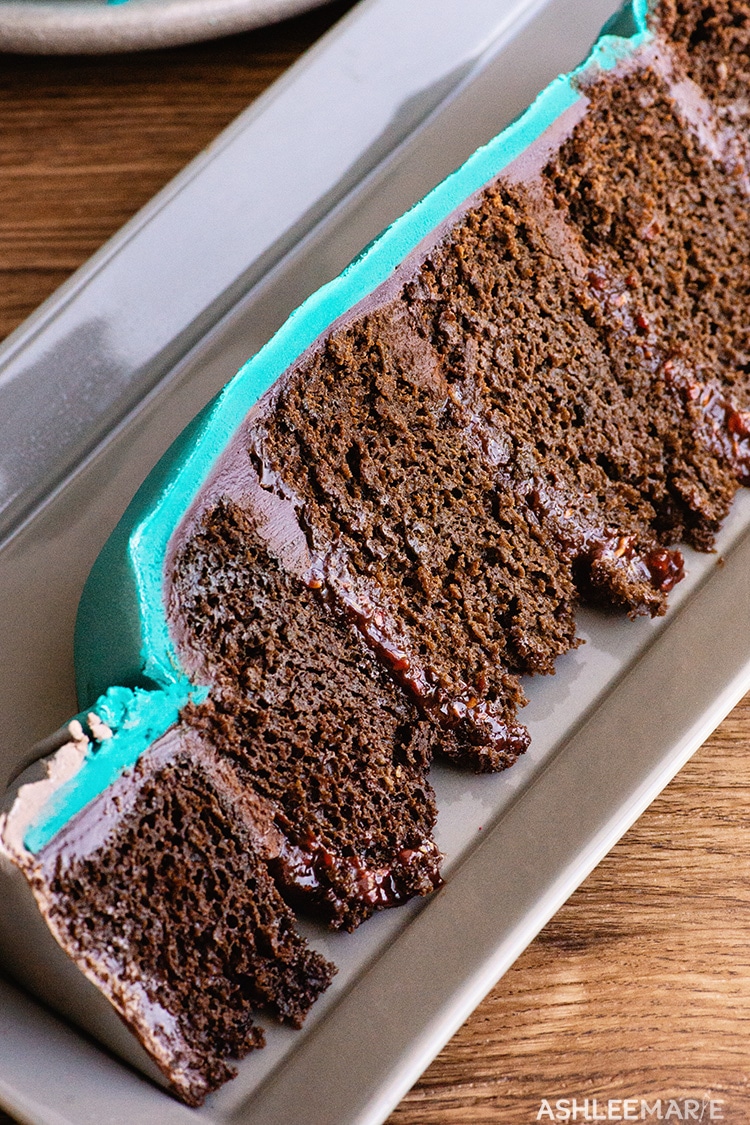
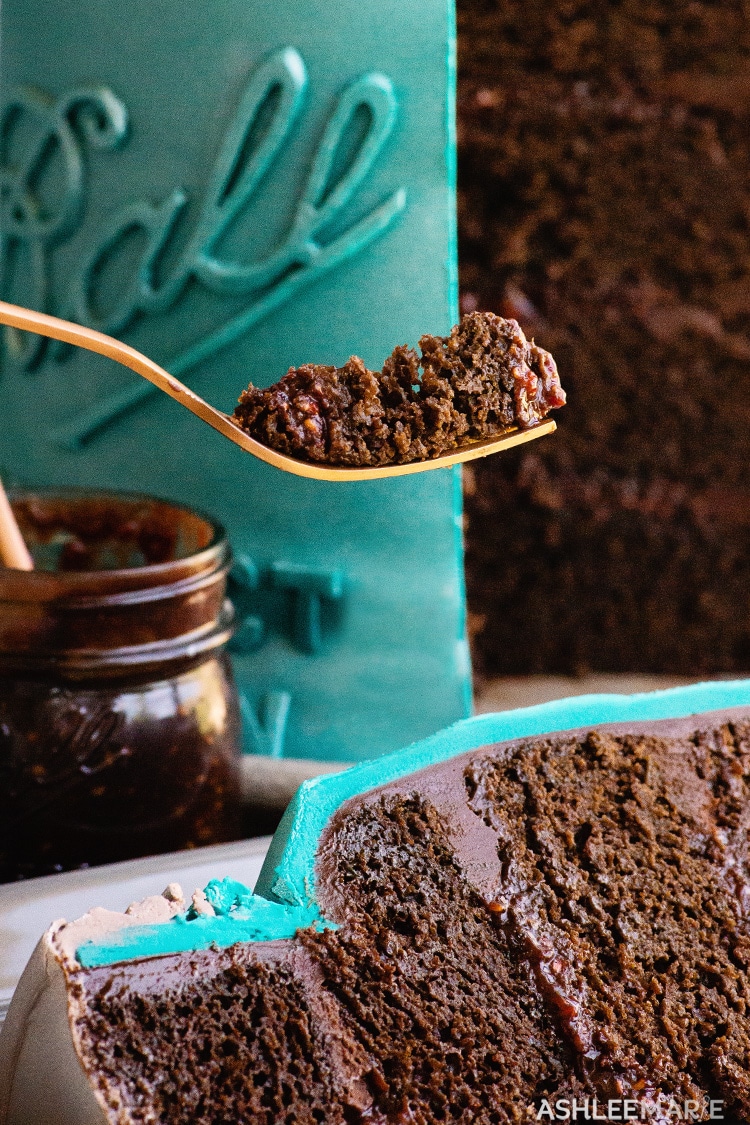
– Use a 2 x 1 (chocolate to cream) ratio for ganache, this is a great frosting recipe. Pipe a dam of the ganache around the inner edge of the cake layer and fill with the premade jam. Stack and repeat.
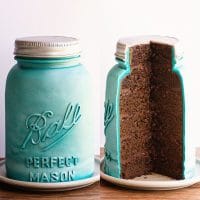
– Compare the jar to the cake and do any more carving that needs to be done then cover the whole cake with ganache, and smooth.
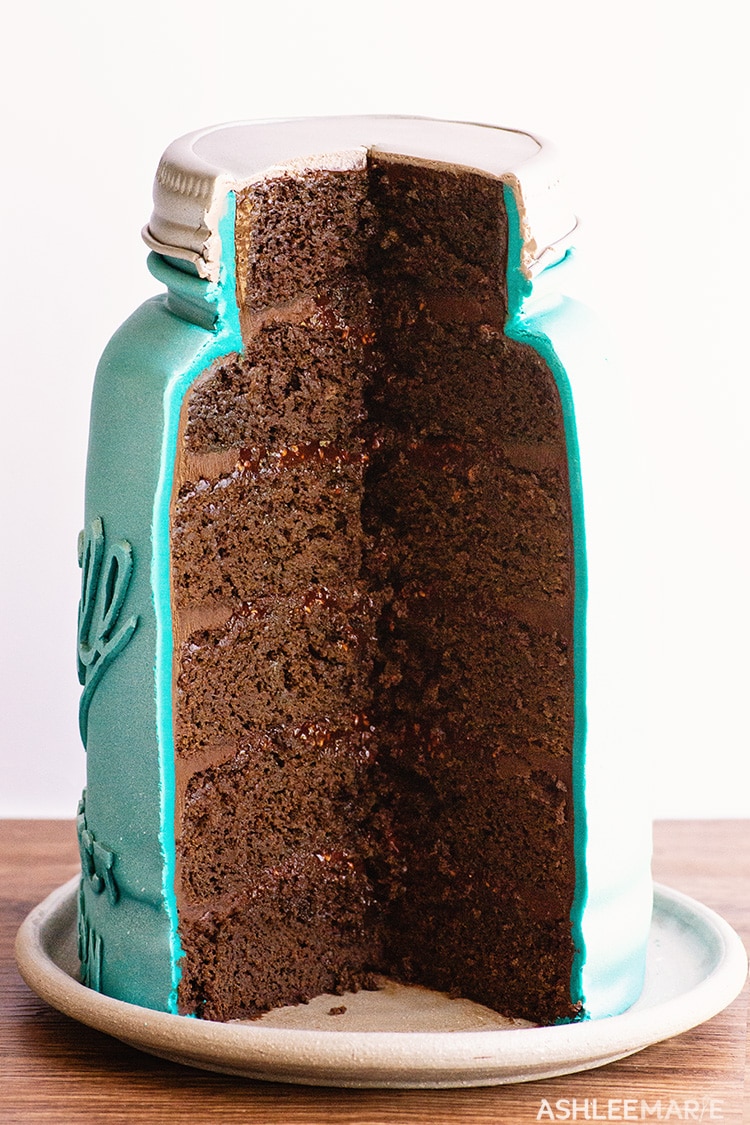
– Mix the blue and yellow fondant together to get aqua, roll out and wrap around the cake. Use a knife to cut the fondant clean and smooth in the back and press the edges together and smooth.
– Roll out a 9 inch circle of grey fondant. Paint some clear alcohol onto the top 1 inch of the neck of the jar and add the fondant circle to the top. Smooth the top and side of the lid and cut it evenly around the edge. Use a fondant tool to add the screw top markings, use a fork to make the teeth marks and finally use an extruder to create the thin grey rope along the bottom of the band.
– Use the extruder to twist out a larger aqua rope and attach it to the center of the neck of the jar.
– Roll out a thin layer of the aqua fondant on a fondant mat or piece of paper. Print off a backwards logo and place it on the fondant. Use the back of a knife or something semi sharp to mark around the lettering, pressing hard enough through the paper to leave a mark.
– Cut along the lines, being careful around the corners and thin lines of the lettering. Paint with some clear fondant then press against the cake, rubbing lightly to get the letters to stick. Straighten any messed up lettering and allow to dry
– Using an airbrush gun spray the lid with silver airbrush paint and the rest of the jar with a pearl spray.
Cake Decorating tools for making this carved cake
- serrated knife
- chocolate cake – 6 seven inch round cakes (1 1/2 this chocolate cake recipe)
- seven inch cake pans
- heating cores
- cake strips
- 3 lbs chocolate ganache
- Fondant/Gumpaste extruder
- fondant (blue, yellow, white and black)
- air brush gun
- air brush colors (silver, pearl)
- fondant mat
- fondant rolling pin
- fondant smoothers
- 5 inch cookie cutter
- fondant sugar shapers
- frosting spatula
Carved Mason Jar cake filled with Chocolate Raspberry Jam recipe and video tutorial
If you love this Jam recipe and cake tutorial as much as I do, I’d love a 5 star review. Be sure to share on social media and tag me if you make it @ashleemariecakes! If you want to stay up to date on new recipes sign up for my newsletter and join my Facebook Group!
If you love Raspberries you’ll love these other Raspberry Recipes!

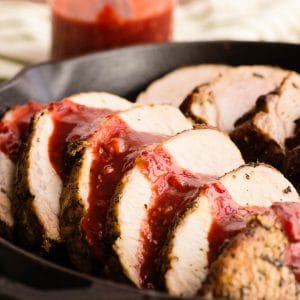
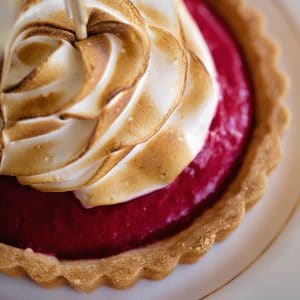
Chocolate Raspberry Macarons | Raspberry Chipotle Pork Loins | Raspberry Curd Tart
If you love Cake Decorating Tutorials you’ll love these other Carved Themed Cakes!
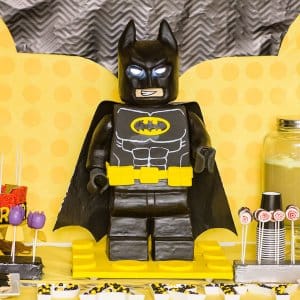
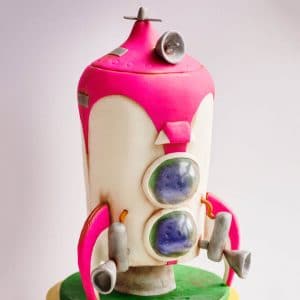

Standing LEGO Batman Cake | Pikmin Spaceship Cake | Harry Potter Snitch Cake
Connect with Ashlee Marie!
To watch me make this Chocolate Raspberry Jam recipe and then make this mason jar cake in detail play the video in the recipe card. You can find all my cooking show style recipe videos on YouTube, or my short recipe videos on Facebook Watch, or my Facebook Page, or right here on our website with their corresponding recipes.
Chocolate Raspberry jam
Ingredients
- 2/3 cups cocoa powder
- 6 Tbsp Ball® Classic Pectin
- 8 cups fresh or frozen raspberries
- 1/4 cup lemon juice
- 4 cups sugar
Instructions
- Prepare the jars – wash with soapy water
- Place the glass jars in a large pot of water with a rack on the bottom – make sure the water is 1-2 inches above the top of the jar
- Bring to a simmer and bring to 180 degrees, keep simmering until ready to use
- Mix the coco powder and Ball® classic pectin together.
- In a flat baking dish mash the raspberries.
- In a stainless steel medium saucepan add the mashed raspberries and lemon juice.
- Add the cocoa/pectin mixture and stir.
- Bring to a boil and add the sugar and stir
- Over high heat bring to a rolling boil that can’t be stirred down and boil hard for 1 min
- Remove from heat.
- One at a time bring out a jar, pouring out the water, and place on a towel.
- Using the funnel fill the jar leaving ¼ inch headspace
- Wipe the jam jar rim and place the lid on top, add the band and adjust to finger tightness.
- Place the jar back into the pot of water and repeat until all the jars are filled
- Bring the water back up to a boil and boil rapidly for 10 mins (remembering to adjust for altitude)
- Turn of heat and let sit for 5 mins
- Remove jars and let sit for 12-24 hours.
- Check lid for seal (if one didn’t seal just place it in the fridge and use it first), and store in a cool dry place for 18 months
- Refrigerate after opening.
Video
Nutrition
Ball® Home Canning has a ton of amazing canning recipes, tips and tricks on their website so check it out! They have everything from canned jams, dressings, pie fillings, meats, veggies, pickles and so much more! You can find them on social media here:
")


Leave a Reply