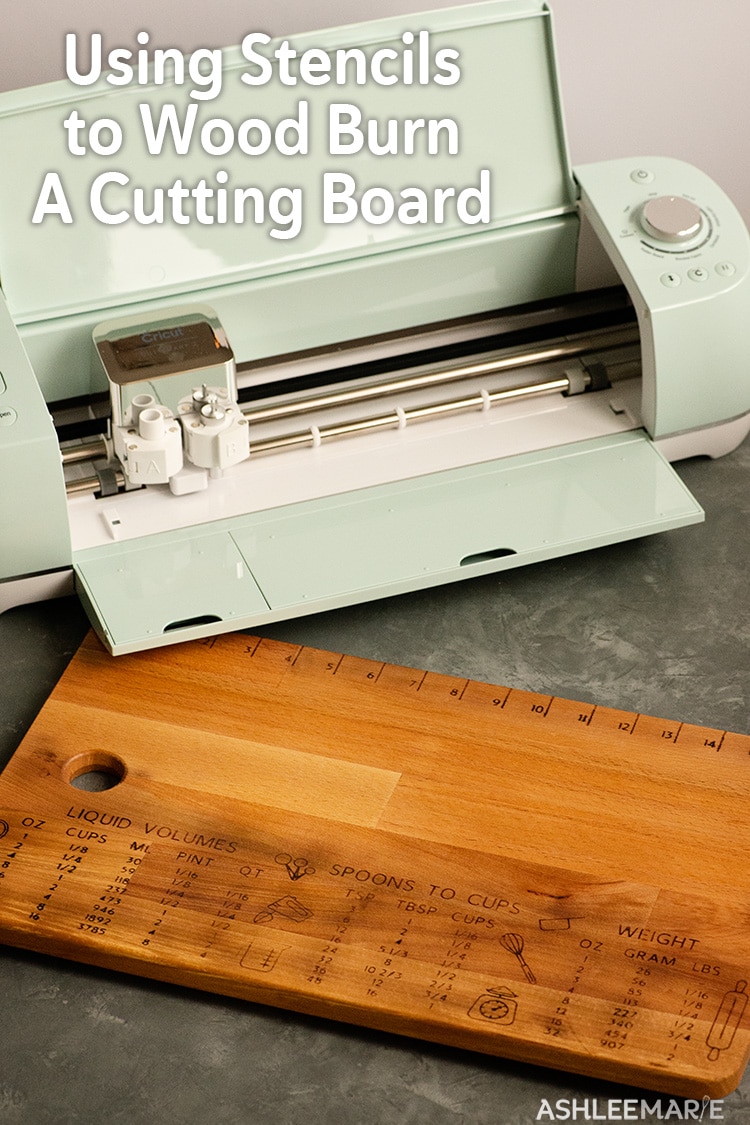
Cut your own kitchen conversion chart stencil to make a quick and easy homemade gift for the food lover in your life!
This is a sponsored post with Cricut but all opinions are 100% my own, I have owned, used and loved my Cricut machines for years.
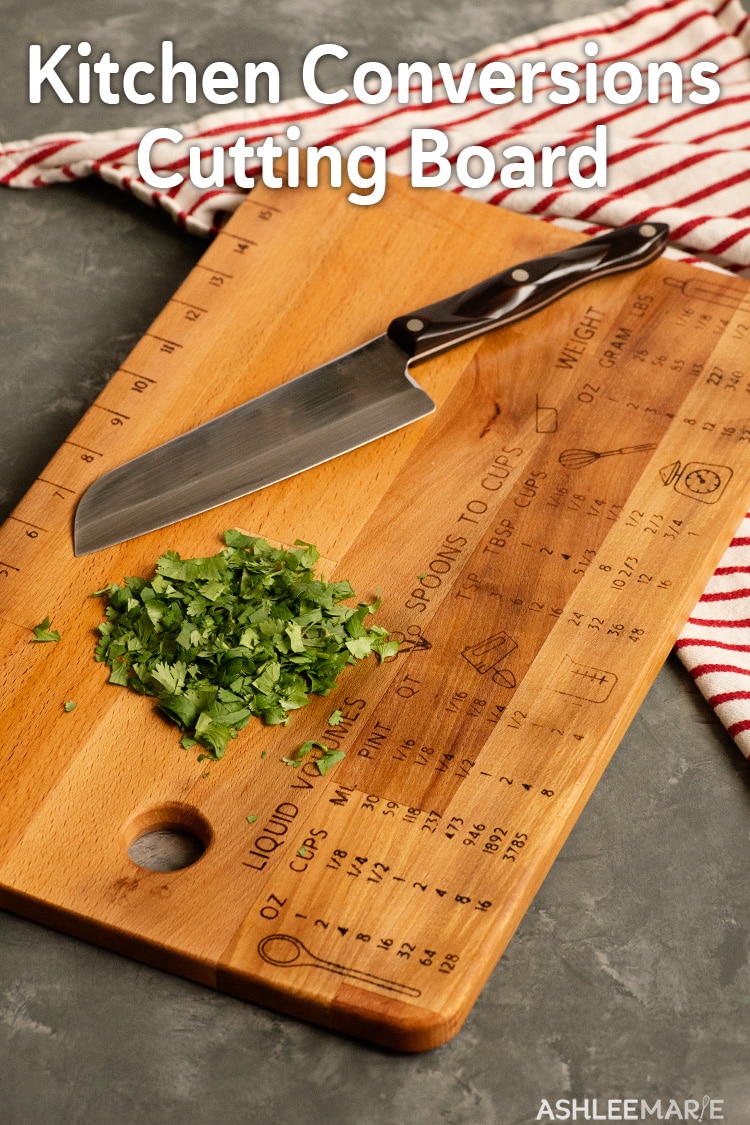
How I created this Kitchen conversion chart personalized cutting board
I love making homemade gifts for the Holidays. Well really for anytime of year. Putting your own thought and time into a gift can really express how much someone means to you.
I have wanted to make a kitchen conversion project for YEARS. And I’ve always thought a personalized cutting board would be a great base for one.
I got some wood burning tools years ago with the idea of making this happen – BUT – I have terrible handwriting, like really really bad.
So the idea sat on the shelf until I saw this wood burning pen! I knew I had to find a way to use it, and soon.
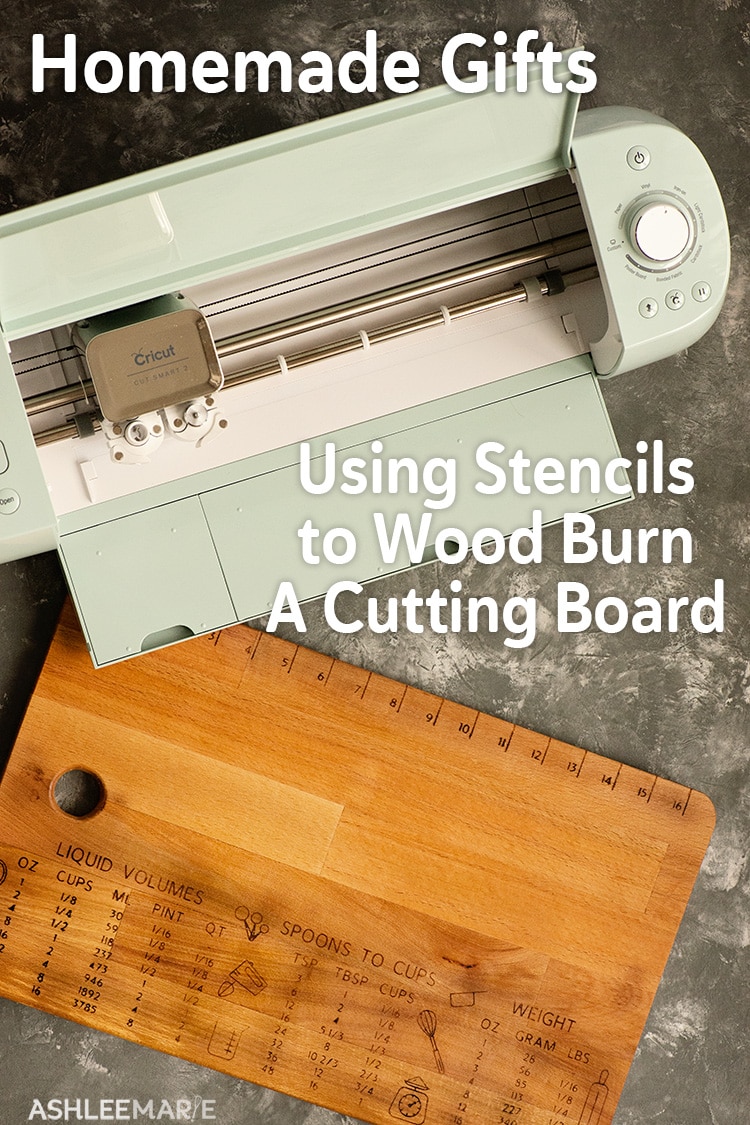
So when Cricut reached out and asked me if I was interested in creating a gift for fellow food lovers everything fell into place!
I had so much fun creating this stencil – and making it so you can adjust it to any font, and any size cutting board (see the video at the end of the post for a detailed tutorial)
With my Cricut making homemade gifts is a cinch. Quick and easy to design, make and give away! What would you make with a cricut?
Just take me to the stencil tutorial already!
If you’d rather skip my tips and tricks for cutting stencils, along with links to other homemade gift ideas and get straight to this printable and video tutorial – simply scroll to the bottom of the page where you can find the printable recipe card.
Tips for using a Cricut to cut a vinyl stencil
- I recommend the removable vinyl for creating stencils – you don’t want the vinyl to be super stuck to your poject
- I like the standard grip mat since the stencil has so many itty bitty small details its good for it to be held down well.
- I ADORE the weeding tool set – esp since there is so much itty bitty weeding in this stencil.
- When your weeding keep some sticky tape next to you to add the little pieces of vinyl too (even using this technic you’ll notice at the end of the video a vinyl O in my hair!) \
- Take your time, don’t rush and be careful not to take off any of the little dots in the center of the numbers (4, 6, 8, 9 and 0)
- When adding the transfer tape start at one side and smooth as you go to prevent bubbles, use a scraper to make sure all the details are stuck
- Move the stencil to your project (cutting board, cabinet door, towel, clip board, etc…) and use the scraper again to help it stick smoothly to the surface.
- peel away the transfer tape – Cricut recommends a 45 degree angle but with all the small details I found that the sharper I pulled away the cleaner everything came away.
Tips for using the wood burning marker
- prep your surface – I sanded with 220 grit sand paper to get it super smooth, take off any previous oil and then wipe it down.
- Make sure the stencil is on really good with no lifting so you don’t get bleeding.
- When writing in the stencil don’t over saturate the wood – this can also lead to bleeding under the stencil. Better to do 2 or three thin layers.
- Get a real heat gun. I tried using my embossing gun and it just wasn’t strong enough, I ended up burning the wood on my sample pieces before the ink burned. I still overheated a few spots with the heat gun but it wasn’t nearly as bad.
- Practice on a sample board!!! You don’t even need the stencil for this, just hand draw some images (I did hearts) and practice heating it up without burning the wood
- be patient, it takes longer for it to work than you might think.
To make this personalized cutting board with kitchen conversion chart you’ll need
- Cricut explore air 2
- project file
- removable vinyl
- 12×24 standard grip mat
- Weeding tool set
- transfer paper
- XL scraper
- cutting board
- wood burning pen
- heat gun
- cutting board oil
Homemade kitchen conversion chart stencil
If you love these how to projects as much as I do, I’d love a 5 star review. Be sure to share on social media and tag me if you make it @ashleemariecakes! If you want to stay updated on new recipes sign up for my newsletter and join my Facebook Group!
If you love making homemade gifts you’ll love these other tutorials!

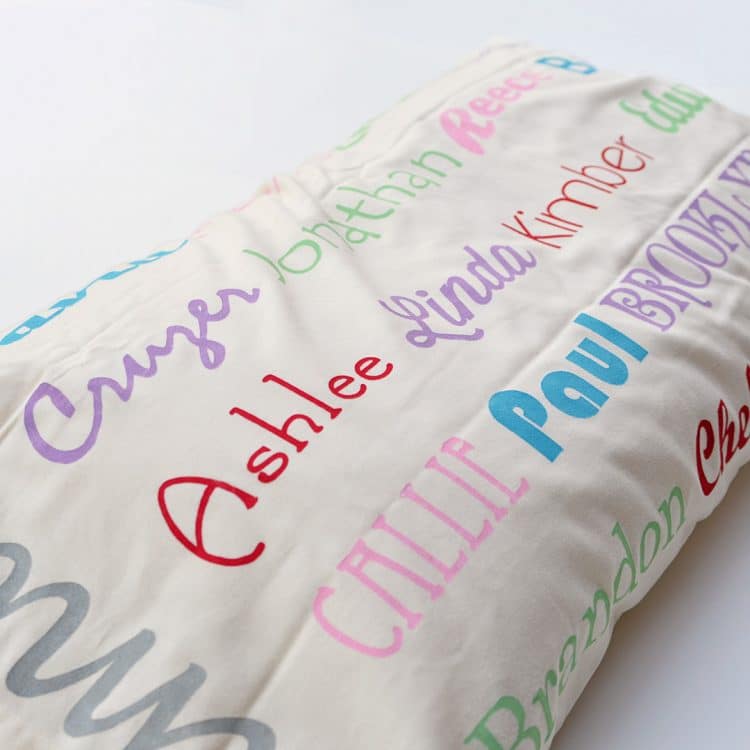

Crochet Bobble beard Santa Hat | Family Name Pillow Case | Crochet Wrap around baby booties
And here are some edible gifts you can make!

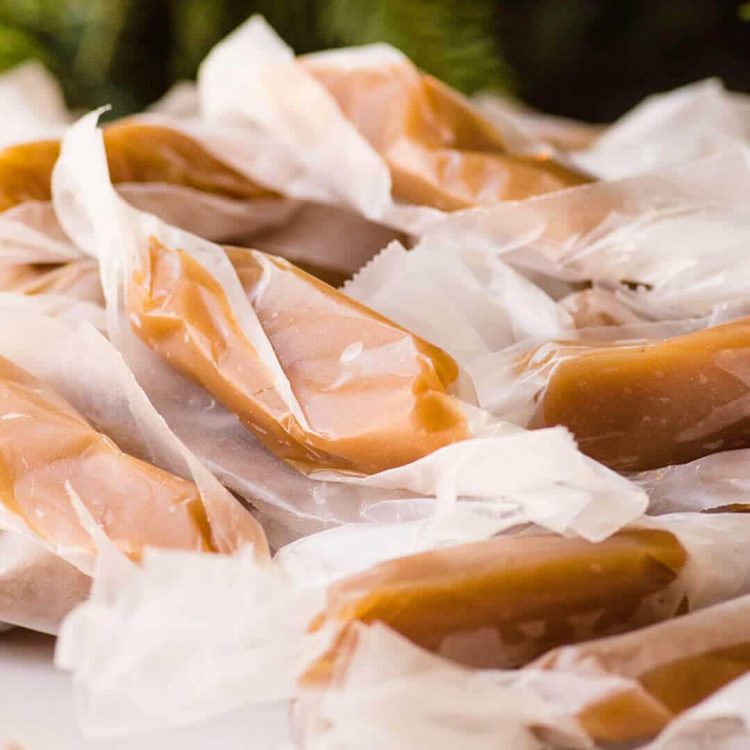
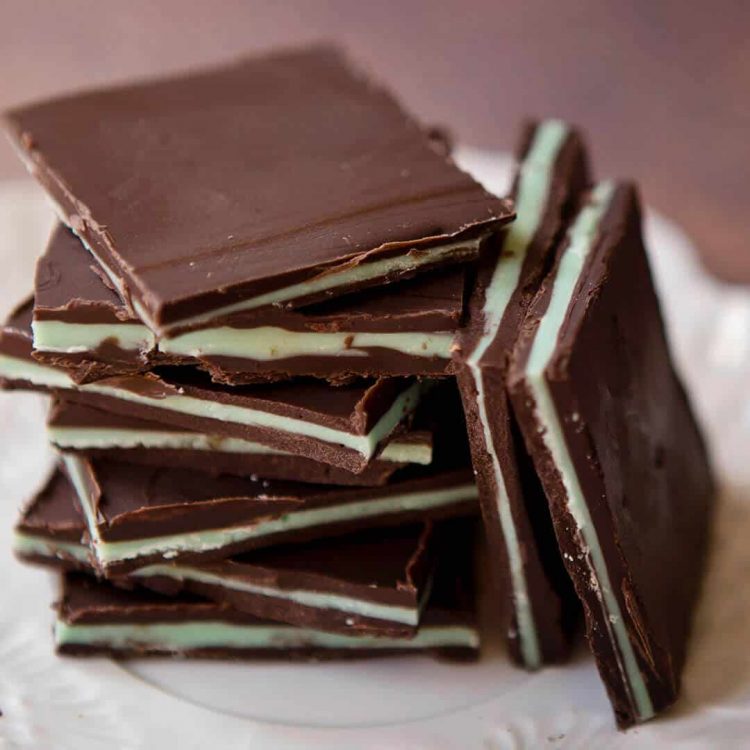
Homemade almond roca | Soft caramels | Homemade Andes Mints
Connect with Ashlee Marie Online!
To watch me make this stencil and personalize this cutting board play the video in the how-to card below.
You can find all my cooking show style recipe videos on YouTube, or my short recipe videos on Facebook Watch, or my Facebook Page, or right here on our website with their corresponding recipes.
Wood Burning Kitchen Conversion Chart Cutting Board Tutorial
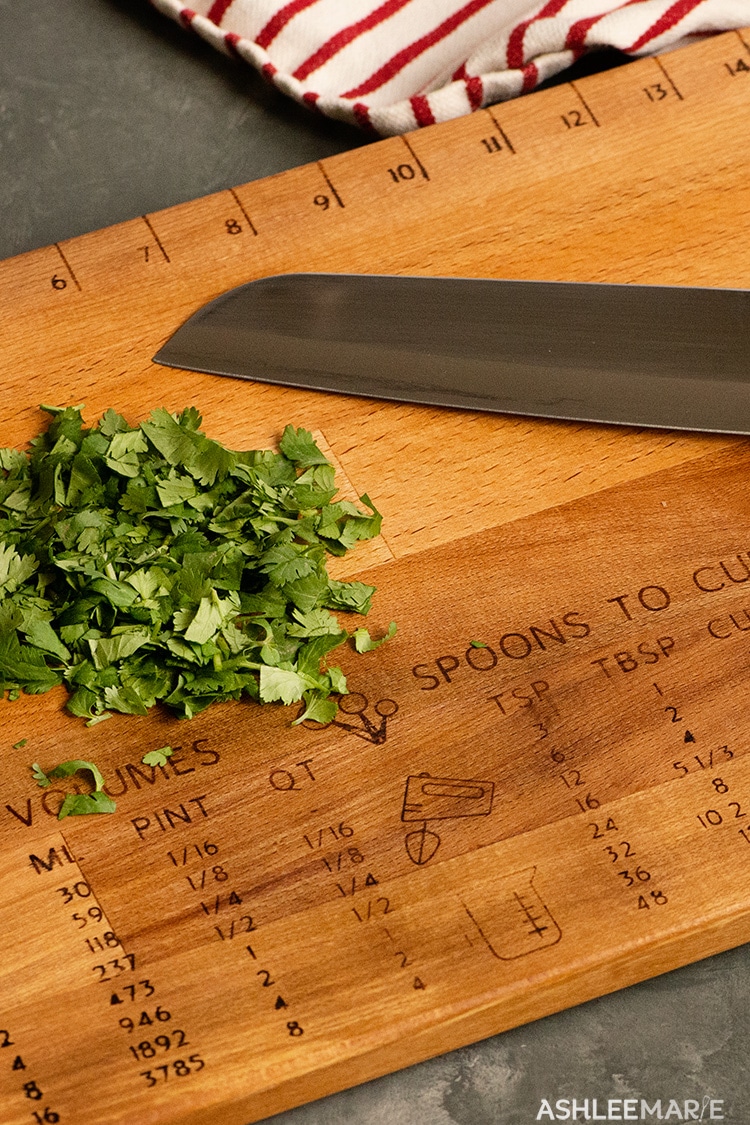
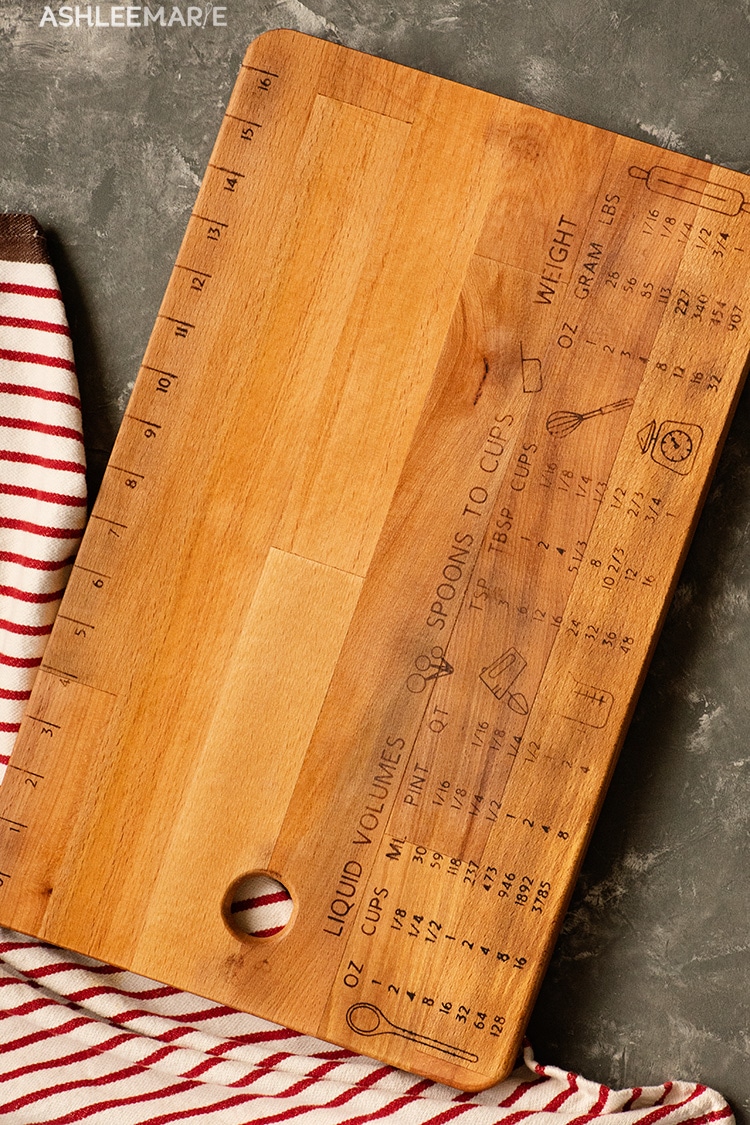
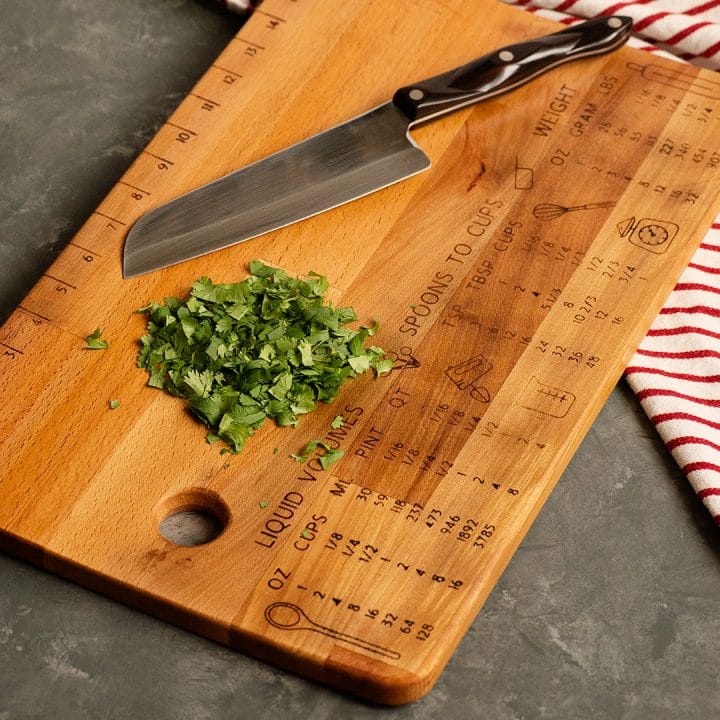
These kitchen conversions are perfect to add to any number of items for an amazing gift for the food lover in your life. I used them as a stencil to wood burn onto a cutting board. You can personalize it to fit any size cutting board. I added a ruler because it often comes in handy in the kitchen.
Materials
Tools
Instructions
- Click here to be taken to the shared project in Cricut Design space
- If your going to make any adjustments do that now - like change the font, or move items around to fit your cutting board.
- Once your happy with everything don't forget to "attach" so your cut items stay in place.
- Click "make it" and move items around on your mat to where you want them to be.
- Click "continue" and load the mat with your vinyl.
- Make sure you've selected "vinyl" on your Cricut explore air 2 and select "go"
- Once the vinyl is done cutting it's time to weed. You need to reverse weed - meaning your taking away the lettering vs leaving the lettering - that's how the stencil works.
- Be careful with the small dots inside the numbers.
- Prep your board by sanding with 220 grit until smooth, wipe down the dust.
- Now add transfer tape to the vinyl, peel off the vinyl backing and stick to the cutting board. Adjust until your happy with the placement and using the scraper rub on to the board really god.
- Now peel off the transfer tape. Again be careful about the small number dots.
- Now shake your wood burning pen, and press into a paper towel to get the liquid flowing.
- Draw inside the stencil. I let the marker dry then I went over it again. Be careful not to over saturate as you don't want the pen to bleed into the wood, so 2 or 3 light layers are better.
- Now peel off the vinyl.
- Preheat your heat gun and once it's hot run over the design, keep the gun moving to avoid burning spots.
- Let the board cool then rub all over with mineral oil or cutting board oil, let saturate overnight and wipe off the excess.
- Now your board is ready to use or gift!
Notes
You can always sand away spots that get too dark, be careful not to sand away the lettering you might have to redo the design.
")


Leave a Reply