I made it past the auditions!!! I’m now officially a contestant on Season 6 of So You Think Your Crafty! So here is part of the tutorial for my crafts! I decided to break up the tree skirt and stockings (and binding). Otherwise this would be a mile long post!
I have been wanting to make my own tree skirt for years now. In fact it’s #99 on my 101 in 1001 goal list! But constantly moving every 11 months or so kind of ruined my ability to craft. I didn’t always unpack my sewing machine or other craft items. Also knowing your going to spend Christmas in a different place the next year unmotivated me to start collecting great Christmas Decorations. So other than ornaments I really don’t have anything. But now that we’re committed to staying here for the foreseeable future I’m ready to commit to a decor!
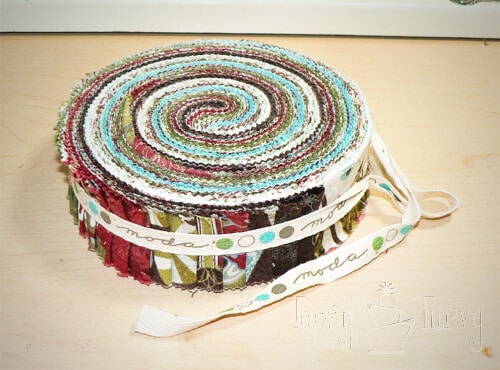
I fell in LOVE with the Moda Figgy pudding fabrics last year. I should have bought the fabric then, but we still thought we’d be moving again. So this year it took me quite a while to find all the fabric I needed. BUT I did it! I got a jelly roll (2 1/2 inchs by 40 inches) for the tree skirt and a honey roll (1 1/2 inches by 40 inches) for the stockings. Then some yardage for the ruffles and the backing.
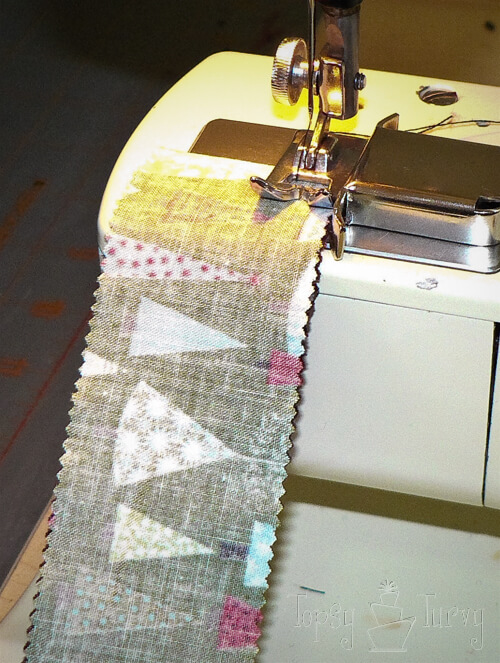
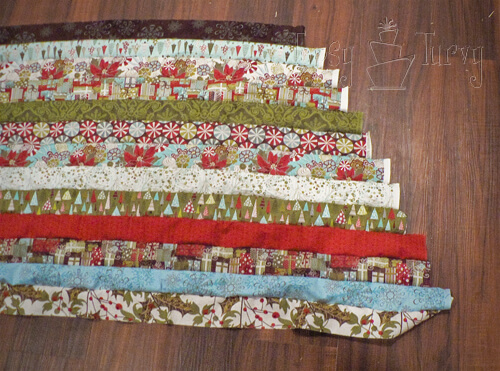
I started by laying out my favorite fabrics. If any of the strips have an obvious right side up you’ll want to be aware of that as you sew. You wouldn’t want right side up trees and upside down presents next to each other. Also I made sure I stagared the colors so the blues or greens weren’t right next to another blue or green. Then I started sewing the strips of the jelly roll together, right sides together, using a 1/4 inch allowance. I wanted my triangles to be 24 inches long, so I needed 12 two inch strips, I added a 13th for good measure. I staggered my starting point to create the 67.5 degree angle I would need for my triangles. And I created 2 sets.
I wanted to get 4 triangles out of each set. It worked, but it was tight. I made a template out of wrapping paper and used a cutting mat and rotary cutter to create each triangle.
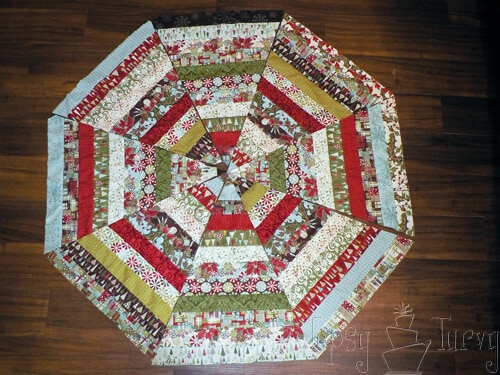
Once you have all 8 triangle you’ll want to lay them out, playing with how you want each one to look. When your satisfied you’ll sew them together, right sides together with a 1/4 inch allowance. Don’t forget when you sew them all together to leave one section apart.
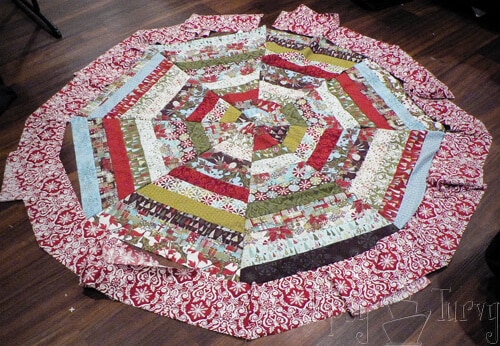
Now were going to add our ruffle!!! Each of my triangle pieces is 20 inches wide at the end. I wanted a nice full ruffle so I made each of the ruffle edges 40 inches long. I went with 6 inches wide and I angled each edge and sewed all 8 together in a row. Now it’s ready to add onto the skirt and ruffle it.
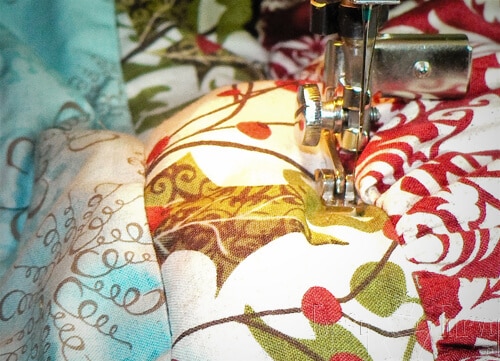
Figuring out how I was going to get my ruffle to POOF the way I wanted was a bit more difficult. I wanted my 6 inch ruffle to stay fluffy, not get pulled tight. SO I decided to add an extra strip on each side I could connect underneath. So I had the ruffle on top, right side together with my skirt, and underneath that an extra 2 1/2 inch jelly roll strip for underneath. I ran it all through my ruffler foot with a 1/4 inch allowance all the way around the cicle. Then on the other side of the ruffle I layered it with the ruffle and more2 1/2 inch strips. One right facing for the outer edge of the skirt and the second to go underneath
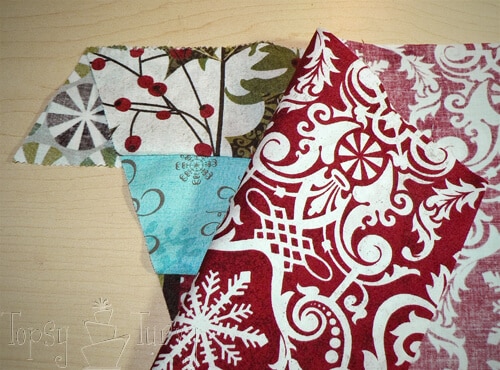
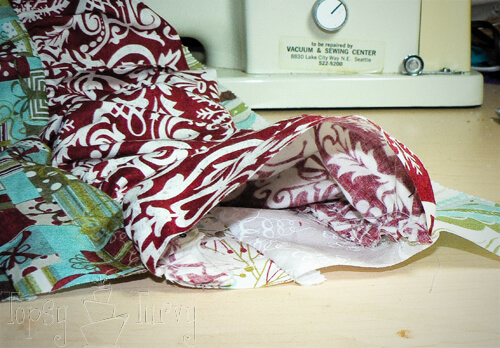
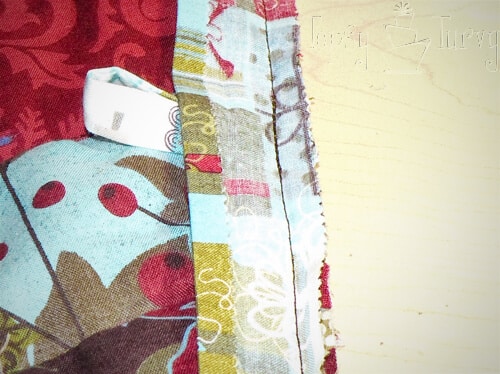
Here you can see the outer strip, the ruffle, the skirt on top. And under the ruffle the 2 extra strips to hold the poof together!
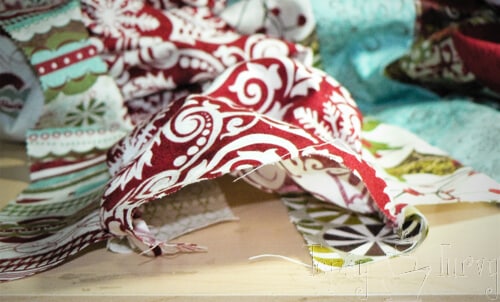
I sewed those two under ruffles together with the same 1/4 inch allowance! Now my 6 inch poof will stay 4 inches wide and stay poofy!!! I’m so excited about how AMAZING it looks!
Now that the top is done I laid it onto the thin polyester batting, and the fabric batting. Then cut the batting and backing to fit just larger than the skirt.
Starting in the middle I first sewed along the seam lines from the center out, skipping the ruffle. THEN I went along each of the seam lines one strip at a time. Trying to keep it as close to the seams as I could I actually decided to go with a zipper foot! It helped quite a bit! Once that was done I cut out the center and started binding! I decided to do a separate post on the binding since this one is already so long so go check it out!
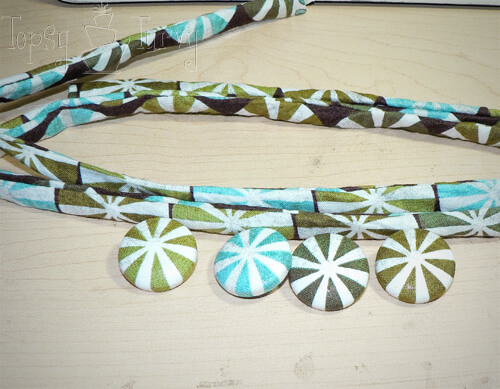
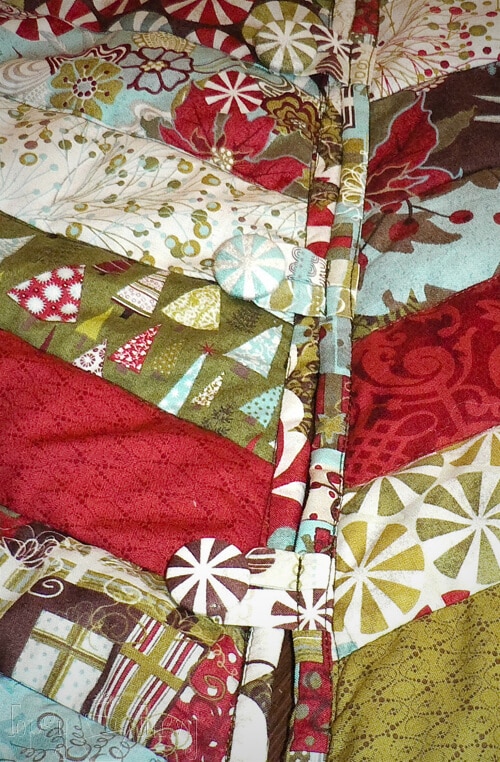
I decided to make my own fabric buttons and fabric button loops for the closure along the open seam.
I pinned the loops where I wanted them and sewed them into the binding.
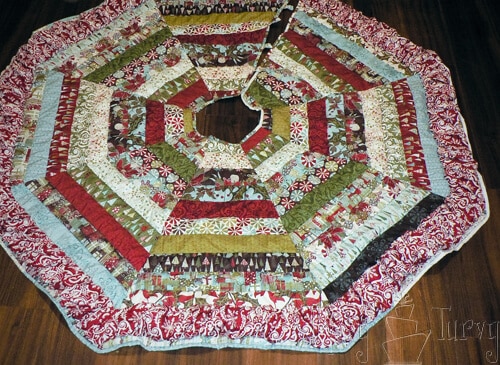
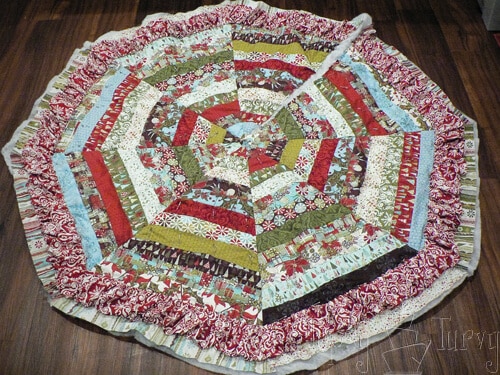
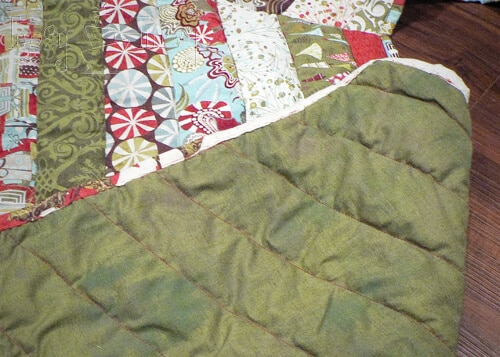
Here you can see the backing and the binding around the edges. For my first time quilting I’m really happy with how it turned out. Especially with having done all the quilting on my own small machine rather than a large quilter. I know that I won’t be able to do my large Queen sized quilt this way, but it was quick and easy.
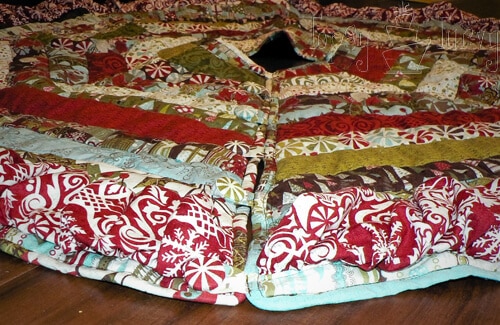
I think the buttons, loops and binding turned out perfect!!! I love it! I am so happy with the whole thing! The ruffle is just as I pictured it, I am SO in love with my fabric and it will look AMAZING around the tree! The stockings turned out just how I imagined as well!




Chrissy
How much fabric do you need for the back of this tree skirt? Do you have a pattern for the triangles that make up this skirt & the stocking pattern you used that I can download?