• Skip to primary navigation
  • Skip to main content
  • Skip to primary sidebar
  • Skip to footer

Ashlee Marie - real fun with real food

  • Recipes
    • Main Dish
    • Desserts
    • Breakfast
    • Sides
    • Bread
    • Soups & Salads
    • Drinks
    • Food Tutorials
  • Cakes
    • Cake Recipes
    • Cake Tutorials
    • Carved Cakes
    • Wedding Cakes
    • Smash Cakes
    • Party Cakes
    • How to Video Series
  • Parties
    • Complete Parties
    • Party Cakes
    • Party Food
    • Party Crafts & Decorations
    • Printables
    • Invitations
  • Holidays
    • Valentines
    • St. Patricks Day
    • Easter
    • Cinco De Mayo
    • Mothers Day
    • 4th of July
    • Halloween
    • Thanksgiving
    • Christmas
  • Travel
    • Culinary Travel – Cooking Schools
    • Family Travel
    • Disney
    • Universal Studios
    • Blogger Trips
  • Videos
    • Recipe Videos
    • Short Videos
    • Kitchen Tip Videos
    • Video equipment links
  • Crafts
    • How to & Craft Tutorials
    • Crochet & Knit Patterns
    • Decorations
    • Photoshop
    • Sewing Projects
  • Shop
    • Video equipment links
    • Baking and Kitchen equipment
Home » Parties » birthday

Ghostbusters Cake

Published: January 30, 2010 | Updated: September 5, 2018 | By Ashlee

  • Facebook
  • Twitter
  • Yummly

One of the boys in my son’s 1st grade class had a birthday party today.  I was lucky enough to get to make his birthday cake!  He requested the Ghost Busters logo.

ghost busters carved cake

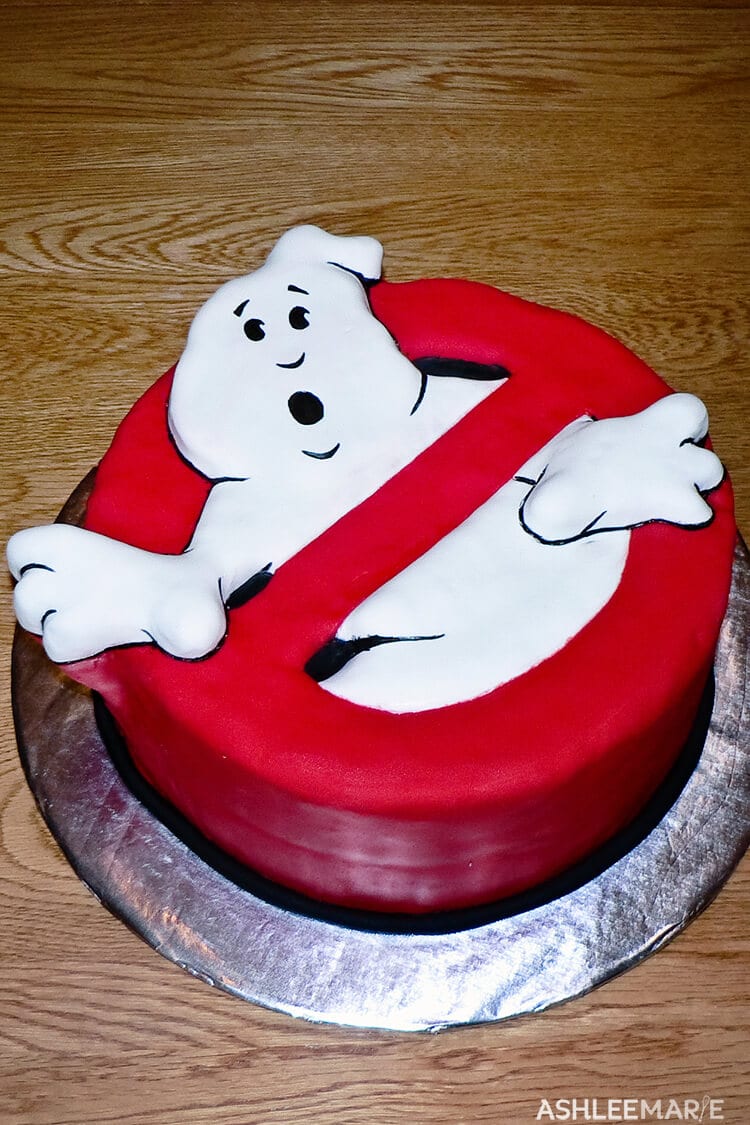
I stayed up WAY to late working on this one, but it was SOO much fun to make.  First stacked the cakes, then I started carving away, a little at a time.  Piecing together the three different fondant colors was tricky.  Especially since I didn’t realize until 2 am that I was almost completely out of white fondant!  I barely had enough to cover the ghost!

carved 3D ghostbusters cake

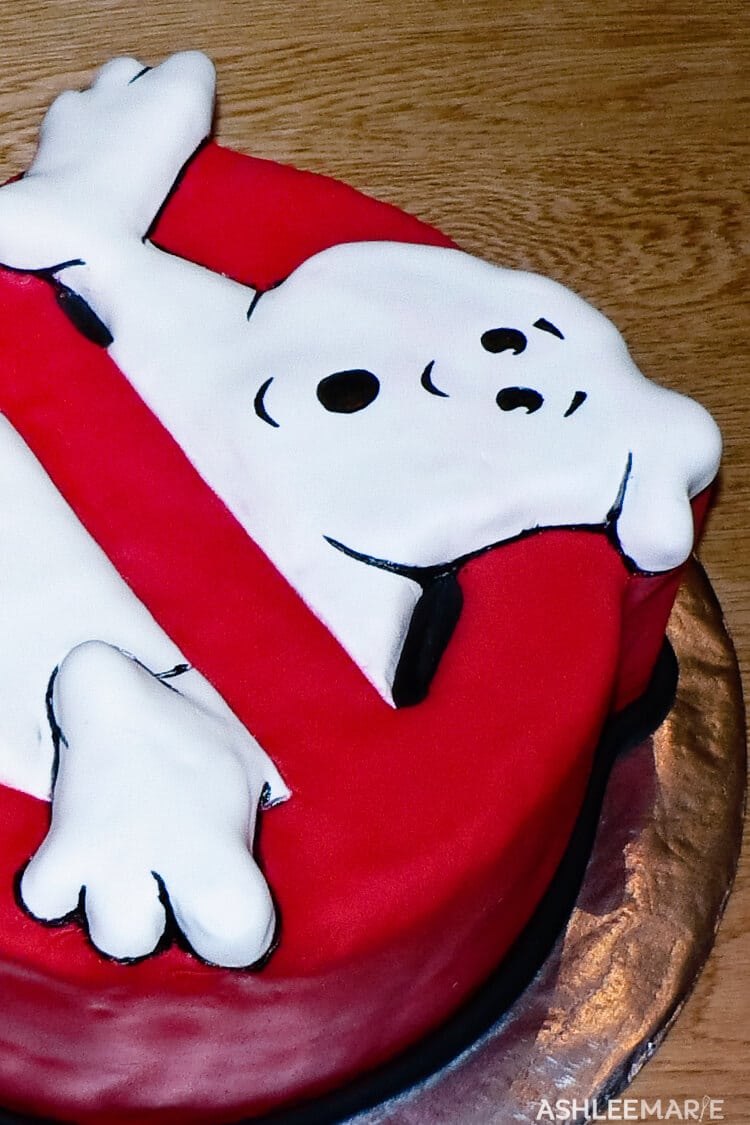
But it all worked out.  And I hand painted the lines and details on the cake.  I am really pleased with how this one turned out.  The had hanging out the side reaching forward. I wish I had a better side and top shot.  But when I was taking these pictures at 6 am I wasn’t thinking too clearly!

carved ghost busters cake

Related Posts:

  • Topsy Turvy Cake tutorial
    Topsy Turvy Cake tutorial
  • Mini Ghost Pumpkin Cakes
    Mini Ghost Pumpkin Cakes
  • How to make an Armadillo Cake
    How to make an Armadillo Cake

JOIN MY NEWSLETTER!

Become an insider and receive this FREE Maple Icing Recipe (not seen on the blog!)

You have Successfully Subscribed!

Privacy Policy: We hate spam and promise to keep your email address safe. You'll receive email updates through AshleeMarie.com. You can unsubscribe at anytime.

  • Facebook
  • Twitter
  • Yummly
ashlee marie

About Ashlee

With the right tips and tricks, I believe YOU can make, bake, or create anything. This is what I love to do - make some awesome, teach you how, and give you that boost of culinary confidence you need to rock your own kitchen! Read more...

youtube facebook instagram twitter pinterest email rss

Reader Interactions

Comments

    Leave a Reply Cancel reply

    Your email address will not be published. Required fields are marked *

    Recipe Rating


  1. angela

    November 22, 2011 at 12:13 am

    How did you make the ghostbuster cake. It looks awesome. My son’s birthday is coming up, he is going to be 5 and I want to make him one.

    Reply
    • Ashlee

      December 4, 2011 at 1:41 pm

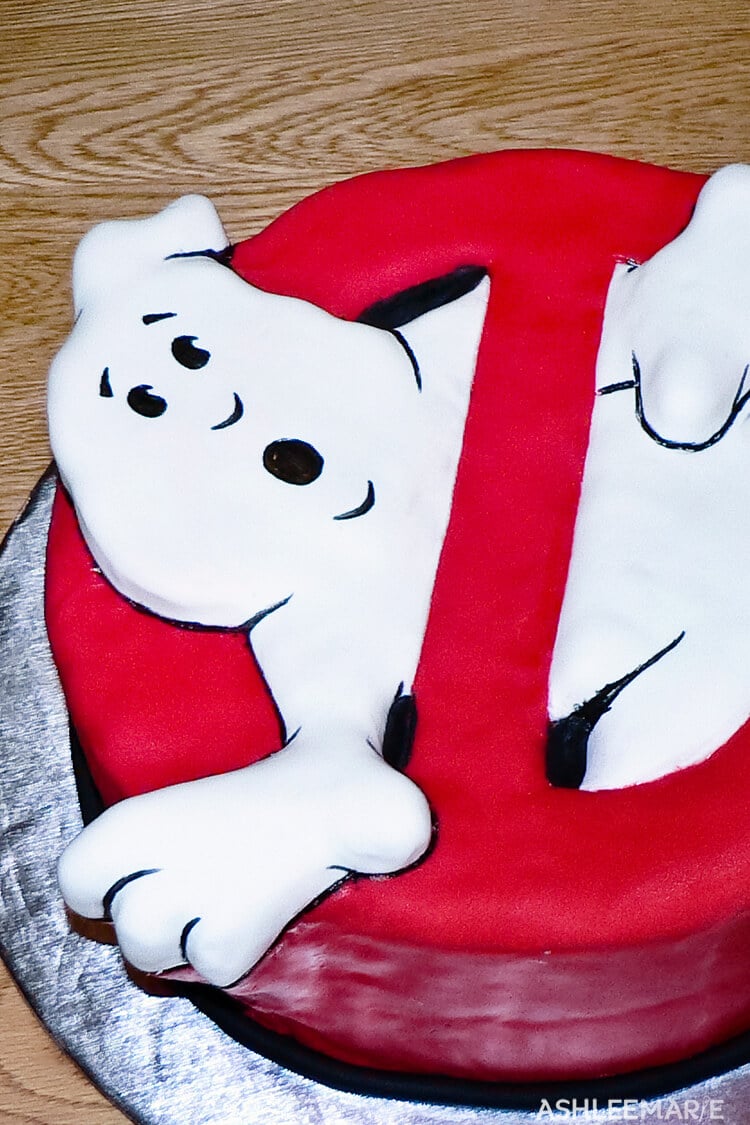
      Wow, that was a while ago… I started with an oval cake about 5 inches tall. I drew out the shape I wanted (the hands sticking out over the edges) placed it on the cake and carved it straight down. THEN I started carving the details, shaping the fingers, indenting the ghost so the red “no” shape would stick out. That way the top of the ghost head and hand were tall, but the rest of the cake was shorter… Always use dense cakes- like pound cakes, never from a box- too airy. also I angled under the hand so it would be sturdy enough to still hold up, but not be seen from the top. Then frosted it all with my ganache, then covered the whole cake with white fondant. I painted the areas that needed the red fondant with clear vanilla so the fondant would stick then covered the cake with the red fondant and finally cut away the areas that I wanted to stay white (just be sure not to paint the areas that you want to stay white with the vanilla). then drew on the black lines with an edible marker. Good luck, feel free to email me with any other questions.

Primary Sidebar

about ashlee marie
youtube facebook instagram twitter pinterest email rss

You have Successfully Subscribed!

Privacy Policy: We hate spam and promise to keep your email address safe. You'll receive email updates through AshleeMarie.com. You can unsubscribe at anytime.

Popular Posts

Homemade deep-fried monte cristo sandwich
homemade choco taco
one pot loaded baked potato soup
tamatoa cake - moana - disney
I love these candied strawberries, like a candied apple, a glorious crunch with a ripe strawberry center!

Footer

SEEN ON

as seen on
  • TV and Media
  • Privacy Policy

COPYRIGHT © 2007–2023 Ashlee Marie - Real Fun with Real Food

ashlee marie lets make some awesome
  • Recipes
    • Main Dish
    • Desserts
    • Breakfast
    • Sides
    • Bread
    • Soups & Salads
    • Drinks
    • Food Tutorials
    • Back
  • Cakes
    • Cake Recipes
    • Cake Tutorials
    • Carved Cakes
    • Wedding Cakes
    • Smash Cakes
    • Party Cakes
    • How to Video Series
    • Back
  • Parties
    • Complete Parties
    • Party Cakes
    • Party Food
    • Party Crafts & Decorations
    • Printables
    • Invitations
    • Back
  • Holidays
    • Valentines
    • St. Patricks Day
    • Easter
    • Cinco De Mayo
    • Mothers Day
    • 4th of July
    • Halloween
    • Thanksgiving
    • Christmas
    • Back
  • Travel
    • Culinary Travel – Cooking Schools
    • Family Travel
    • Disney
    • Universal Studios
    • Blogger Trips
    • Back
  • Videos
    • Recipe Videos
    • Short Videos
    • Kitchen Tip Videos
    • Video equipment links
    • Back
  • Crafts
    • How to & Craft Tutorials
    • Crochet & Knit Patterns
    • Decorations
    • Photoshop
    • Sewing Projects
    • Back
  • Shop
    • Video equipment links
    • Baking and Kitchen equipment
    • Back