The Theme for the Point of View this month is “Family”
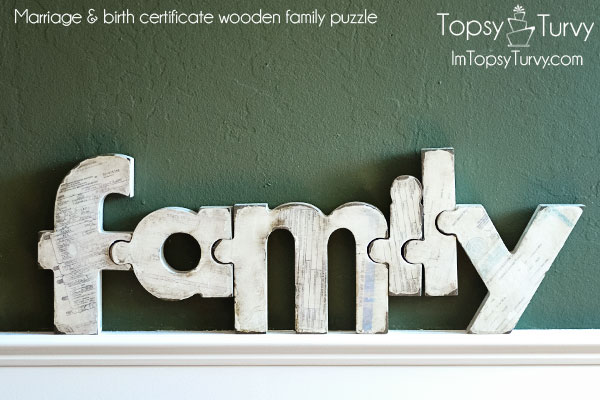
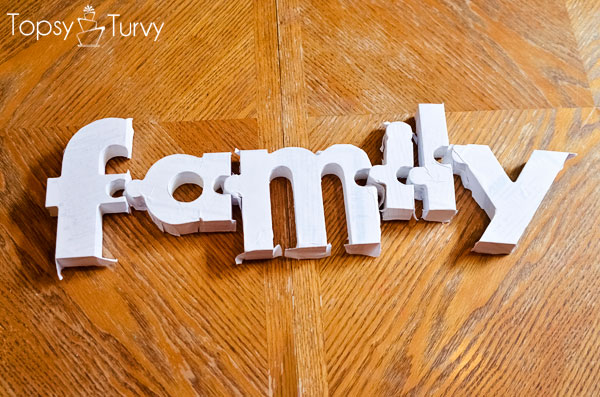
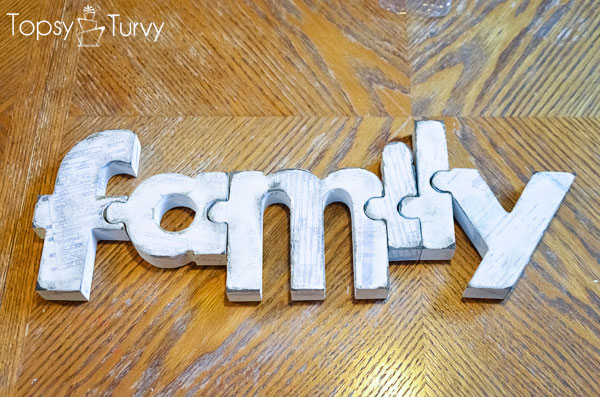
I bought this wooden “Family” puzzle from Oh My Crafts at their warehouse sale last month. so when this month’s theme came up it was PERFECT! I debated painting it, or mod podging scrapbook paper on it, then I decided to try ink jet transfer using my marriage certificate and children’s birth certificates (inspired by this)!

I started by spray painting the letters white, you can see the Y unpainted here so you can see what color it was before.
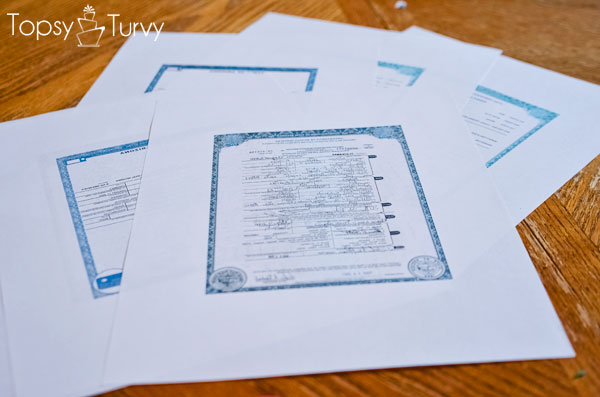
Then I scanned in all the certificates and made them smaller, I sized them all at 6 inches across, flipped them horizontally (mirrored writing now) and printed them on my ink jet printer.
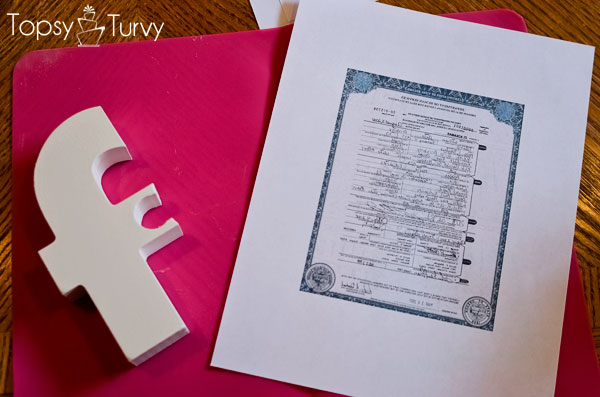
I decided where I wanted the letter to be, making sure that the first names (in this case BOTH mine and my husbands first names) were fitting on the letter, after I made sure I got the names on I also tried to get other important information, dates, times, weights (obviously the weight of the babies, not our marriage)
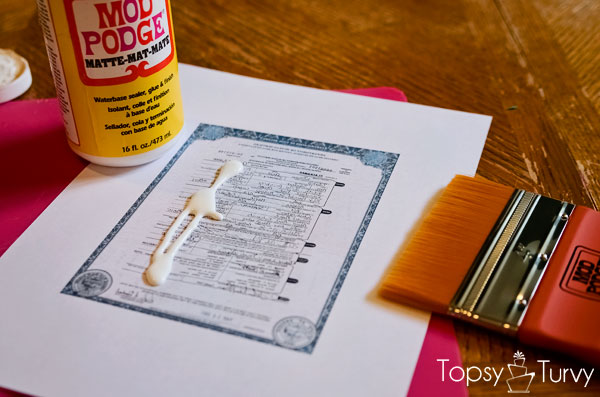
I found half a dozen different instructions for this technique out there. I decided to try the simplest one, just paint mod podge over the image
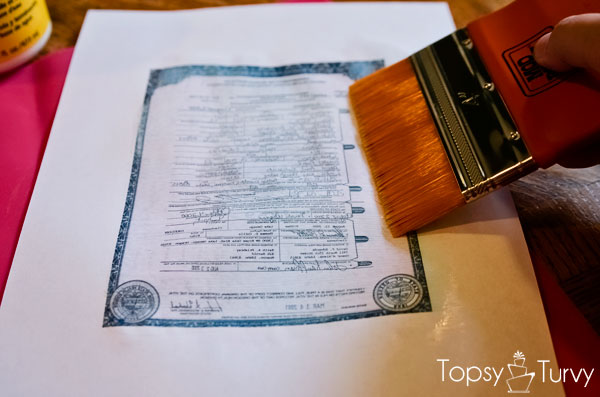
spread a smooth even layer of the mod podge over your image, in this case my wedding certificate. BTW this new wide brush from Mod Podge is AWESOME! I just bought mod podge the first time a year ago and I’m SOLD, their new products are AWESOME!
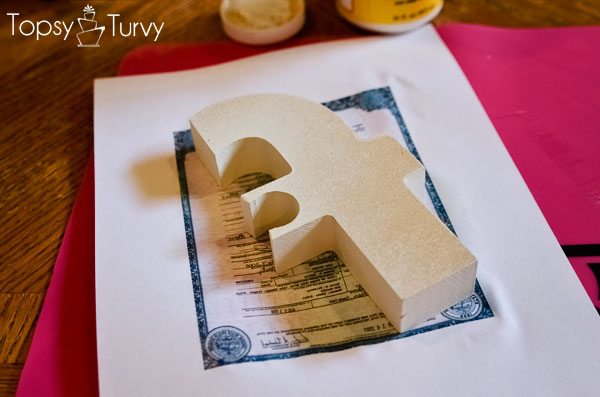
then place the letter down where you previously decided, get it as smooth as you can when you lay it down, once it’s touching the letter you don’t want to move it, you’ll just smudge the detail.
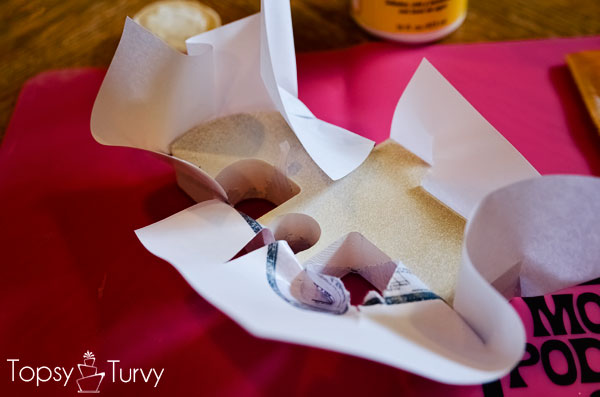
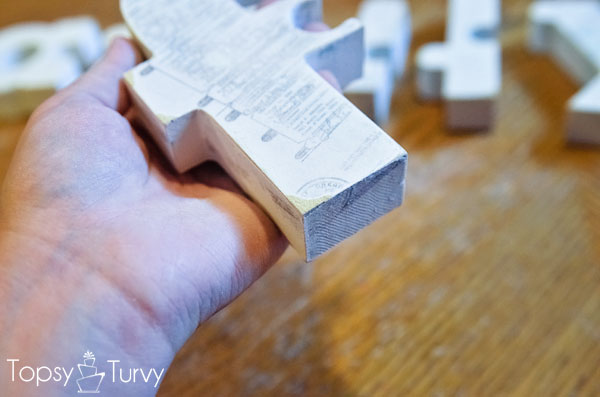
I debated just leaving it on the front, but decided to wrap the certificate around the letter, carrying parts of the image around the sides.
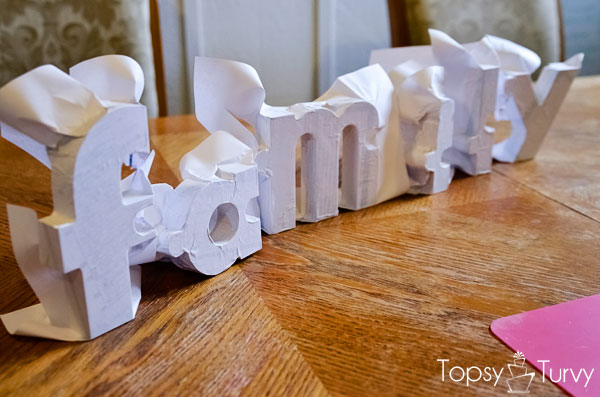
Repeate with ALL the letters. Because of the various sizes some certificates fit better than others, some have more information than others, but overall I was really happy with how they all fit!
I cut off the excess so it wouldn’t be in the way over night. You want it to dry COMPLETELY, so don’t touch it until the next day!
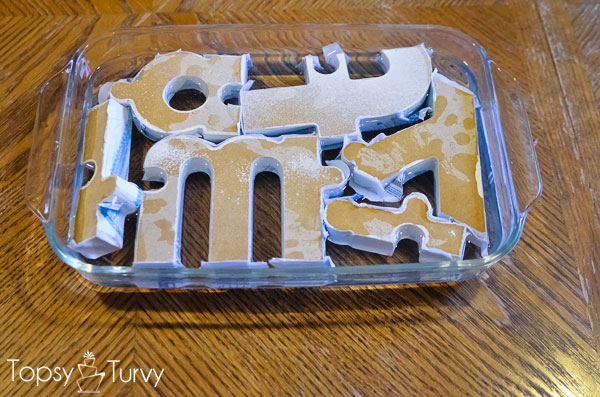
Okay it’s the next morning (you can see the difference in the lighting…). Now get the paper soaking wet. I did this by soaking the letters in a 9×13 glasss pan.

Once the paper is completely soaked, like seriously soaked, start peeling back the paper, once you’ve peeled what you can carefully RUB the paper off. But be careful cause if you rub too hard you’l start to rub up the mod podge, and that’s whats holding the ink from your image, so you’ll end up rubbing it right off (like in the center of my F)
 v
v
Repeat on all the letters…
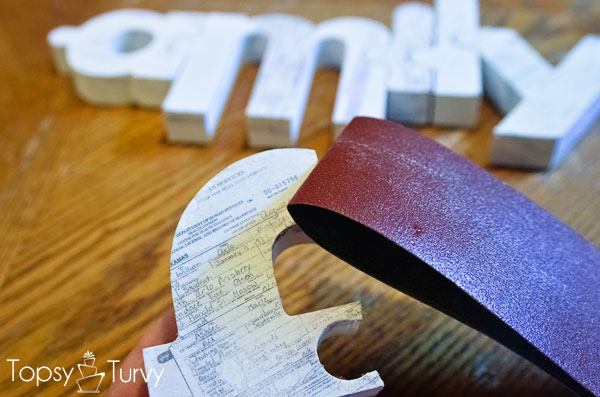
I made the mistake of sanding the edges after painting and they ended up soaking in some of the water and expanding, so I ended up sanding a bit more than I planned on once the paper was gone. But I ended up liking the way it looked. So sand as much or as little as you want for aging!
You can see I sanded some areas (the swollen wood) more than others, but the unevenness actually looks better (although the OCD side of me is driven nuts by it while I’m working on it!)
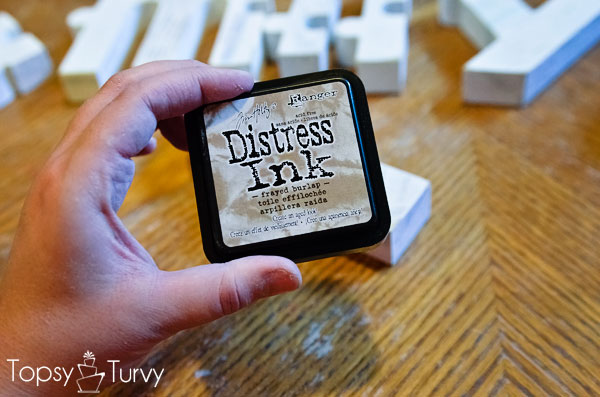
Now for distressing the edges. I used a distress ink stamp pad, but you can use chalk, wax, etc… anything you want.
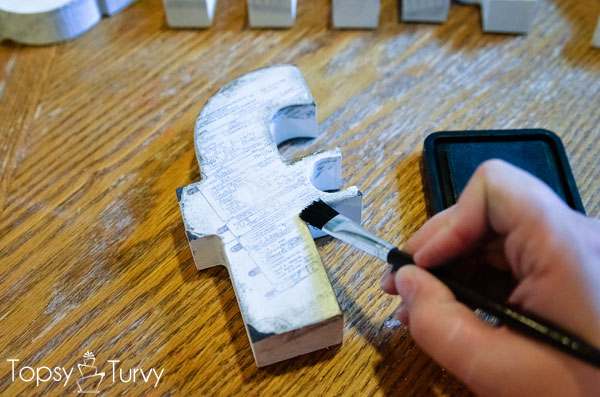
I didn’t want it to be too dark, so I used a brush and did a little at a time, continuing to distress until I was happy with it. I not only did the edges, but also the top to age the overall look a bit.
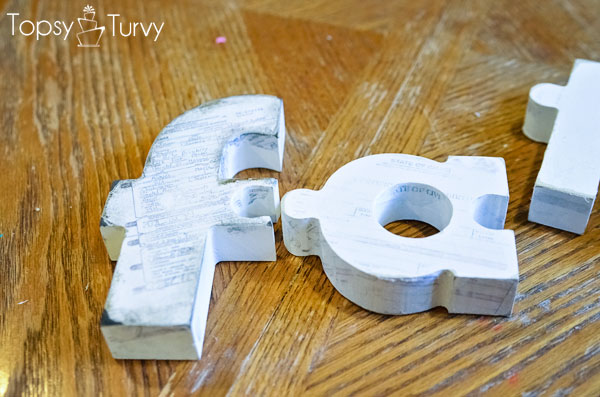
Here’s a side by side of the distressed F and the un-distressed A
And once again the entire word distressed…
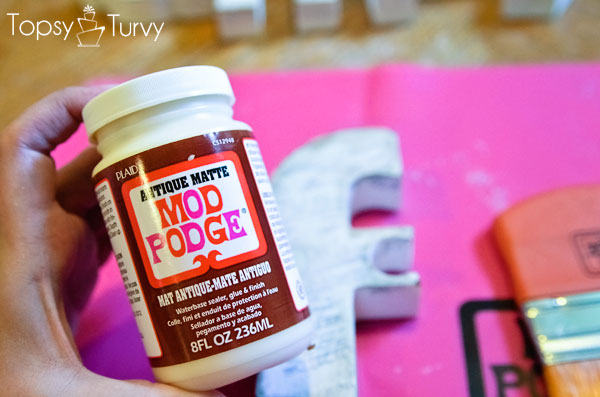
Now to finish it off by sealing it, again use anything you prefer, a spray, mod podge, paint… This new antique matte mod podge, PERFECT for this project I thought! I ended up just doing one layer, but I MIGHT go back next week and add a second one, each layer will “age” (yellow) the project a bit!

Let it dry (this silicone mat is seriously awesome, nothing sticks to it, the glue peels right up when it’s dry- I need one about 4 times the size to sit constantly on my table when crafting!)
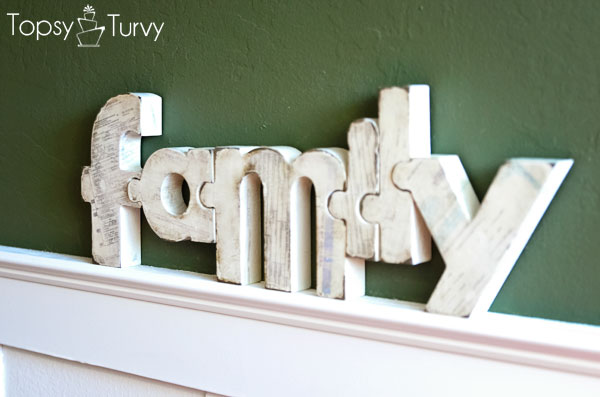
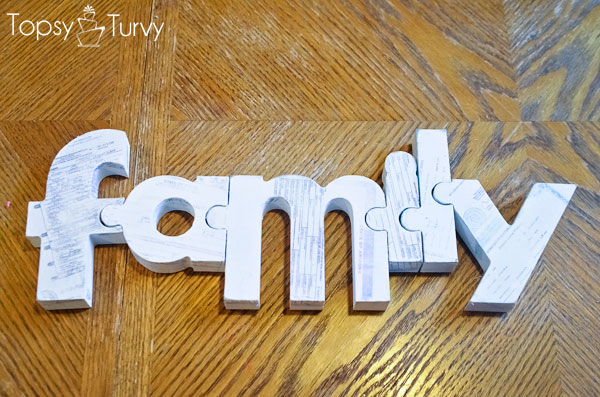
And DONE! I LOVE it… I wish you could see the details better (but then you’d see my kids names, birth dates, etc… so you’ll have to just trust me, it’s lovely!) From far away it’s nicely textured and a fun pieces, it isn’t unless you look closely that you notice the personal details from their birth certificates.
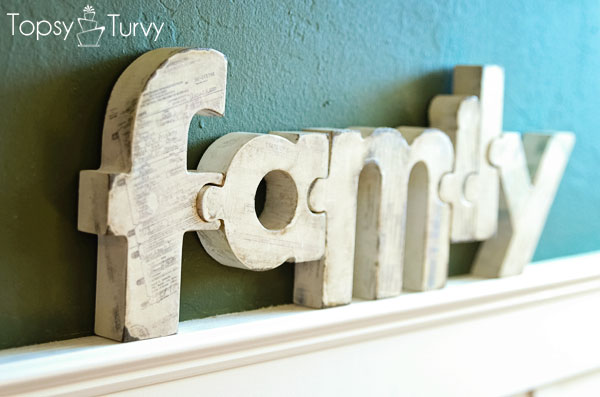
The Marriage certificate on the F is the most detailed, and you can see it better here. the kids all love that they each have a letter, and that it all fits together. Even my husband (not the biggest decor fan) likes it! WIN!
disclosure- Last month I was sent a box of the some of the new Mod Podge line products to try, with no expectation of a blog post, or advertising, I’m linking back to them and talking about the ones I liked because I think you might like them too


Amy
I LOVE it Ash! I had seen the monogram versions of this, but I think the family one is awesome- and to include birth information is just awesome!
xoxo
Ashlee
In the monogram one she uses the PRETTY certificate, but I used the boring, but legal ones since I don’t have the pretty birth certificates close by… If I was going to do it again I might dig them up…
Leanne
This is so awesome! I need to try this process on something. And what a great idea using all the certificates!
Ashlee
Thanks!!! For your kids you’d have to do “Families” to get all eight!
Jess from Cox's Corner
This is legit! As in…I’m so going to try it!
Ashlee
Thank you so much! I’m still tickled every time I look over at it!
Lindsay @Artsy-Fartsy Mama
Love it!! Such a great idea 🙂
Ashlee
Thank you so much! so far everyone whose come over has loved it too! It’s even prettier in real life!
Gwen @ Gwenny Penny
Very cool idea, Ashlee. And an absolutely perfect project for POV this month 🙂 Looks great!
Ashlee
Thanks! When I saw the POV theme I had just bought the wooden letters and it was PERFECT timing!
Jonie @ Just Between Friends
What a great idea! I am sure any kid would love that they have their own letter. I may have to try this method out sometime. Thanks for the tutorial!
Ashlee
Mine are pretty proud of their letters! my folks came over and all the kids showed off each of their own letters.
Bella
Love how this turned out! I really like how you personalized it.
Ashlee
thanks you! I’m loving it more and more and more every time I look at it!
Becky
I love this and am planning to do this with my marriage certificate. But, my “letter P” is made of a cardboard type material, not solid wood. Will this still work? Is there another method to use? Thanks!
Ashlee
if your just using cardboard I’d just mod podge a copy right onto it. This technique will NOT work with cardboard