• Skip to primary navigation
  • Skip to main content
  • Skip to primary sidebar
  • Skip to footer

Ashlee Marie - real fun with real food

  • Recipes
    • Main Dish
    • Desserts
    • Breakfast
    • Sides
    • Bread
    • Soups & Salads
    • Drinks
    • Food Tutorials
  • Cakes
    • Cake Recipes
    • Cake Tutorials
    • Carved Cakes
    • Wedding Cakes
    • Smash Cakes
    • Party Cakes
    • How to Video Series
  • Parties
    • Complete Parties
    • Party Cakes
    • Party Food
    • Party Crafts & Decorations
    • Printables
    • Invitations
  • Holidays
    • Valentines
    • St. Patricks Day
    • Easter
    • Cinco De Mayo
    • Mothers Day
    • 4th of July
    • Halloween
    • Thanksgiving
    • Christmas
  • Travel
    • Culinary Travel – Cooking Schools
    • Family Travel
    • Disney
    • Universal Studios
    • Blogger Trips
  • Videos
    • Recipe Videos
    • Short Videos
    • Kitchen Tip Videos
    • Video equipment links
  • Crafts
    • How to & Craft Tutorials
    • Crochet & Knit Patterns
    • Decorations
    • Photoshop
    • Sewing Projects
  • Shop
    • Video equipment links
    • Baking and Kitchen equipment
Home » How to & Crafts » How To & Craft Tutorial

Glitter Name Topper – Oscars party

Published: February 22, 2016 | Updated: April 8, 2017 | By Ashlee

  • Facebook
  • Twitter
  • Yummly

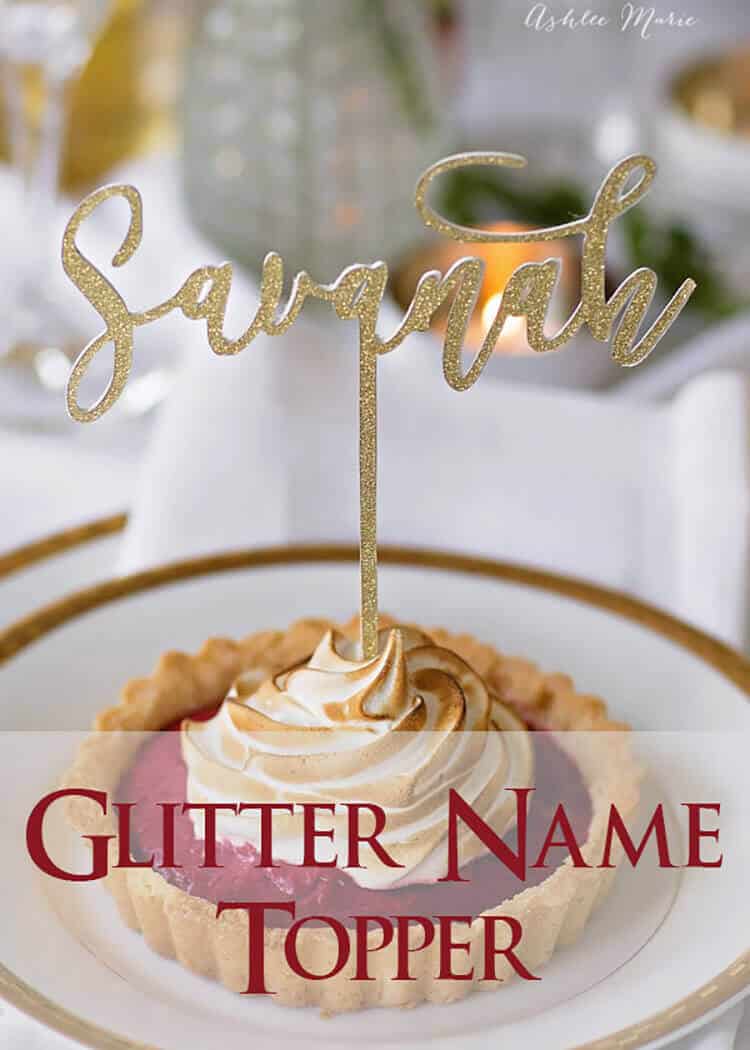
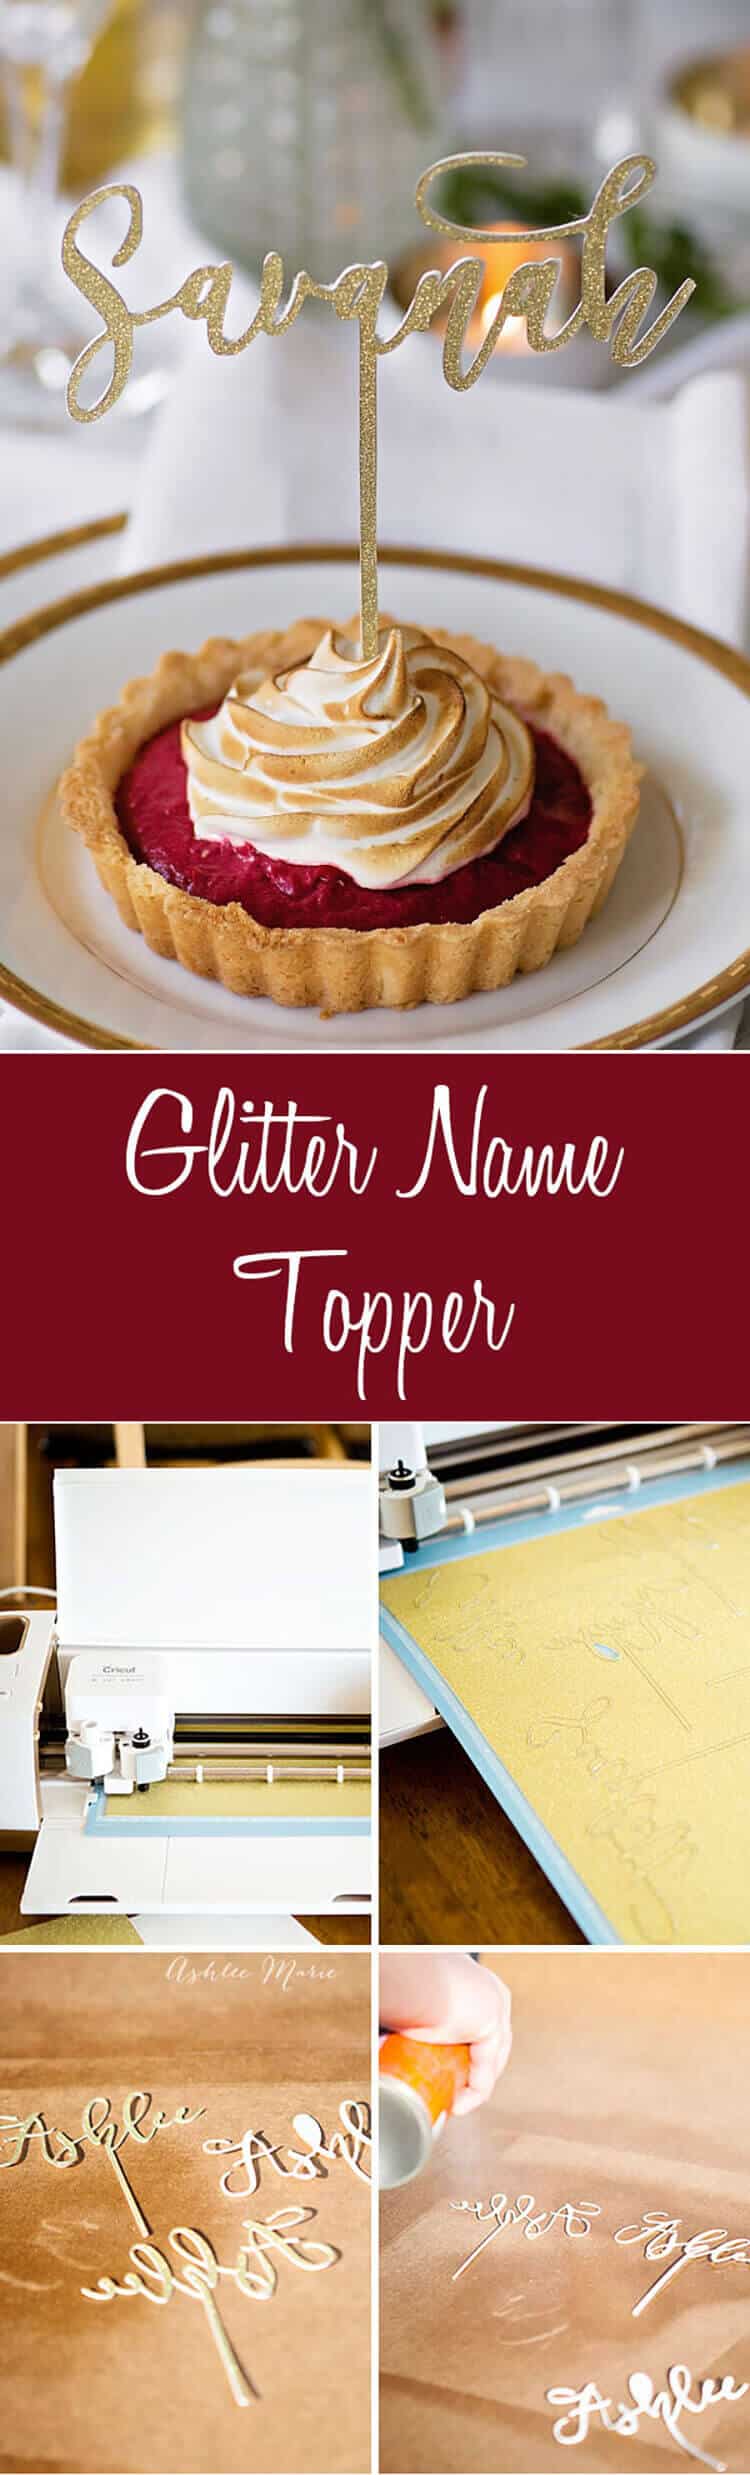
So occasionally I still CRAFT, yup, I don’t spend ALL my time in the kitchen… Although this craft was FOR a food item… so I’m not sure if that counts as really stepping away! These Glitter name toppers would be cute in pretty much ANYTHING, cake, cupckaes, doughnuts… even something NON food related… but why?  I used them in these raspberry curd tarts.

you don't need a laser to cut personalized name toppers, just glitter card stock, poster board, adhesive and a craft cutting machine

SOOOO custom name toppers are actually quite popular in cakes these days, I see them all though my intagram feed when I’m browsing other cake decorators.  BUT all of them are buying them from businesses, they are either wood or plastic and cut with a very precise laser.  Now I don’t have a laser lying around, and I don’t like spending money on stuff if I don’t have to.  SO I reached out to Cricut (they are local to me) and asked if they thought their Explore Air could be a good substitute for a laser.

you can kind of see there are 6 layers of poster board and card stock in these name toppers, it allows for delicate designs that are still strong enough to stand up

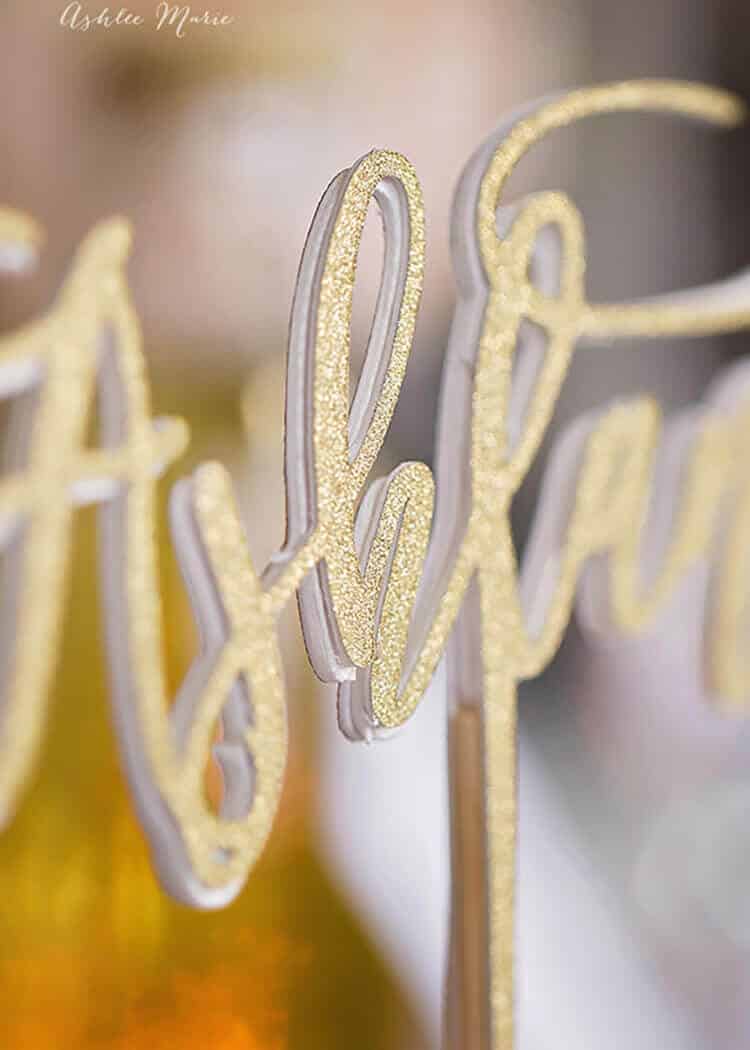
I ran by their offices and worked out a plan.  We tried quite a few different options, trying to come up with one that was thick enough to stand, but still be delicate and not too difficult to put together.  I ended up creating a 6 layered topper using

  • 2 sheets of Glitter cardstock
  • 2 sheets of poster board (not foam boards, not the stiff stuff, but the thicker than card stock stuff)
  • cricut explore air
  • cricut explore deep cut blade
  • spray adhesive

rather than cut 6 layers then glue each delicate layer together start by gluing 2 layers together, the cricut can easily cut through it

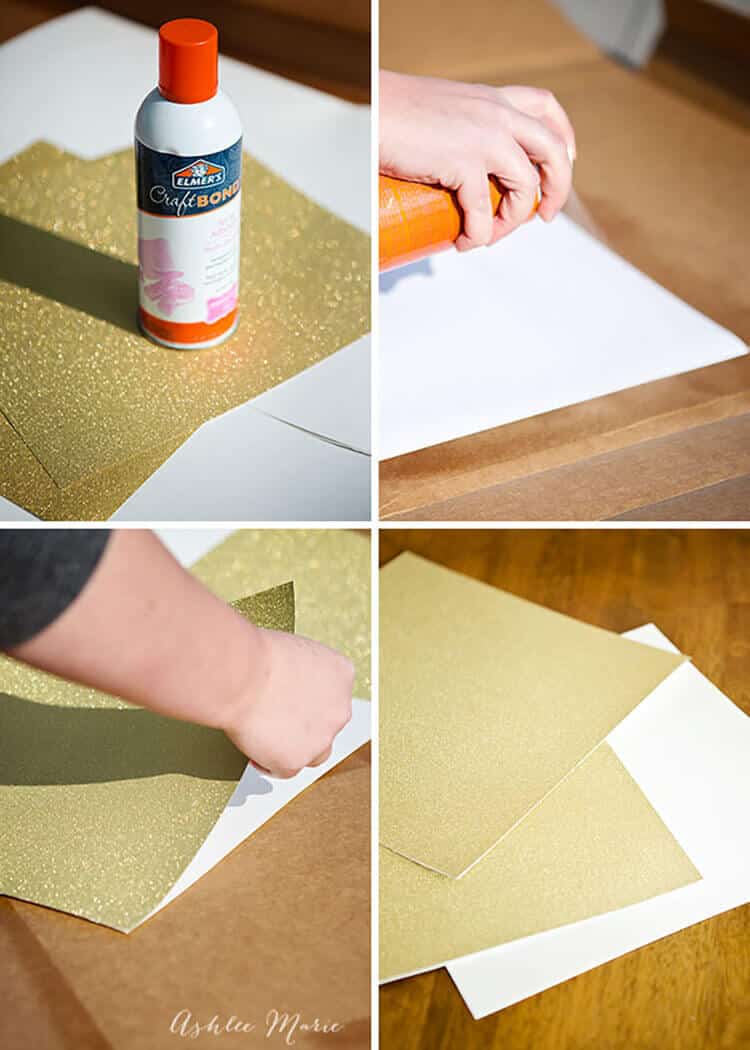
Start by using the spray adhesive to glue the two sheets of glitter cardstock to one sheet of poster board, then cut the 2nd poster board in half and glut the two halves together.  THEN cut into 12/12 squares.  You want to spray then stick right away for permanent adhesiveness and give the adhesive a full hour to dry.

I use photoshop and the cricut software to design then cut personalized name toppers

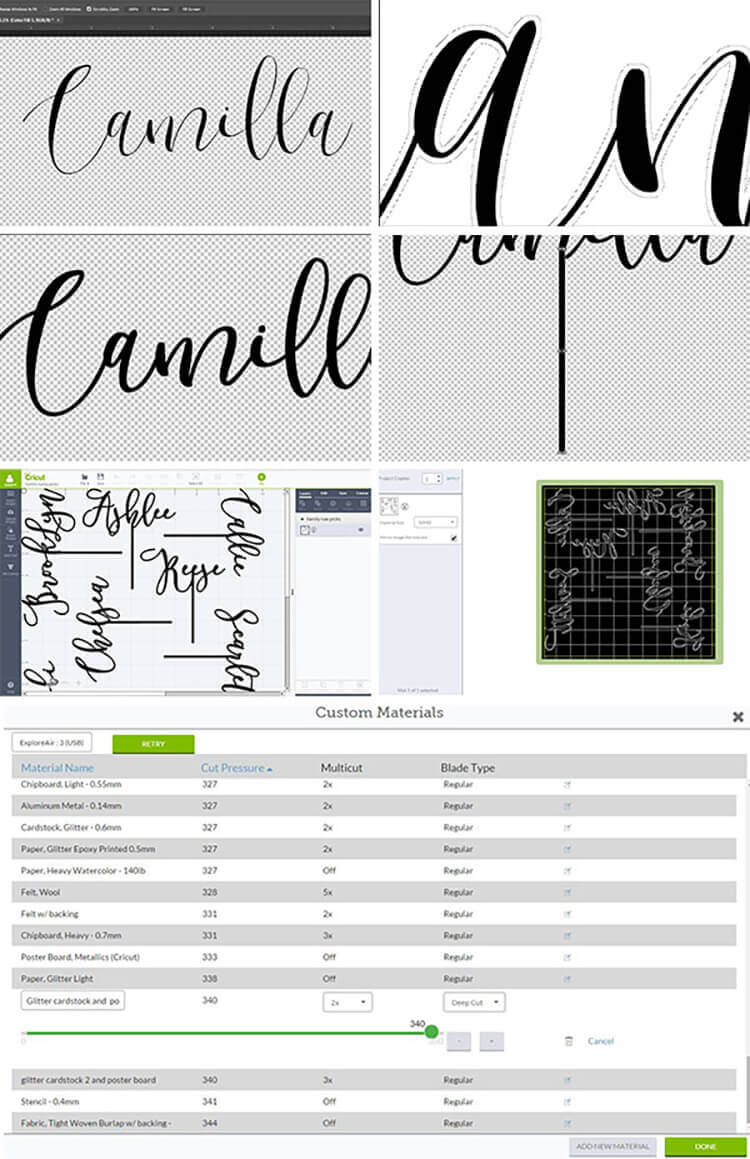
Now on your computer you need to design the name toppers.  The font I picked, Melika, is super delicate so the first thing I did, after writing out the name I wanted, was to thicken it, then I added a long line, about 4 inches, somewhere in the center of each name.  I saved it as a png and moved on to the next name.  After creating all the names I wanted I created a 12×12 inch spread of the names, putting them close but not too close together, also saved as a png.  Then I uploaded them into cricut design and got ready to cut.

I needed to create a custom material for this.  I selected a cut pressure of 340, with a 2x multicut and using the deep cut blade.  Then I inserted the mat with my thick square on it and hit cut! DON’T FORGET one glitter paper you leave the names right side out, for the SECOND sheet of glitter paper make sure to mirror the text, so it cuts the BACK SIDE of the name.

cut all the layers and then glue together with an adhesive spray - perfect for name toppers

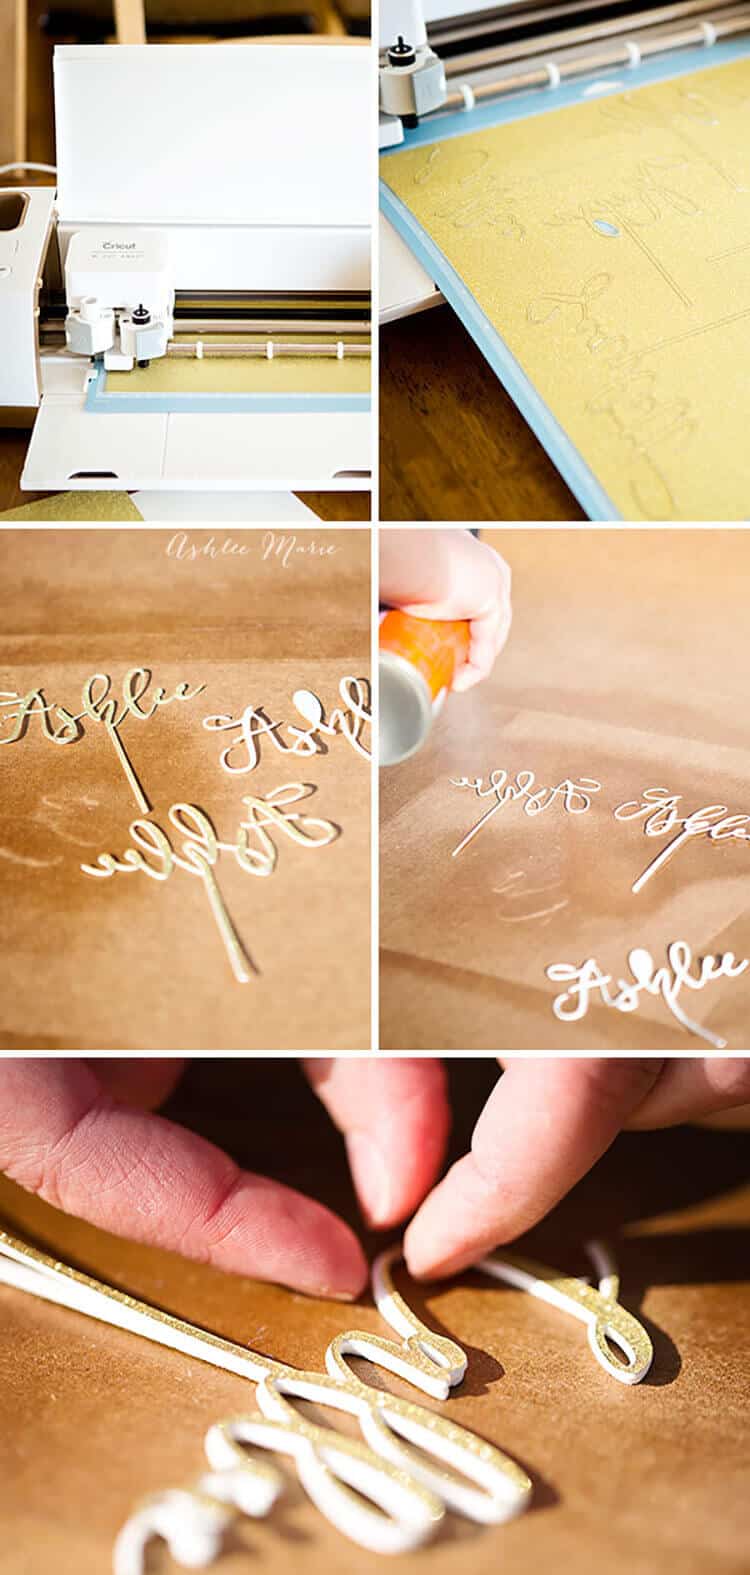
Once they are cut you’ll still have three separate pieces for each name, 2 glitter one double poster board.  Using the spray adhesive again your going to spray and stick the three pieces together. It’s slightly tricky but better to only do it twice than with all 6 layers, right?

IF you want it stronger for thicker desserts I sometimes glue a skewer in between the glitter layers, ripping or cutting off the long stem from the middle layer to make room for the skewer.

everyone loves seeing their own name, name toppers are perfect for place settings, parties, and other events

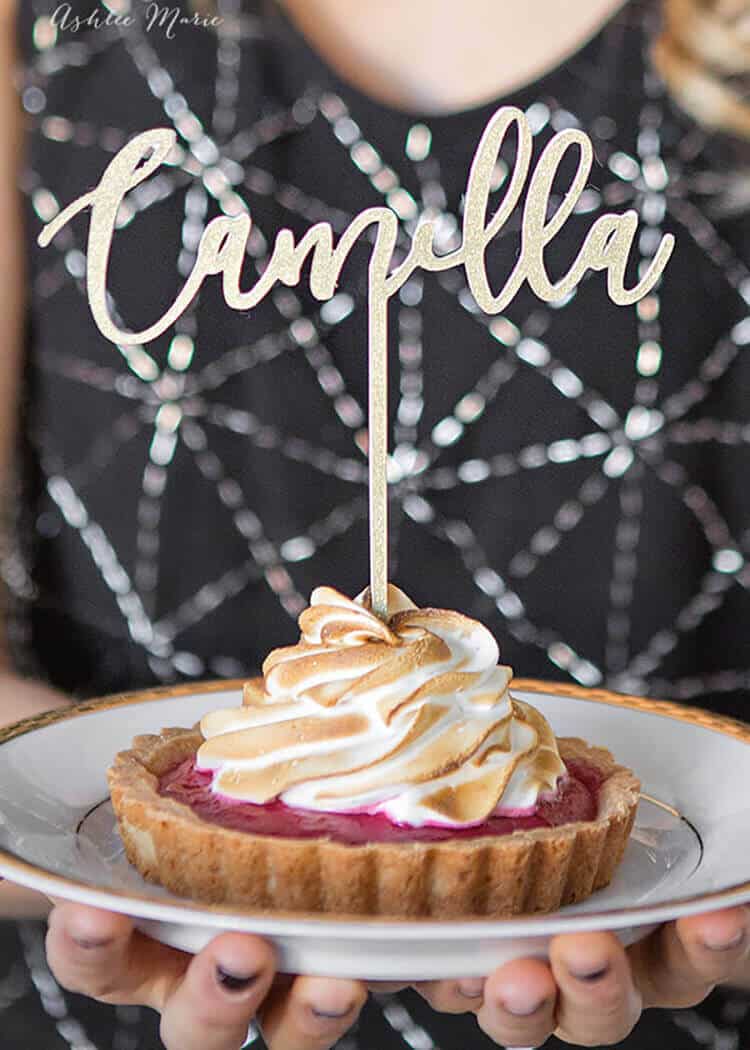
AND just like that your done! Now these golden name toppers are PERFECT for your OSCARS party! YAY!!! who loves a good gold, black and white party with amazing food? I DO! The Oscars are always a great reason to dress up and throw a fancy party.  Here are 10 more fun recipes, printables and crafts to help you host the PERFECT Oscars Party!

Oscars party recipes and crafts

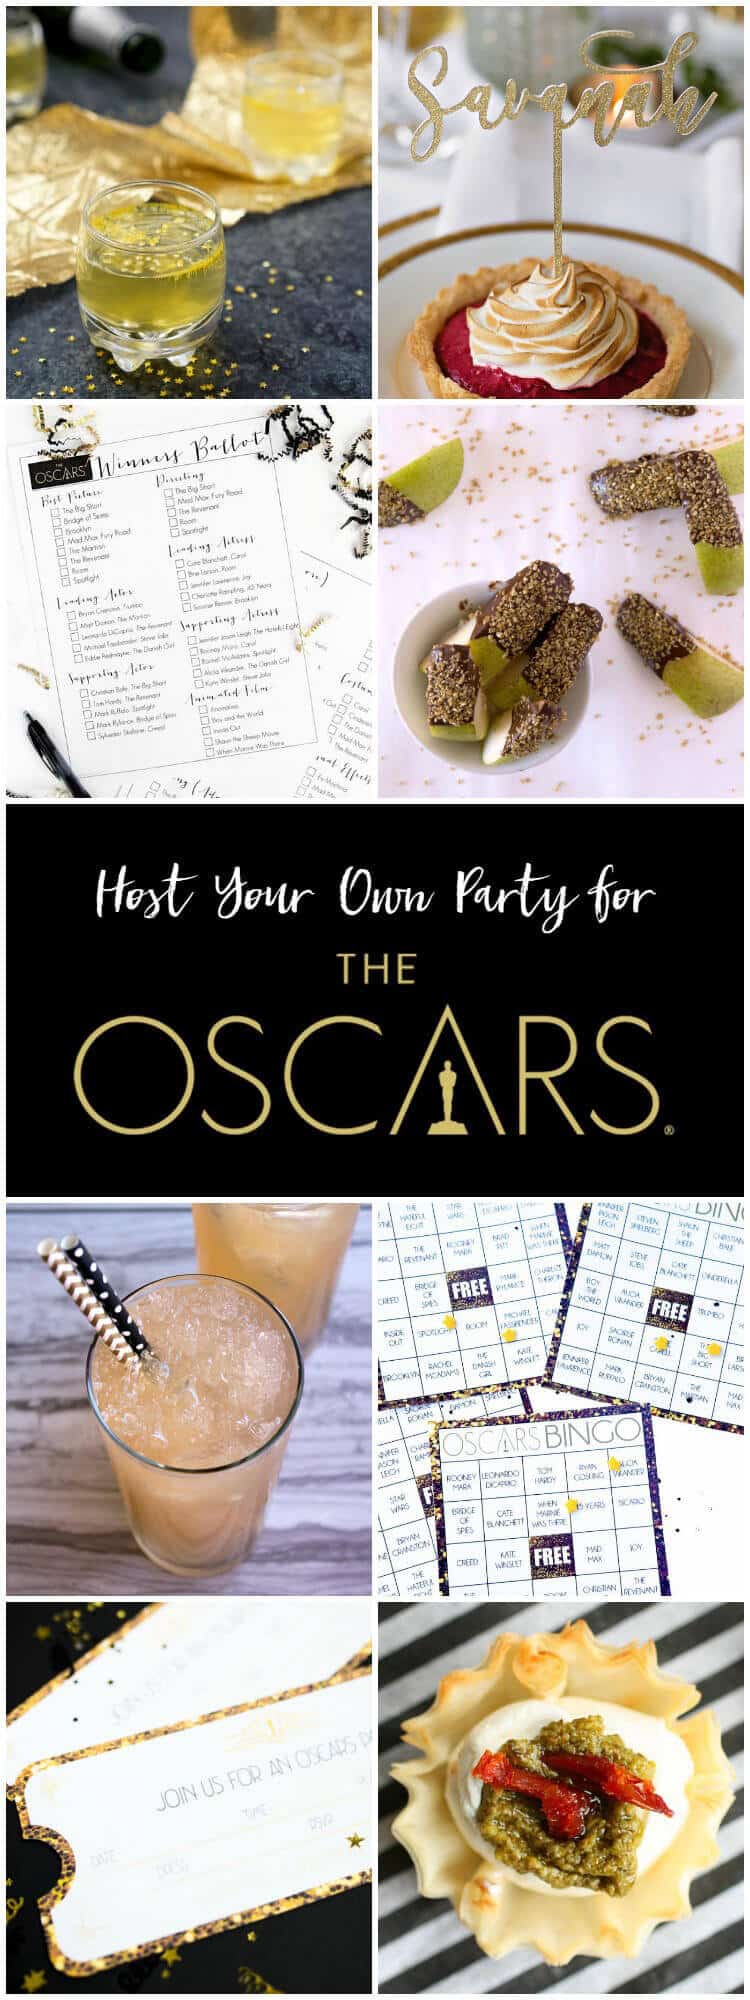
Chocolate Dipped Pears from Around My Family Table

The Brown Derby from Bread Booze Bacon

Glitter Name Topper from Ashlee Marie

Printable Oscar Party Bingo Game from Play. Party. Plan.

Glitter & Gold Popcorn from Mom’s Messy Miracles

Oscar Party Printable Invitations from Hey, Let’s Make Stuff

Garlic Parmesan Wonton Crisps from Love Bakes Good Cakes

Sun Dried Tomato, Pesto & Garlic Bites from Home.Made.Interest.

Oscars Winners Ballot from Sweet Rose Studio

Swag Bag and Oscar Award from Life Anchored

Champagne Jello Shots from Sugar & Soul

cut your own name topper from glitter cardstock and post board with a cricut explore

Related Posts:

  • Raspberry Curd Tart
    Raspberry Curd Tart
  • Red Velvet Cupcakes
    Red Velvet Cupcakes
  • Lego Star Wars Birthday Party
    Lego Star Wars Birthday Party

JOIN MY NEWSLETTER!

Become an insider and receive this FREE Maple Icing Recipe (not seen on the blog!)

You have Successfully Subscribed!

Privacy Policy: We hate spam and promise to keep your email address safe. You'll receive email updates through AshleeMarie.com. You can unsubscribe at anytime.

  • Facebook
  • Twitter
  • Yummly
ashlee marie

About Ashlee

With the right tips and tricks, I believe YOU can make, bake, or create anything. This is what I love to do - make some awesome, teach you how, and give you that boost of culinary confidence you need to rock your own kitchen! Read more...

youtube facebook instagram twitter pinterest email rss

Reader Interactions

Comments

    Leave a Reply Cancel reply

    Your email address will not be published. Required fields are marked *

    Recipe Rating


  1. Sherie

    April 4, 2016 at 11:28 am

    hi! love this post! was curious as to what program you used to design the names?

    Reply
    • Ashlee

      May 23, 2016 at 11:22 pm

      the names are just a font, I used adobe photoshop to add the stick and thicken the font.

    • Jin

      July 2, 2016 at 1:56 pm

      what the font is used Ashlee?

    • Kasandra

      September 1, 2016 at 7:14 pm

      What did you spray on them

    • Ashlee

      September 19, 2016 at 11:16 pm

      Bombshell Pro – a favorite of mine – https://www.myfonts.com/fonts/emily-lime/bombshell-pro/

  2. Ann

    December 30, 2016 at 4:10 pm

    Love this post. How were you able to weld the line with the letters using the cricut design space. I welded the letters but can’t see to get the line to also weld together. Please let me know thank you!

    Reply
    • Ashlee

      January 25, 2017 at 5:00 pm

      I did it in photoshop first then saved it as a png and imported it

  3. Vicky

    June 24, 2017 at 10:19 am

    Hi love your cake toppers. How did you upload the font design to your cricut?? I have a cricut cake do you think it would work as well. thank you

    Reply
    • Ashlee Marie

      January 6, 2020 at 12:51 pm

      cricut design space just recognizes fonts from your computer, no need to upload them. I haven’t used the cricut cake only the newer machines

  4. Chenequa

    April 23, 2018 at 1:46 am

    Thank you so much for this post!! I was trying to do this same thing for my party in Maybabd got frustrated and decided to just make name cards. Now I will be able to go back to my original plan and make name toppers for the drinks.

    Reply
  5. SABRINA

    January 24, 2020 at 4:57 pm

    What settings did you use? The firstayer of glitter paper cut but it didn’t cut all the way through…😑

    Reply
    • Ashlee Marie

      February 3, 2020 at 2:22 am

      ummm I did the deep blade and between posterboard and cardstock

Primary Sidebar

about ashlee marie
youtube facebook instagram twitter pinterest email rss

You have Successfully Subscribed!

Privacy Policy: We hate spam and promise to keep your email address safe. You'll receive email updates through AshleeMarie.com. You can unsubscribe at anytime.

Popular Posts

Homemade deep-fried monte cristo sandwich
homemade choco taco
one pot loaded baked potato soup
tamatoa cake - moana - disney
I love these candied strawberries, like a candied apple, a glorious crunch with a ripe strawberry center!

Footer

SEEN ON

as seen on
  • TV and Media
  • Privacy Policy

COPYRIGHT © 2007–2023 Ashlee Marie - Real Fun with Real Food

ashlee marie lets make some awesome
  • Recipes
    • Main Dish
    • Desserts
    • Breakfast
    • Sides
    • Bread
    • Soups & Salads
    • Drinks
    • Food Tutorials
    • Back
  • Cakes
    • Cake Recipes
    • Cake Tutorials
    • Carved Cakes
    • Wedding Cakes
    • Smash Cakes
    • Party Cakes
    • How to Video Series
    • Back
  • Parties
    • Complete Parties
    • Party Cakes
    • Party Food
    • Party Crafts & Decorations
    • Printables
    • Invitations
    • Back
  • Holidays
    • Valentines
    • St. Patricks Day
    • Easter
    • Cinco De Mayo
    • Mothers Day
    • 4th of July
    • Halloween
    • Thanksgiving
    • Christmas
    • Back
  • Travel
    • Culinary Travel – Cooking Schools
    • Family Travel
    • Disney
    • Universal Studios
    • Blogger Trips
    • Back
  • Videos
    • Recipe Videos
    • Short Videos
    • Kitchen Tip Videos
    • Video equipment links
    • Back
  • Crafts
    • How to & Craft Tutorials
    • Crochet & Knit Patterns
    • Decorations
    • Photoshop
    • Sewing Projects
    • Back
  • Shop
    • Video equipment links
    • Baking and Kitchen equipment
    • Back