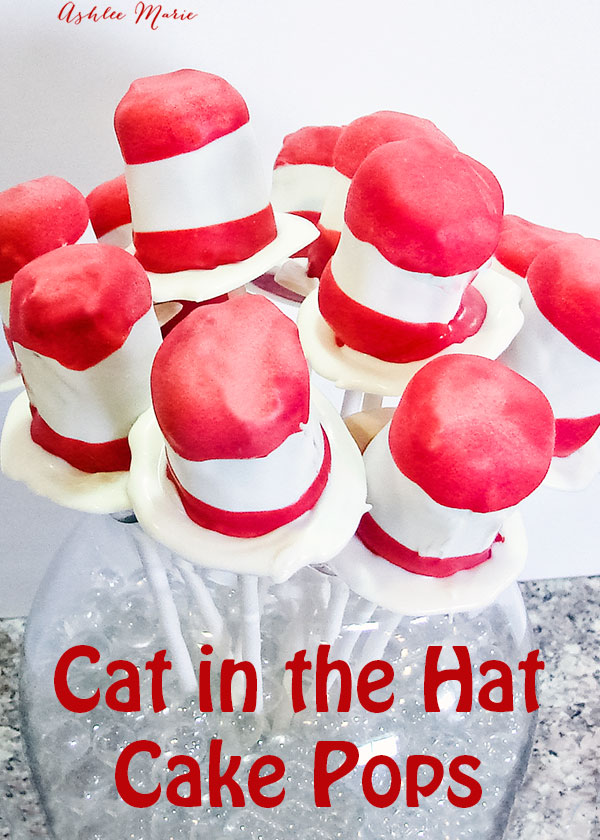
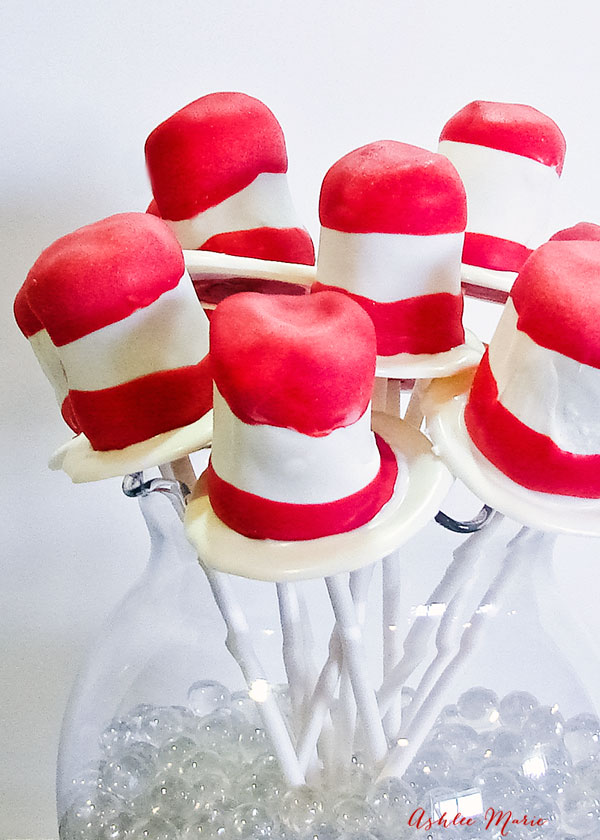
Happy Dr. Seuss Birthday!!! I made these 2 years ago for my daughters Dr. Seuss birthday party, and I get asked all the time for instructions on how I made them. So I figured his birthday this year was a great time to make them again and make a tutorial on it!
First of all I am not a cake pop fan, so these are actually my Oreo truffles, but cake pops will work just as well, so use whichever recipe you prefer.
Start off my making cylinders. I roll mine into a ball first, then roll them into a tub, using one hand’s finger and thumb to flatten the top and bottom and the other hand’s finger and thumb to form the tub, turning it until I’m happy with the size. Luckily these hats don’t have to be perfect and look good a bit floppy!
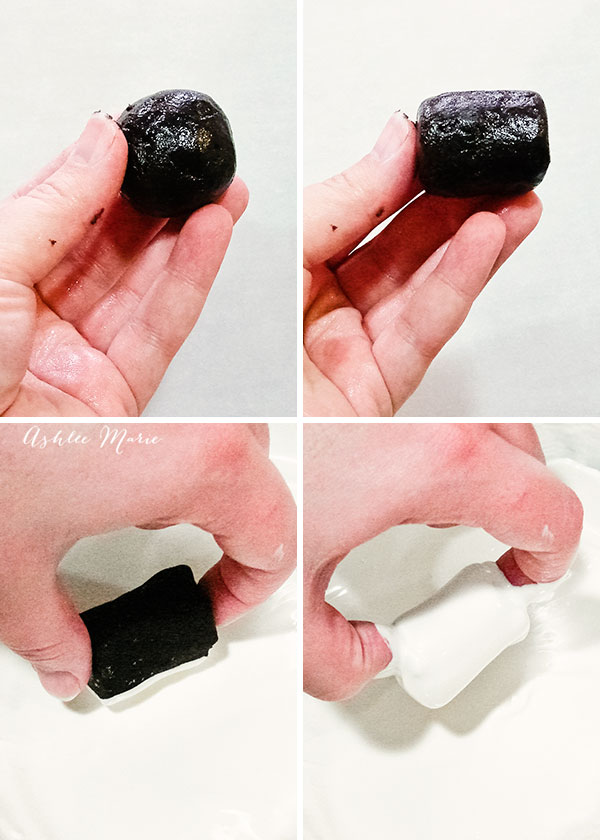
Place it on parchment paper! Make the batch and throw them in the freezer to firm up!
Now melt the white candy melts in your double broiler! I just use a metal pan sitting on top of one of my sauce pans with boiling water, it doesn’t take much water.
The better quality candy melts (I like guillards) the easier dipping will be! Also if you don’t want your candy melts to crack when you dip your pops make sure you let them it out a bit do they aren’t fresh from the freezer.
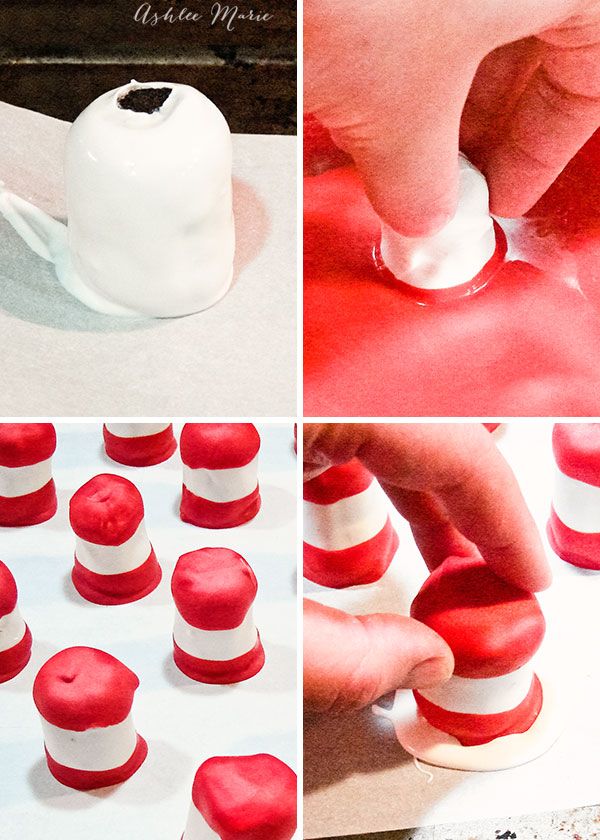
I hold the cylinder between my fingers holding the top and bottom. Then roll the sides in the white candy melts! The tops and bottoms don’t matter so much!
Then sit it right side up on parchment paper again!
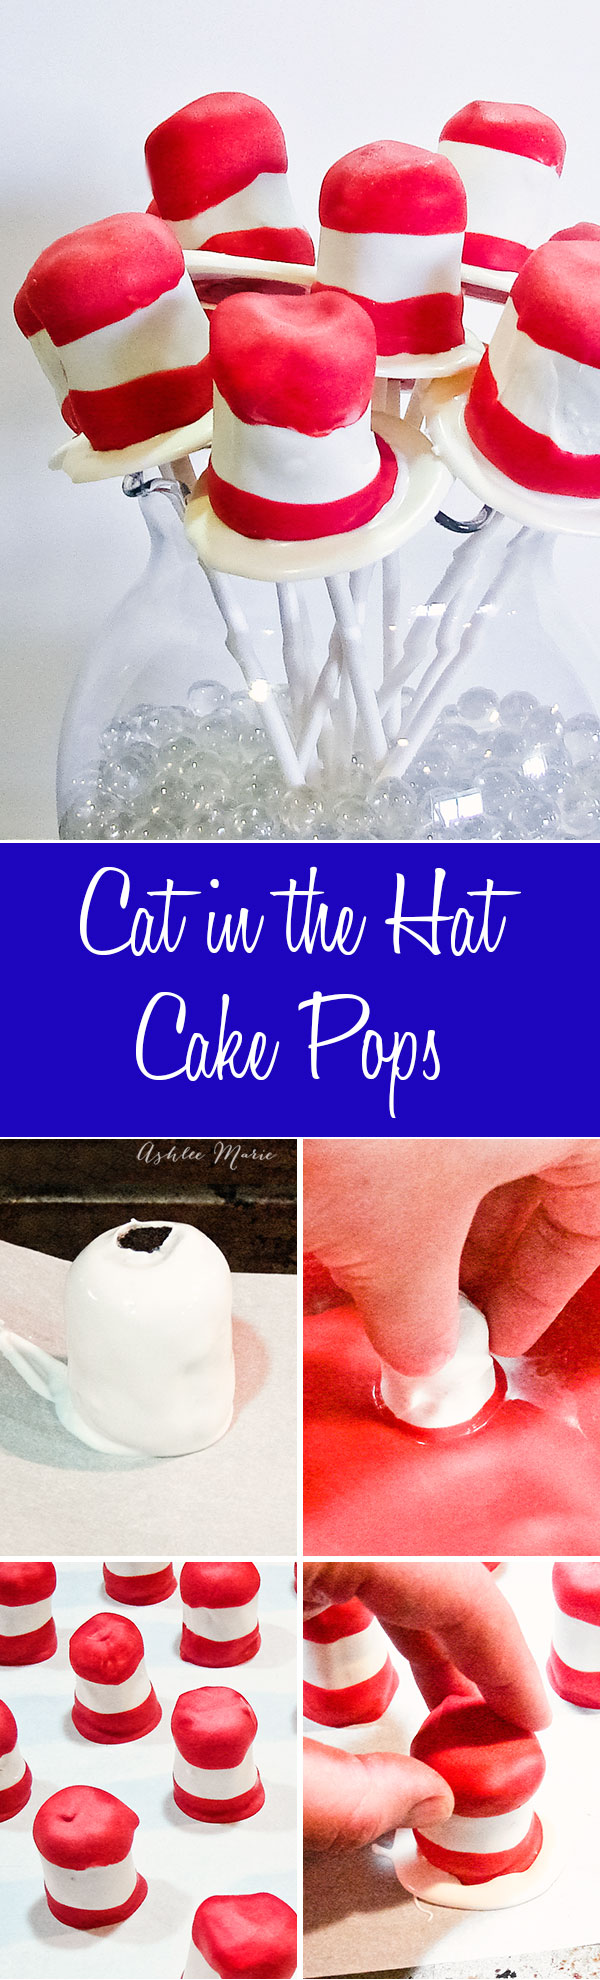
The top doesn’t have to be pretty, or perfectly smooth, but you also don’t want it to be TOO rough, so dip your finger in the white candy melts and dab it on the top a bit to smooth it out a bit if it’s too rough (or if you can’t stand it- like OCD me!)
Finish them all and let them dry- I like to keep them refrigerated! I work with two trays, so one tray is in the refrigerator setting up while I’m working on the second tray- it keeps things moving quickly!
Next up, melt the red candy melts in your double broiler
Start by dipping the TOPS of all the cylinders into red candy melts. make sure to get it even, and go about 1/3rd of the way down. Let them dry- refrigerate.
Now did the bottom of the batch it the red candy melts. Again- try to keep it even and about 1/3rd of the way up. Set them on parchement paper, but this time leave room around each one. Let them dry- refrigerate.
Now we’re going to add the brim! If you have any of the melted white candy melts left you can pour them into a piping bag! If you don’t you can add candy melts to a piping bag and melt them in the microwave- just be careful not to burn it, or burn yourself!
Here is my piping bag, while you want the chocolate melted you don’t want it TOO runny, for me I let it cool a bit before I did this. I cut a small hole in the tip, not too big since we don’t want it running out , you want to be in control of the squeezing. And less is more, you can always cut a bigger hole if you need to so be cautious!
pipe around the brim of the hat directly onto the parchment paper, it’s okay if it’s messy, just get it nice and thick and as WIDE as you want it.
Then grab the top of the hat and wiggle or shake it, just a bit, kind of up and down- it will pick up the parchment a big as well as wiggle the roughness out of the candy melts!
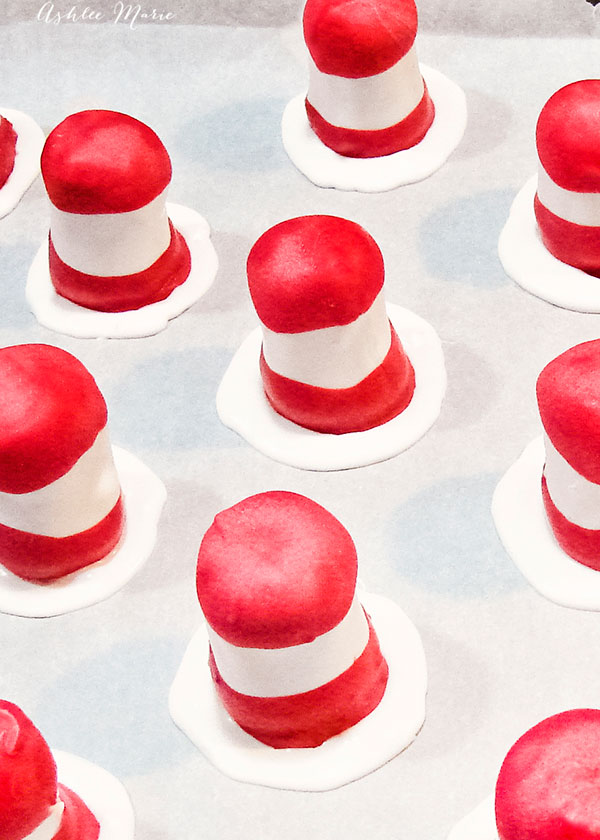
See how smooth it is now???? AMAZING! Do this with all your hats and refrigerate until your ready to serve them!
You can leave them flat on a plate, or stick them on, well, sticks! and serve them as pops! We made a few dozen and took them to the kids school mates today for school! Everyone loved them, and they really are pretty darn quick and easy to make!


sabsy
these look great 😀
Ashlee
Thank you so much! My kids love them, and love helping me make them!
Alisa
You saved the day for me. I was planning my daughters baby shower and four days before the shower I decided it would be easier to make cake pops, but the theme was Dr. Seuss. Soooooo I headed to Pinterest to see what I could find and your post was the only one that the gave the instructions on how to make these fine treats.
jessie@saavysavings
Hi! First time on your site – it’s great! These turned out awesome! Just started following your blog! Hope you’ll have a chance to check out mine (new to the blogging world)! Thanks 🙂
Ashlee
Your blog looks great! You have a TON of people linking up to your party for just starting out! very impressive! the felt monster is totally cute and I love your hair cut~!
Lorraine B
My son loves Cat in the Hat. I am going to have to make him these for a special treat.
Ashlee
My kids love them! I hope your son enjoys them!
Alison
I LOVE The Cat in the Hat! These are so fun Ashlee!
Ashlee
Thanks! I can’t believe you still respond to every link up! YOUR amazing!
kim
Oh, these are so cute and yummy looking!
Ashlee
Thanks! They are both!
Justine
Stopping by from the Strut Your Stuff Link Party! http://queenofreviews.com/
Ashlee
thanks for coming by!
shannan
If your making pops, when do you put the sticks in? Is it right before serving them? Thanks!
Ashlee
anytime after the rims are set. You can do it immediately or right before serving, it’s up to you, and where you have room to keep them.
Jessica
I don’t see the tutorial anywhere on this page :/ it only shows the comments
Ashlee
that’s crazy? try it again and let me know what your viewing it on (pc, tablet, phone) and what browser your using. I’ve had a few coments on a few different posts like this and i’m trying to see if they have the same things in common so I know what I need to work on/fix! thanks for letting me know!
Kimie
This is extremely helpful. Thank you!!
Ashlee
your welcome! I hope you enjoy making them!
Laura
Those are so cool! How creative! 🙂
~Laura
Ashlee
Thanks so much! I love these pops!
Cecilia
Those are so cute! It would surely be a disaster if I tried, but your pictures are lovely. They’ll have to be enough for me. Sigh.
Ashlee
thanks! The nice thing about these is that the cat’s hat isn’t perfectly straight so messy crazy hat’s are perfectly okay!
Anna
AWESOME!! I’m going to make these for my son’s 3rd birthday party in October! I was looking for Dr. Seuss cake pop ideas using Oreo Truffles which is how I came upon your blog. I’m so excited now 🙂 Thanks so much for the detailed instructions!
Ashlee
you are so welcome! have FUN, Dr Seuss themes are always such a blast
Flavia
I’m going to try your method but with firetruck hats instead. I’ve done cake pops before but never with a brim… and I think your method will work for what I’m trying to do. Thanks!
Flavia
I’m wondering how to poke them with the stick after the fact… won’t it break them? Any tips?
Ashlee
I do it all the time – just press fast – because I press the pop down onto the parchment paper it actually kind of thin’s out the chocolate on that side so it broke through easily.
Ashlee
let me know how it goes!