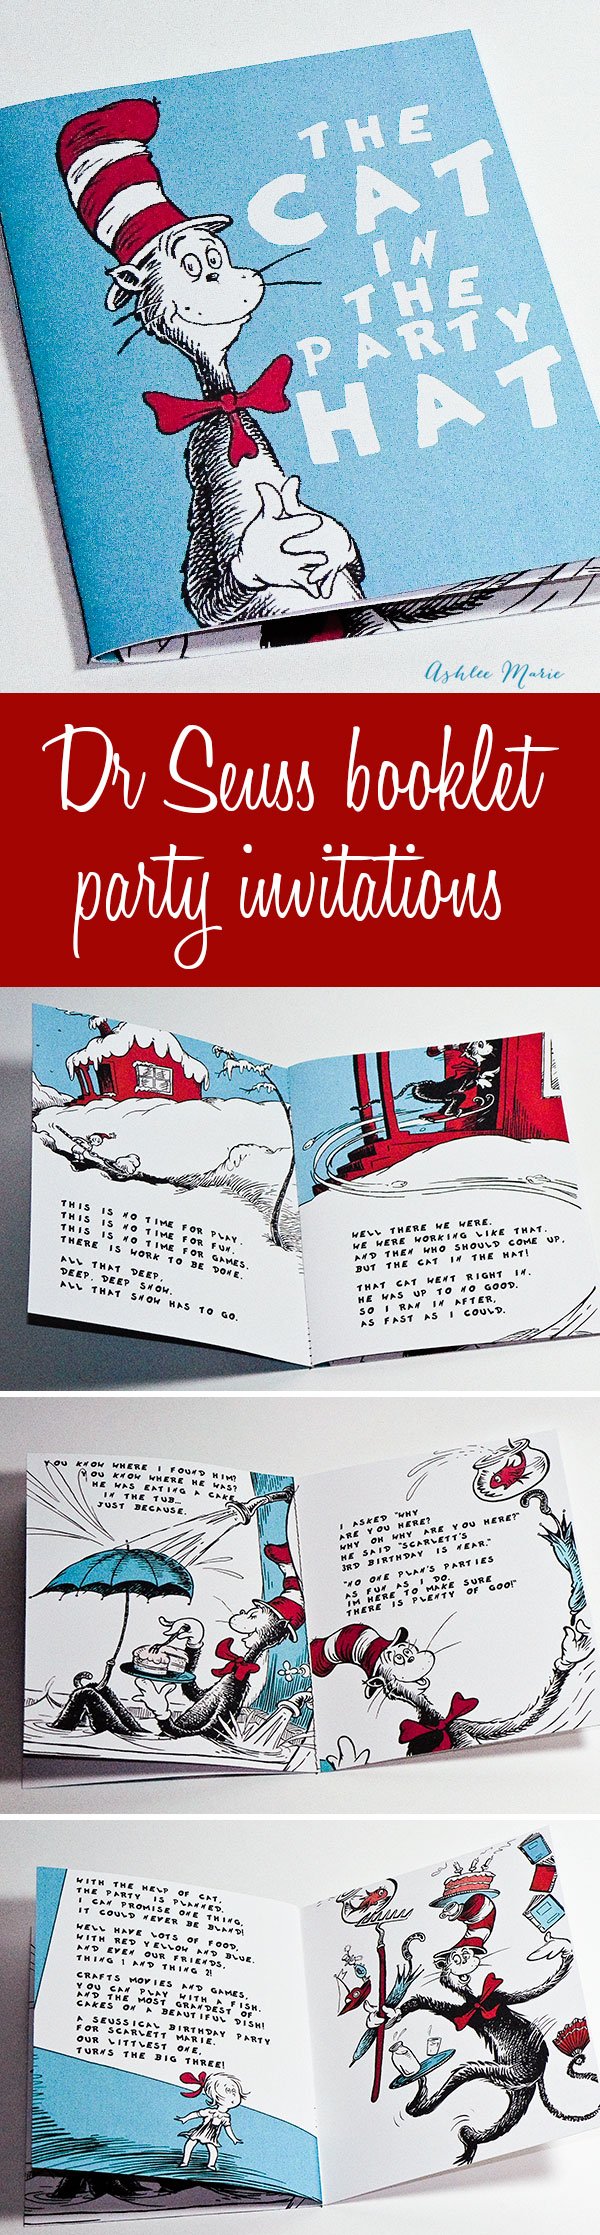
These Dr Seuss Birthday party invitations are still one of my most popular and most asked about invitations! I usually get asked if I am willing to sell them. Since I don’t want to get in trouble for copyright infringement of any kind I do NOT sell them. The next question I get asked is if I’ll share my images and text. I made these specifically for our party and situation, so they wouldn’t fit anyone else’s party per se. BUT I am willing to share extra pictures and a bit more of HOW I made them with you in hopes that it will help someone!
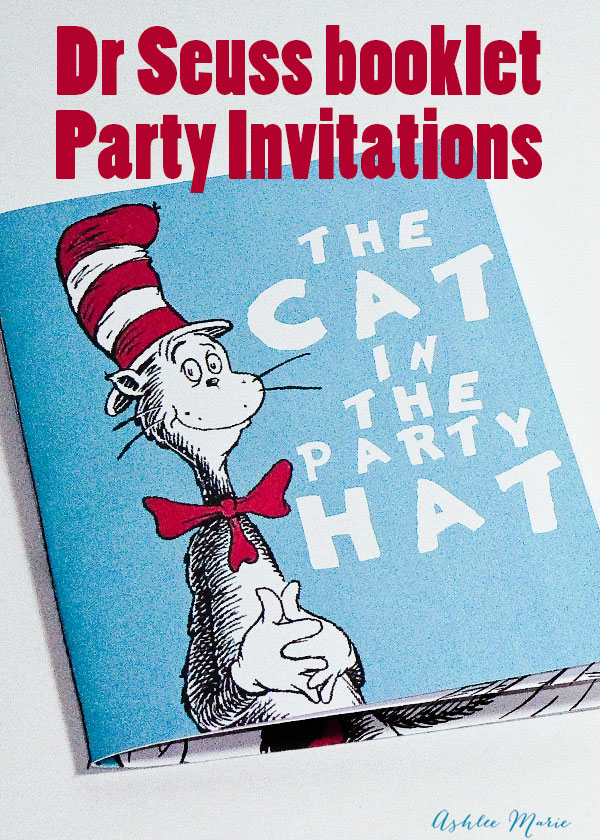
For the cover: I used this Cat in the Hat image, this blue background and a Dr. Seuss font to create the cover art. I used Microsoft Publisher to create my books, but word or Photoshop would work just as well. I just happen to used publisher a lot and so it was the quickest option for me. I bought and used blank cards from a local craft store, but the measurements of the cards was off just enough that it caused issues. If I was to do them again I would use normal 8.5″ x 11″ card stock folded in half for my cards. The weird measurements was seriously the most frustrating an time consuming part of the whole project.

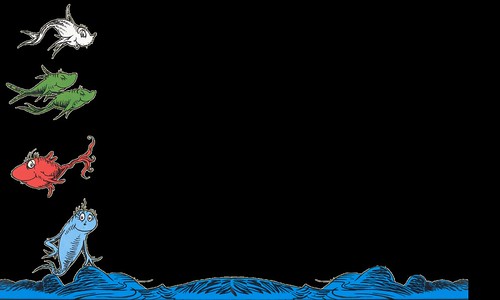
For first inside pages I scanned in pictures from the Cat in the Hat returns because of the images with snow. Since the party was at the beginning of spring and we were just coming out of winter it fit the story I wanted to tell well! I used the same Dr. Seuss font as the cover. The first paragraph I took right out of the book, and went from there. I am NOT an english major, but I tried my best to stick with the cadence and rhythm of Dr. Seuss. The extra step I did, that is totally optional, is I used photoshop to edit out the little boy from the images I scanned in. I only wanted the little girl because the party was for my 3 year old daughter. But it was certainly not a necessary step, easy to leave out.
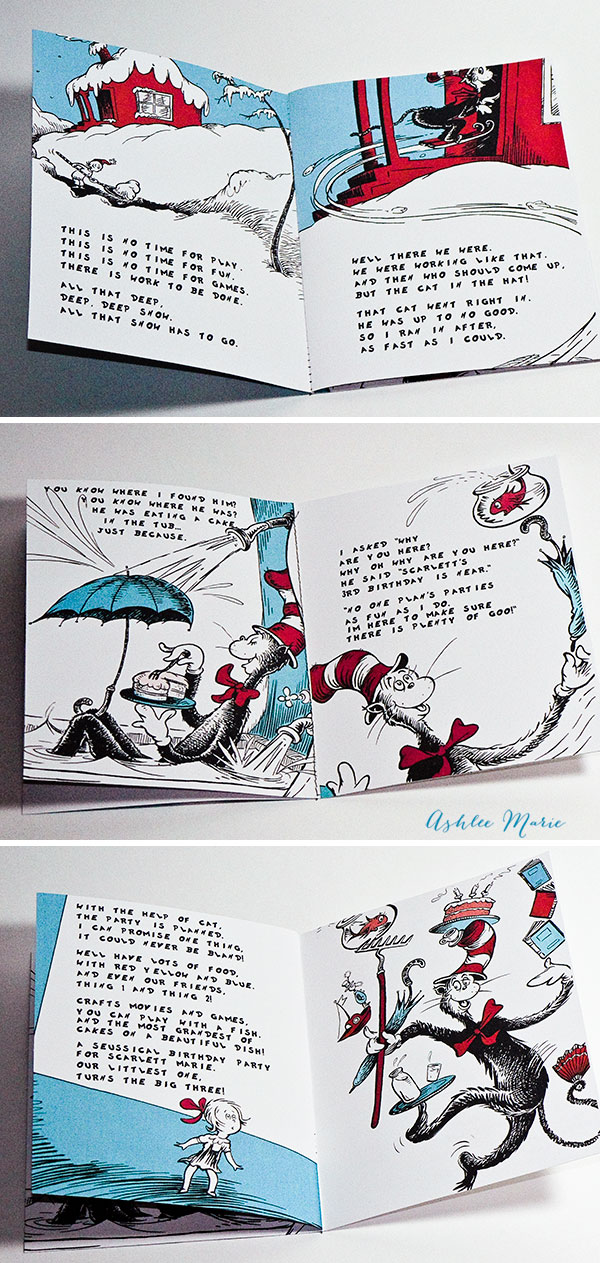
The next pages, I think the first one is from Cat in the Hat returns, and the second one is from Cat in the Hat. I choose the first one because it had a cake, and fit with the party theme. The blank erased spot had the birthday girls name (because it was a 3rd line it didn’t have to rhyme.).
This is the center page so you can also see where I put the two blank cards together and used my sewing machine, on the longest stitch, to sew my book together.
I choose a pretty busy picture (another one with a cake) so knowing I couldn’t add words to that page I choose a very blank page to set across from the busy page so I would have plenty of room for words to finish up the story. It’s much more wordy than a typical Seuss book, but it got in all the info I wanted, food, theme, colors, crafts, etc… I’m sure I could have made it shorter but I tend to go overboard… Plus when your working in rhymes it takes a lot more words to get just one idea across! (again I erased the birthday girls name from this page, but it did rhyme this time)
Again, I took the extra time and step to Photoshop the little boy OUT of the page image, but it seriously is not for the feint of heart, or Photoshop beginner.
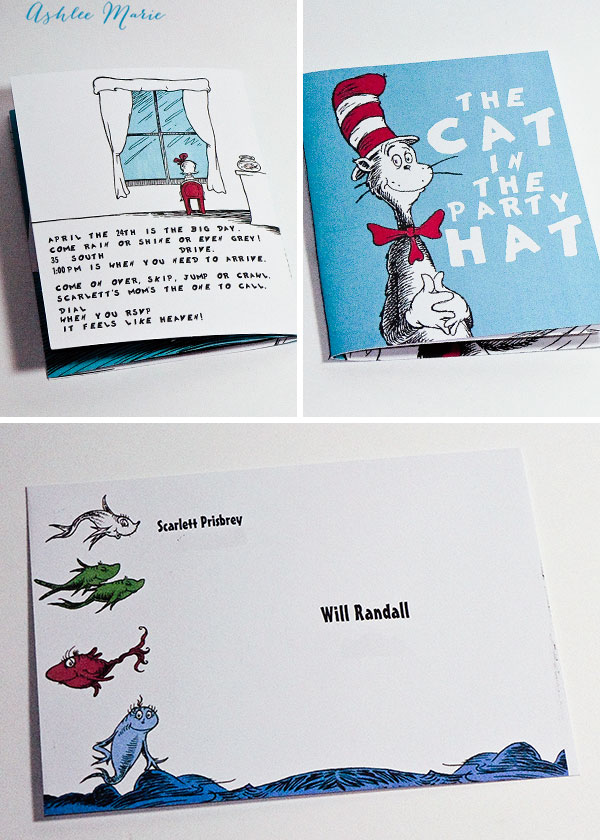
And finally the main party info. This image is from the beginning of the Cat in the Hat book. I wanted it all on one page, like a more traditional invitation, but at the same time it’s hard to get that much info into two paragraphs that all still fit the rhythm and rhyme of the rest of the book! I think I’m the most proud of this page because of how well it came together (except for the Heaven line- but what else rhymes with 7?). And of course I erased all the address/name info, sorry. And once again I got rid of the boy from this picture, an unnecessary step but one I felt really MADE the book come together for me.
Finally I created this envelope. I use Microsoft publisher address wizard to print off matching envelopes from my address book. The best part??? It still only cost one stamp?? I couldn’t believe it? I thought for sure it would cost more, but I’m SO glad it didn’t as we sent out QUITE a few invitations. It was one of the things my husband couldn’t complain about (cost wise).
Clicking on the picture will take you to the flickr page where you can download the full size png image and use it for your own invitations or envelopes.
I hope this helps you guys in some way. I’m sorry I can’t do more, but I have seen too many bloggers get in trouble for copyright infringements and I do NOT want to be one of them. If you have any other questions feel free to ask and I will answer what I can!


Kim @Kims Kandy Kreations
You did such an amazing job on this invitation. I can’t beleive the talent you must have to have been able to write that whole poem in Seuss style. I’ll bet it was pretty cool.
I had to share this idea on Shout Out Sunday this week! Thanks so much for such a fun idea.
http://www.kandykreations.net/2011/07/shout-out-sunday_31.html
Ashlee
Thank you so much for the feature! I’m so glad you liked the invitation. They are still my favorite invitations so far. I’ll have to top them at some point, but not sure how!
Karina
I’m planning my son’s 1st birthday and the theme is the cat in the hat. this is an amazing invitation. I don’t own a sewing machine. I wonder if I can glue the pages.
Ashlee
Or you could hand sew, or punch 2 small holes, top and bottom, and use elastic, or thread, or ribbon to hold them together! Lots of fun and easy options without a sewing machine! Good Luck!
Priscila
Cute cute cute! Love love love!!!
Ashlee
Thank you so much! I love how it turned out, still one of my favorite invites!
Tara
We are in love with Dr. Seuss in our house and I have never seen anything like this, I am in love! I haven’t decided if I want to do a Dr. Seuss themed birthday for her second or wait until she’s a little bit older, but either way I bookmarked this, great idea!
Ashlee
Thanks! You should check out the rest of the party I threw! It was over the top, but OH so much fun! I think in a few years I might do another Dr. Seuss party, it was just too much fun to only do once!
Rachel
Oh my gosh, that is just so fun! What a lot of work to go to for party invitations–but it looks like it was TOTALLY worth it, they are amazing! And a great keepsake from the party. Great job!
Ashlee
It was a lot of work, but compared to the rest of the party? Not so much. And they were totally worth it, it’s so nice when an idea comes together so well!
Jenn/Rook No. 17
What a wonderful, creative invitation! Beautifully done!
So glad that I saw your link-up at Flamingo Toes. Always a pleasure to meet a fellow cake artist!
Cheers!
Jenn/Rook No. 17
Ashlee
Ditto! Your cakes are amazing! And you obviously me a ton more than I do, and it shows in your talent!
paige
This is so cute! I did a Dr. Seuss party for my son’s 1st birthday…this is amazing. I think it would be perfect for my brand new linky party!
Creative Genius @ http://thecreativepaige.com/!
Ashlee
Thank you so much! The party itself turned out great too, but I just LOVE the invitations. Still my favorites!
mindy cone
love this! I am an event planner (check out our blog!) & I have never seen this! sooo adorable!
we are new fans and would love if you checked us out too!
mindy from creative juice
Ashlee
Thanks! I can’t wait to check out your blog! Thanks for the invite!
Jenny
Hi! I love your invitations! I’m planning a Seuss party for November and would love to attempt these. I have almost all the Dr. Seuss classic books so I have plenty I can scan in! I make invitations so I’m good with Photoshop. My problem is that the cutting down of paper is the part I hate, but I saw you noted you would do that next time rather than using greeting cards. I’m just curious where you ran into problems with those. I print on a laser printer and it’s not borderless, so that may be an issue, too. Just looking for some input 🙂 Thanks!
Ashlee
Thank you so much. I’m glad you like them. What I would do if I was going to do them again, is rather than use specialty card stock cards I’d use regular 8.5×11 card stock. Putting two pages on both sides… I’d print border-less of course, but if you can’t you’ll either have a border or have to cut the border, it’s up to you. I’d then cut the card stock in half so I’d have 5.5×8.5 cards that I fold in half and then sew together. Does that make any sense at all???
Ashley {Ashley Daniell Photography}
I love your invitation! I’m planning a Dr. Seuss themed 2nd birthday party for my son and would love to use some of your ideas. I clicked on the photos above that were linked to your Flickr account, but I was unable to see where I could download the image. Is this still an option you have accessible? Thanks!
Ashlee
you can still download them, the same way you download any image from flickr… I go to “view all sizes” then click the size you want to download!
Diane
Hi, What a lovely invitation!!! Is there anywhere that I can download the images you used for the inside pages?
Thanks in advance.
Ashlee
no, sorry, I would get in a lot of trouble for that. Even the images I shared are right on the line of okay for copyright laws. I scanned in the pages I wanted and photoshopped out the little boy! Good luck! And I wish I could help more!
Kristin Bolling
Would you be willing to make these for a fee or would you sell me the word file?
Ashlee
no way, sorry. Dr Seuss comes down HARD on people who use their copyrighted images, esp to make money. Even sharing as much as I have is walking the line a little close. Try etsy, there are people breaking the law there all the time (but you could get in trouble for buying stolen copyrighted images as well.) the only way to get around it is to make your own, which is why I did a tutorial.
Stacey
Hi there,
I just came across this and was wondering… You printed these double sided, yes? Can you clarify the actual printing process? What was frustrating… Getting it sized right on the computer or getting the printer to recognize the size?
Thanks!
Ashlee
the frustrating part was that I designed it for a size that would fit my envelops, and not for the 8.5×11 printing. I should have designed it to work with the 8.5×11 and then cut it down to size.
makeyva
I seen these invitations and have 9 months to make them. I have little to none as far as computer skills. How do I get to your flicker page I have never heard of flicker
Ashlee
there is a link to my flickr account, it’s a place to store images. blue background – https://www.flickr.com/photos/8287004@N07/5986174990/, cat – https://www.flickr.com/photos/imtopsyturvy/5985599575/in/photostream/
cathy Caballero (@cuttysark_roy)
Hi, i loved your dr. seuss birthday invitations idea. You really went all the way, i dont know if i can pull together this kind of invitation. Anyway, good job on the invite.
Ashlee
thank you so much! I appreciate it, out of all the invitations I’ve made these are def still my favorite!
Carmen
I love your invite! My granddaughter is turning 1 and you inspired me to make her invitation into a book. They turned out adorable, everyone loves them, so thank you again for sharing your idea!
Ashlee
yay! so glad you had fun making them! always a huge hit!
Bonnita Chazen
Hi there. Thank you so much for sharing this with everyone.
My boy is turning 1 in September and these are ssssoooo perfect.
I am doing a Dr Seuss theme for his Dad and I cannot wait to surprise him with the invitation when they are done.
I would love to share pictures with you when I am done 🙂