Hey folks! It’s Lindsay from Love City here again today to share a fun crochet pattern with you!
So far, we have worked on perfecting the single crochet with the sailor’s knotted belt, and the half double crochet with the eyelet apron pattern.
Today we are going to focus on the double crochet. This is the stitch that you will probably use more than any other stitch!
Are you ready to get started with this week’s pattern!? Let’s go!
My children love to play pretend. They are usually dressed as some sort of super hero, but occasionally they are tigers, lions, and dragons too! Crochet animal hats are the perfect accessory for kids to let their imaginations soar, but it’s definitely a bit too hot for crochet hats at the moment, don’t ya think? So I had an idea to attach some crochet animal ears onto headbands instead of hats.
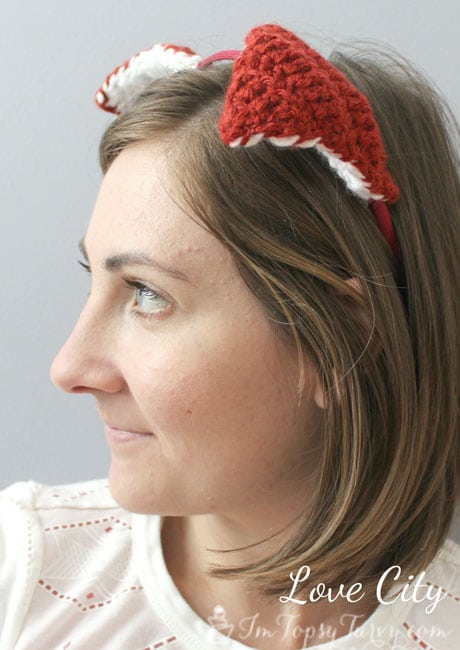
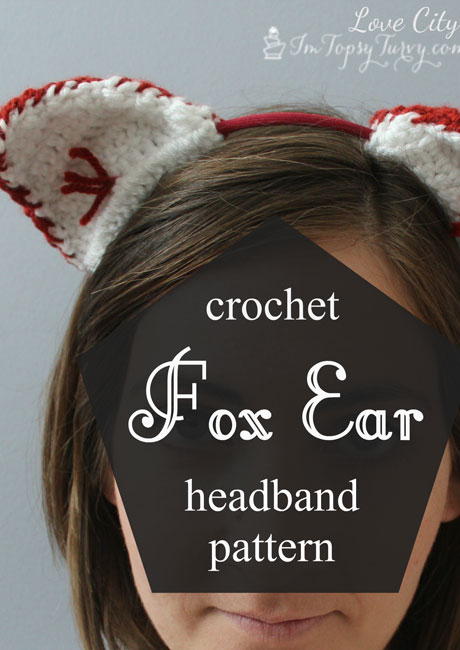
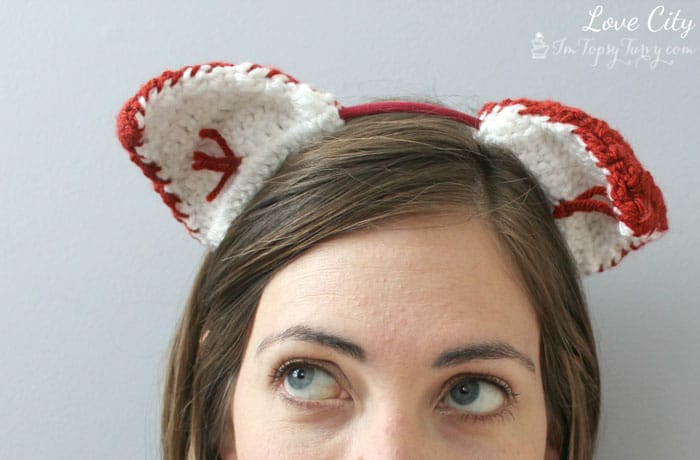
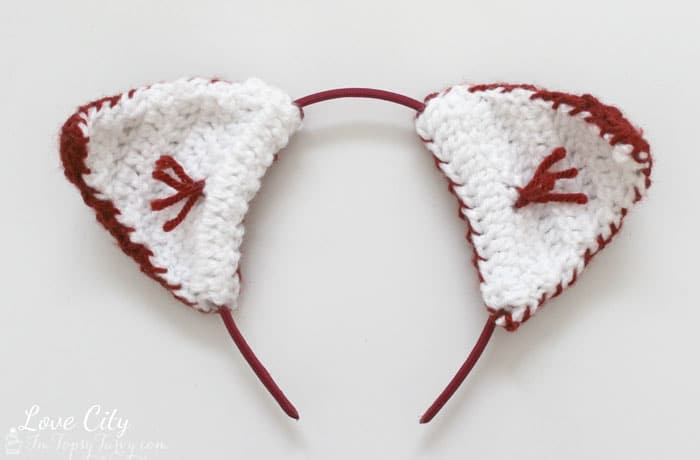
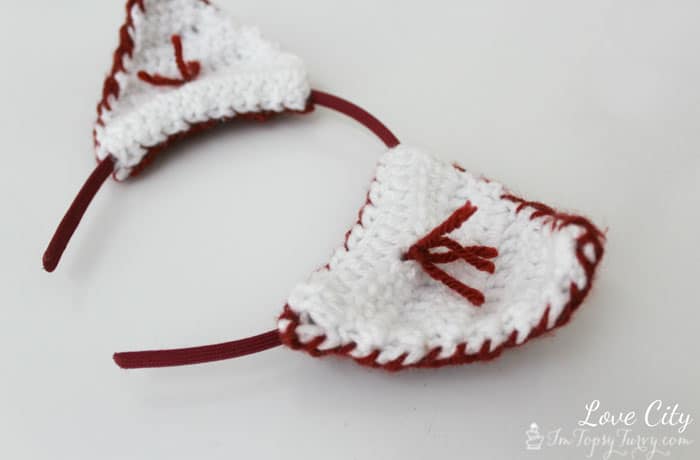
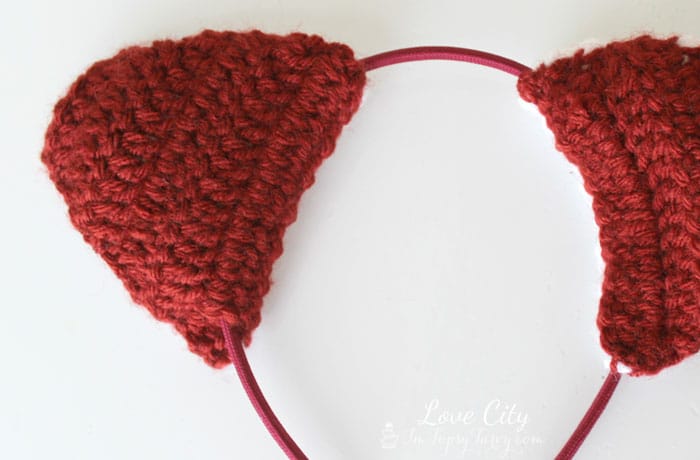
For today’s pattern, I created a crochet fox ear headband! Fox’s are definitely “in” right now, but they are also just plain cute!
Here is your free crochet fox ear headband pattern:
[printfriendly]
Supplies:
Small bits worsted weight yarn in “orangey” red color and white
(I used Vanna’s Choice in Brick and White)
Size G/6 crochet hook
Scissors
Large eye plastic sewing needle
Headband (I love using Goody brand headbands that I find at Target)
Abbreviations:
st- stitch
ch- chain
sl st- slip stitch
double crochet- (dc) Yarn over. Place hook into stitch. Yarn over. Pull hook back through stitch. Yarn over. Pull hook through first two loops on hook. Yarn over, pull hook through remaining two loops on hook.
1. With orange yarn. Make two. Ch 4. Sl st in first ch to form loop.
2. Ch 2. Work 3 dc in center of loop.
2. Turn. Ch 2. Dc in same st. Dc in each st across until you reach the last st. 2 dc in last st.
3. Repeat step 2 until you have a total of 8 rows.
4. Fasten off. Leave long tail for sewing later on.
5. With white yarn. Make two. Ch 4. Sl st in first ch to form loop.
6. Ch 2. Work 3 dc in center of loop.
7. Turn. Ch 2. Dc in same st. Dc in each st across until you reach the last st. 2 dc in last st.
8. Repeat step 2 until you have a total of 8 rows.
9. Fasten off. Weave in loose ends.
10. Sew one orange piece and one white piece together (You can probably sew so that the stitches are hidden, but I kind of like being able to see the stitches… what do you think?). Repeat with the other set.
11. Cut 4 inch strips of orange yarn and tie 2-4 strips in the middle of each ear.
12. Slide each ear onto the headband, slipping the headband in between the orange and white layers in the ear piece.
This project is such a great yarn stash buster! And now, just think of all the possibilities of animal ears that you could make! I’m already imagining cat ears, teddy bear ears, even elephant ears!
What do your kids dress up as when they play pretend!?
If you are interested in some more crochet animal ideas for your little ones, here are some patterns that I offer in my shop, Love City Crochet!



{Frog Prince Beanie Pdf} {Peanuts the Elephant Beanie Pdf} {Blue Bird Baby Beanie Pdf}





Rogue Fox
Im going to make these ears but with one small change, I’m going to hook yarn to each stitch and brush it out. It’ll be just like fur!
Gabby Bennett
At the very beginning of pattern, you say to chain 4 and sl st together to create a loop. Would it be possible to use the magic loop technique to start off? I understand this is an old pattern so I thought I would just leave my question and go about using the pattern. (To be honest my mom is making me make these for her because she loves to wear cute things to work for the residents of her nursing home)
Ashlee Marie
I didn’t create the pattern, it’s from an old contributor. but I would assume that would work okay. I tweak patterns all the time, just go for what gives you the look you want.