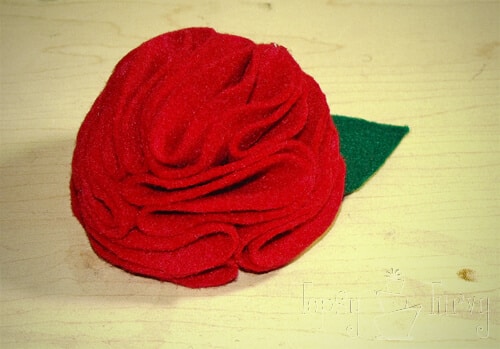
I’m sure there is a more “right” way to make these, but since I had a hard time finding a tutorial I just made it up. I think they are a little too full, so I’m going to try to make it with a few less petals and see if I get the desired results next time, but since we wore these with our Costumes I wanted to get this up!
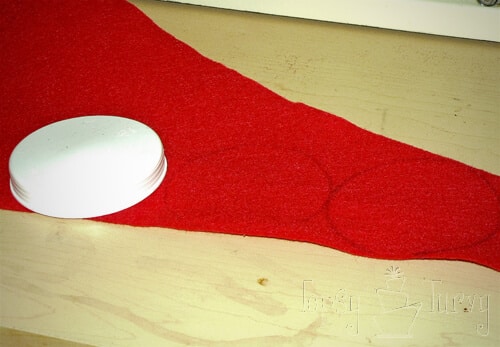
You want to start out with some felt, and a stencil! I used a plastic round lid. Remember the flower will be the same size as your petal so pick the size you want! I doubled up my fabric and marked it up!
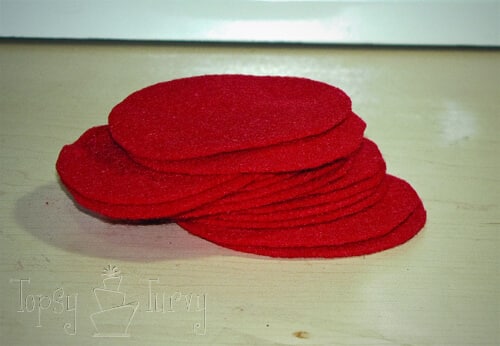
Then cut them out! I cut a TON of petals, knowing I might not get it right the first time,and also wanting to make three flowers at least. So I just cut and cut and cut!
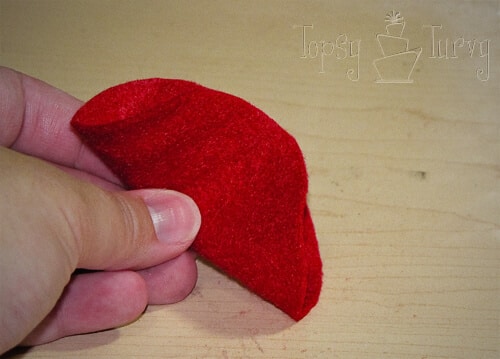
Next we begin the folding to create the ruffled felt petal shape. First you want to fold it in half, pretty easy.
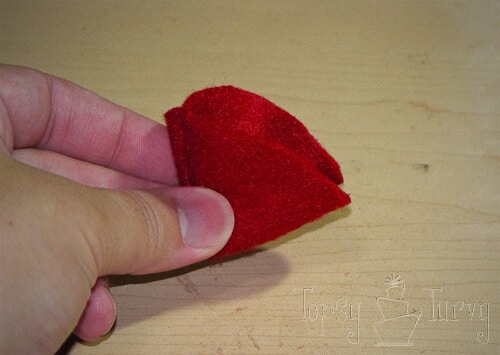
Next we want to fold it in half again, so we have this folded quarter circle.
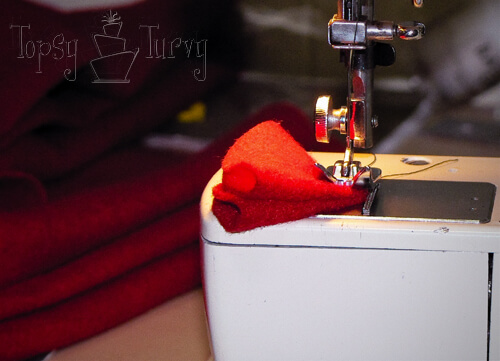
At this point you can go on to make flowers, ruffled pillows, ruffled wreaths, etc… In fact this was so fun I’ll probably make a few of those myself! Lovely. But for me it’s time to stitch the bottom of the folded petal to hold it’s shape. Most places suggest you hand stitch. BUT having my machine RIGHT here I figured I might as well try sewing it! So I ran the bottom 1/4 inch though the machine
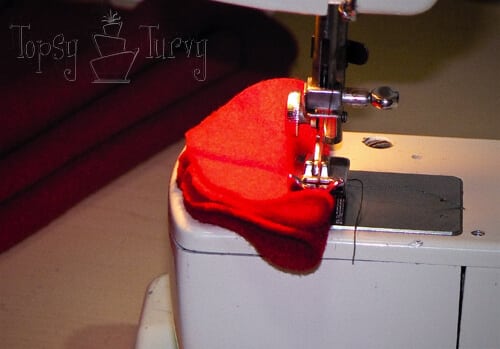
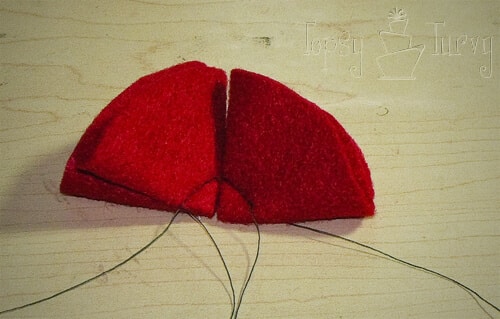
Now I thought I can pull out the thread and sew another petal and then later sew them together OR I could sew them together WHILE I was stitching the bottom of the petals. SO I turned the first petal and added the second one.
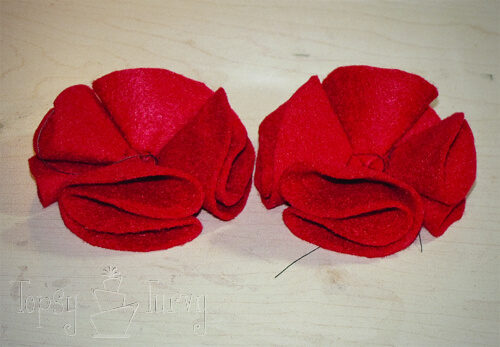
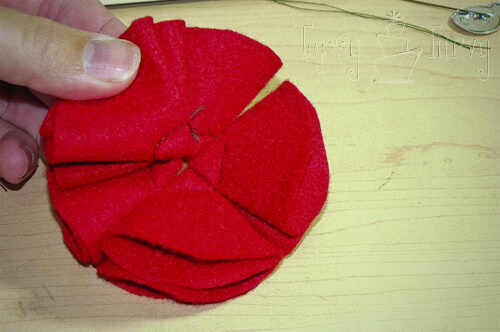
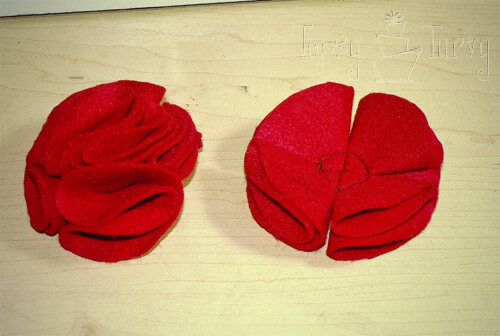
So I made a circle, sewing 4 petals together. Then I made a second circle of four to place as a second layer.
stacking these two layers together it was clear that I needed a center of some kind. A single petal didn’t seem right. SO I sewed two together to try that.
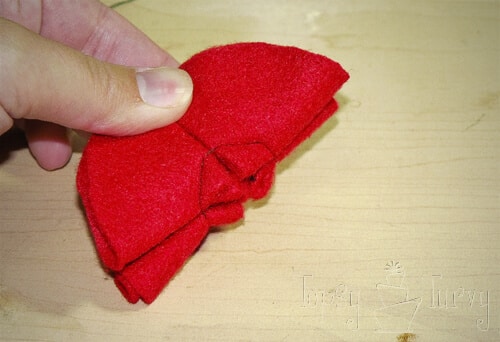
Now I folded those two together. It seemed to fill in the gap I was having in the other layers. Next time I’m going to try one in the center, 3 in the middle and 4 on the bottom. I think that might solve my too full feeling I’m getting from these flowers.
I placed the center two petals in the middle of the middle round of four.
now I used my machine again to stitch the center and the middle row together. This was SUPER thick and hard to sew, BUT I’m amazing and I did it! This was the last time I was able to use the machine, because it’s so thick. I might have stopped right there, maybe I should have. I wasn’t sure it was quite big enough, so I got ready to add the other layer.
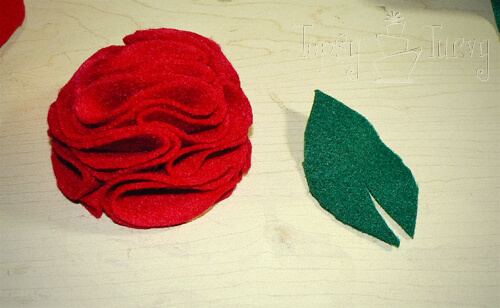
This layer I had to hand sew of course. Now it’s HUGE! Still debating the right size for hair clips vs pin vs bag decorative attachment. The next step is adding some greenery, cut out a leaf shape, cut a slit so you can overlap it to create a 3D effect.
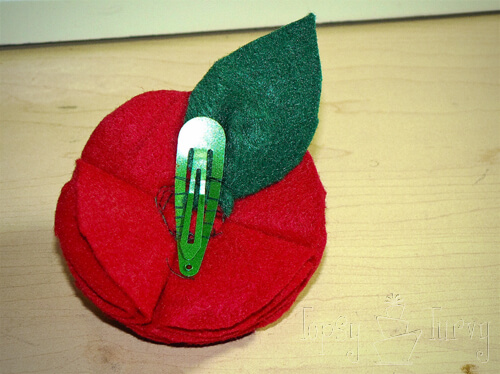
Sew the leaf to the bottom of the flower and now is a great time to also sew your hair clip/pin/rubber band/headband on! Or sew it to a purse, or other accessory.
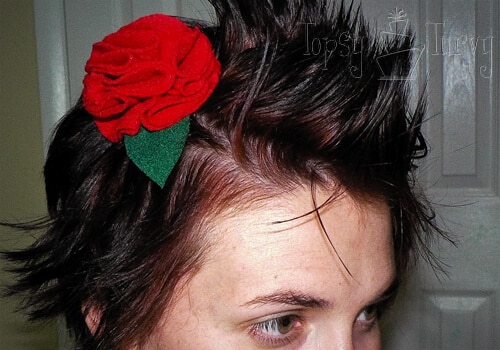
And your done! Wear however/wherever you’d like and have fun! I’m still not 100% in love with these, BUT in love enough for now! And they looked great with the girls ponytails!




Stacey @ Entropified
In the picture where you’re wearing it, it doesn’t seem too big. So cute! I hate hand sewing, so I’d probably quit when I couldn’t continue on the machine 🙂
Ashlee
Thanks! That’s really the main concern. Of course in the picture I also have super fluffy 50’s attempted hair. Normally my hair doesn’t look so large!
Andi
I think it’s perfect! I want one! Stopping by from Craftastic Monday.
Ashlee
Thanks! I want to try one in cotton now too!
Terra
I have a tutorial for something similiar, only using regular fabric instead of felt, on my blog. http://mama-says-sew.blogspot.com/2010/10/folded-fabric-flower-tutorial.html
I really like yours! I think I might try it with felt.
Ashlee
Yours is really similar! I guess it just comes down to preference!
Dana
That is awesome! I would love for you to come link that in my Strut Your Stuff Party! http://danajeanward.blogspot.com/2010/11/strut-your-stuff-party.html
Ashlee
Thanks for the invite! I linked up!
Kathleen
This turned out so cute. Great job, and without a pattern!
Ashlee
thanks! It’s STILL not quite what I wanted, but I do like it! I think I’ll make another one tonight for Bloggy boot camp this weekend!
Christine
I really like your felt flowers, better than any I have seen online. Nice work!
Christine
greatoakcircle.com
Ashlee
Thank you so much! there are a lot out there, so that makes me feel great!
Pam
I love your felt flowers ! I think I will make a corsage with either a clipon or a pin back for my ladies group! There are about 40 ladies! How long do you think that would take?
Ashlee
cutting the felt takes the longest, it’s not an easy medium to cut I’ve found! the sewing party went really fast, esp if you have all the circles cut first, then sew in groups of four and two all together, then move on to sewing them together. I actually made these 3 years ago, but I don’t think they take very long at all. Sorry I don’t remember exactally how long.