I recently spoke at a local conference for people who love pinterest! One of the classes I taught was Frozen themed Party foods. Because of another instructor missing a flight the class times got changed around and I actually taught earlier in the day than I was scheduled. The class went fine, but I was thrown off the rest of the day, and when the time came for my original class time I went by to see if anyone was there for Frozen foods that might want to ask me questions.
The only one who left upset was a sweet 3 year old girl! I felt TERRIBLE! I ran to the back to see what I had left and all that was there (out of all the foods I had made) were these snow covered pine tree cookies! I gave her two and while I still felt bad at least she got something!
Anyway, I’ve been meaning to remake these ever since the Frozen birthday party so I could get better pictures and share how I made them. They are seriously SO super easy you’ll love them! Start out by making my Sugar cookie dough. At the end use some Green gel food dye to dye your dough before refrigerating it.
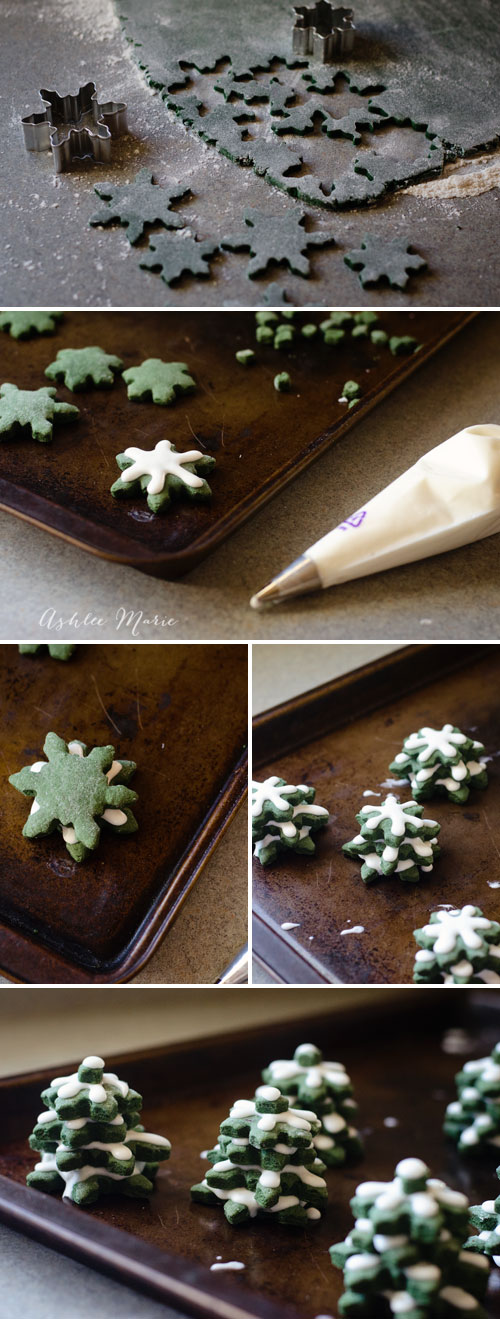
I used two small snowflake cookie cutters and cut two of each for each tree, then I also cut some small scraps for the top of the tree.
Make a batch of my Simple sugar cookie icing recipe and leave it white. Make it thick enough that it isn’t super drippy, but not so thick that it doesn’t flow, we want it to fall off the cookies a bit, to look more like a snow covered trees. Pour some icing into a piping bag then pipe along the top of half the larger cookies. Working fast, before the icing crusts, place the other half of the larger cookies on top, just make sure the snowflake spokes don’t cover each other, place the top cookie spokes between the middle of the bottom cookie.
Let those dry and then frost the top cookie and a smaller cookie. Repeat – dry, frost, cookie… and finally frost and add a scrap, then frost one last time. And let them set up! your all done
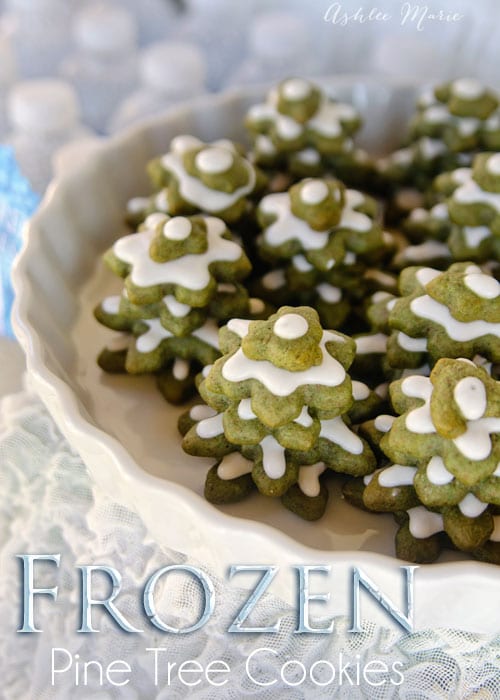
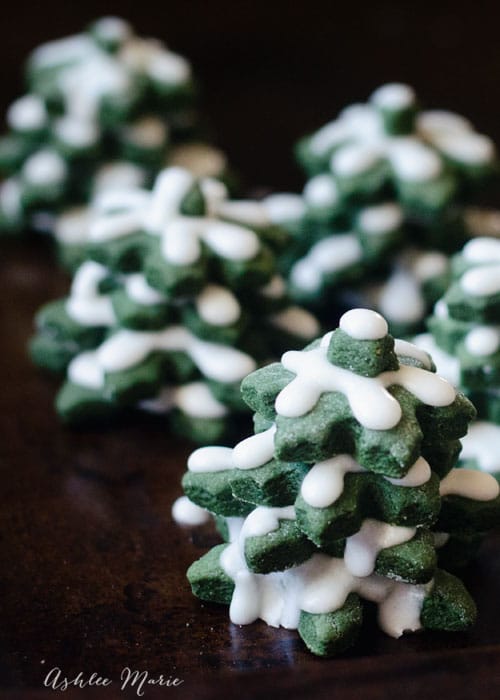
And now you have a forest of snow covered pine trees, just like in the movie! They taste great and look awesome! Esp when you get them all on a plate! This was such an easy job I had my 13 year old do it. I love it when my kids can help with the party prep, I love working with them. and they enjoy being a part of their own, and their siblings, birthday parties!
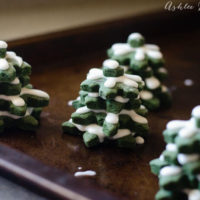
Pine Tree Sugar cookies - Frozen Party Foods
Ingredients
Cookies
- 6 1/2 C all-purpose flour
- 2 tsp. baking soda
- 1 tsp. salt
- 2 tsp. nutmeg
- 2 tsp. baking powder
- 1 C Butter
- 2 C granulated sugar
- 2 egg
- 2 tsp. vanilla
- 1 C full fat sour cream
- green food dye
Icing
- 4 C powdered sugar
- 1/4 C whole milk
- 2 Tbsp butter
- 2 Tbsp light corn syrup
- 1 1/2 tsp vanilla
- 1 tsp extract peppermint or almond
Instructions
Cookies
- Preheat oven to 350
- Sift flour, soda, salt, nutmeg and powder in a bowl.
- In separate bowl cream the butter and sugar (use cookie paddles or dough hook this will get thick)
- Add the egg and beat again
- then add the vanilla and sour cream and beat it smooth
- Add the green dye and mix until it's evenly colored
- Mix in dry ingredients and beat smooth - it will be thick.
- wrap up in wax paper or parchment paper and chill in fridge for 3-4 hours
- preheat oven to 350
- roll out to 1/4 inch various snowflake shapes - don't forget to cut a small round scrap for the top of every tree
- bake for 8-10 mins, until the edges get a slight golden color to them (don't over bake) let cool
Icing
- Mix butter, powdered sugar, milk, vanilla and peppermint in your mixer.
- it will be thick at first - thin it down with milk, a tablespoon at a time until it's thin enough to pip onto the "trees"
Assembly
- start with the largest snowflake and pipe the white frosting on, top with another snowflake and work your way up, getting smaller every row or two
Nutrition
[riview showtitle=always id=64 name=parties tags=frozen size=150x150 lightbox=0]





Barbara @ Barbara Bakes
Such a fun idea!
Ashlee
thanks so much! super easy and super cute!
Kara
So cute! I wish I could have made it to your class, I bet it was amazing.
Ashlee
oh it was 😉 JK it was fun to teach as always.