I’m not much of a t-shirt kind of gal. Unless I’m paining I’m in Jeans and some nice top. BUT t-shirts are great for turning into something ELSE! So while I was at a store {cough- Walmart- cough) to day getting wasting time while my oldest was at Theatre class and they, of course, had a bunch of cheap t-shirts. And I had a few ideas I wanted to try. SOOO I got some and brought them home. This one I THOUGHT would be for me, and I started with an extra large t-shirt. But the elastic thread worked better than I thought and it ended up being for my daughter. It looks good though.
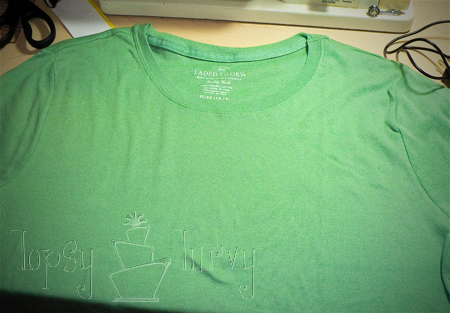
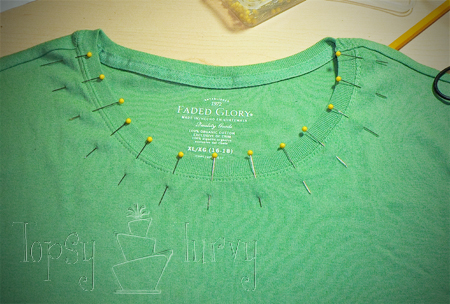
So I started with a plain t-shirt. I decided to sew loops into the shirt with the elastic thread to I put pins in the shirt where I wanted the loops to be. I started on one side on the shoulder seam and worked my way around the collar, making loops as I went.
Updated: Here is what I mean by swirls. I would twist the shirt around my machine ever inch or so to create the swirl. I would circle the other way every other row, but I don’t think that was necessary.
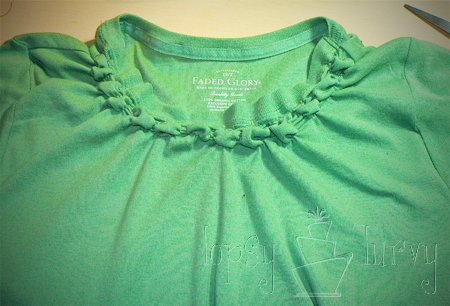
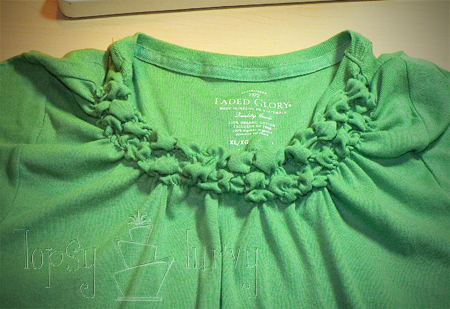
See, here is the first row done. You can see where I made the loops that it puckers and bubbles up.
Then I made a second row, swirling the loops in the other direction this time. Even more gathers this time.
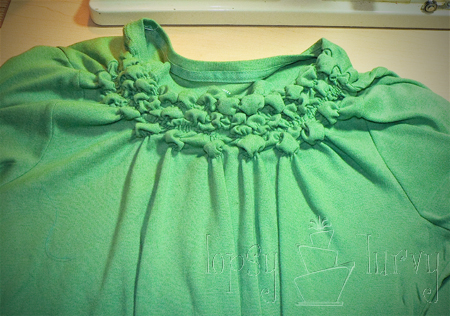
And finally the third row. Lots of loops, bubbles and gathers. But I didn’t like the way it pulled the whole shirt forward so much. If I was making my own shirt from scratch I would have just made the front twice as big as the back.
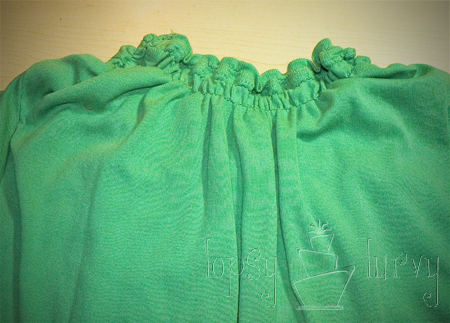
But since this is a pre-made t-shirt I decided to add gathers to the back. I didn’t want to make it decorative so I just did simple strips with the elastic thread to try to make the back match the front. I didn’t like the way the collar ruffled so I added a strip to the collar as well.
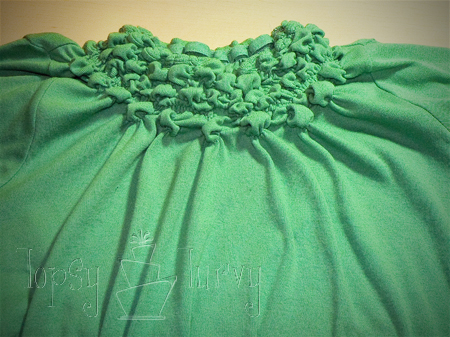
But then I still had the ruffle on the collar in the front of the shirt as well, so I added another, 4th row, of the swirls over the collar. It did lay it down finally, but it also made the collar much smaller. I’m thinking about taking it out… we’ll see.
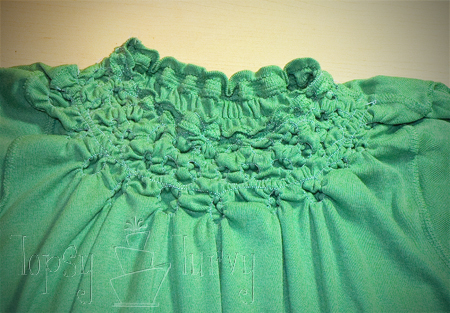
Here is the inside of the front of the shirt. So you can see the swirls. I should have stretched out the shirt a bit more so you can see it better. They aren’t even, it was to hard to do that. But luckily it doesn’t matter.
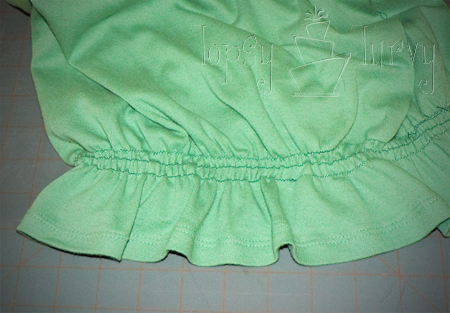
After having my daughter try it on I decided to add a bit more detailing. I added three rows of the elastic thread to the bottom of the shirt…
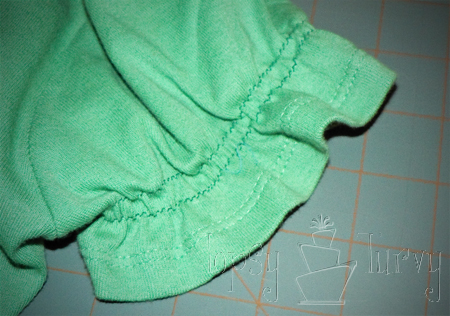
And to the sleeves.
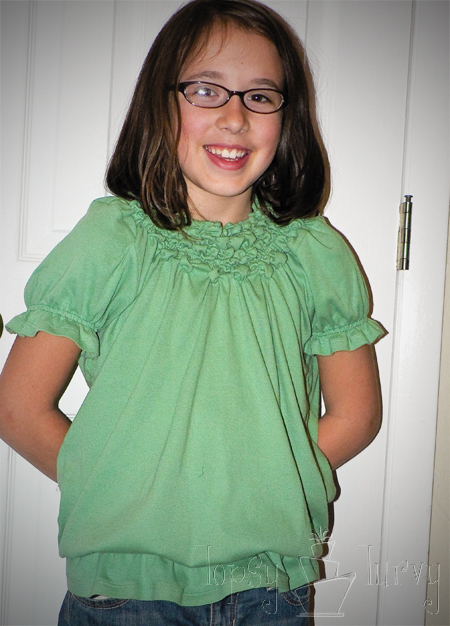
And here it is on! Still not QUITE was I was going for, but she likes it and it was a fun experiment. Cute enough, fun to do and she thinks it’s comfortable, so that’s a big one! I might even try to duplicate it for my other daughter so they can match. It’s hard to find matching clothes for girls 6 years apart.




Meika
This is SO cute.. I am so visual though, I can’t figure out how to do what you’re explaining at all.
You explained things well, I’m just not getting it. If you have a video of this, I’d love to see it!