• Skip to primary navigation
  • Skip to main content
  • Skip to primary sidebar
  • Skip to footer

Ashlee Marie - real fun with real food

  • Recipes
    • Main Dish
    • Desserts
    • Breakfast
    • Sides
    • Bread
    • Soups & Salads
    • Drinks
    • Food Tutorials
  • Cakes
    • Cake Recipes
    • Cake Tutorials
    • Carved Cakes
    • Wedding Cakes
    • Smash Cakes
    • Party Cakes
    • How to Video Series
  • Parties
    • Complete Parties
    • Party Cakes
    • Party Food
    • Party Crafts & Decorations
    • Printables
    • Invitations
  • Holidays
    • Valentines
    • St. Patricks Day
    • Easter
    • Cinco De Mayo
    • Mothers Day
    • 4th of July
    • Halloween
    • Thanksgiving
    • Christmas
  • Travel
    • Culinary Travel – Cooking Schools
    • Family Travel
    • Disney
    • Universal Studios
    • Blogger Trips
  • Videos
    • Recipe Videos
    • Short Videos
    • Kitchen Tip Videos
    • Video equipment links
  • Crafts
    • How to & Craft Tutorials
    • Crochet & Knit Patterns
    • Decorations
    • Photoshop
    • Sewing Projects
  • Shop
    • Video equipment links
    • Baking and Kitchen equipment
Home » How to & Crafts » How To & Craft Tutorial

Make your own personalized ribbon!

Published: April 30, 2010 | Updated: July 13, 2018 | By Ashlee

  • Facebook
  • Twitter
  • Yummly

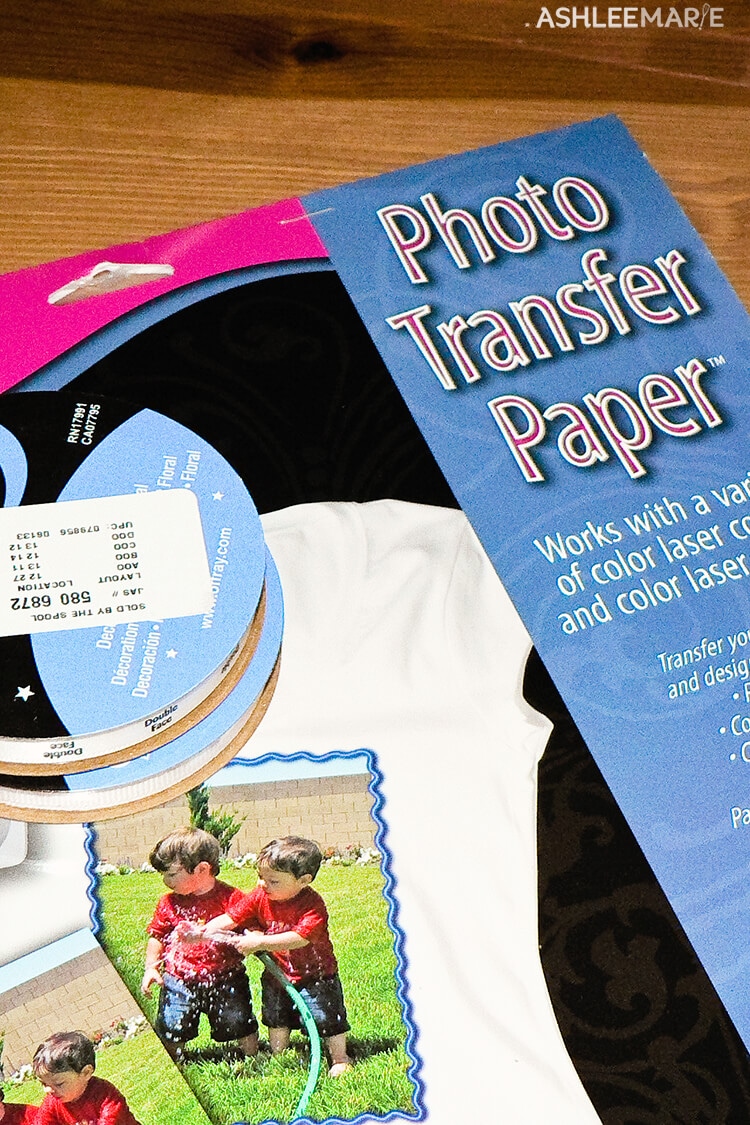
I saw this tutorial a few months ago and wondered if I could use it for making personalized ribbon instead of twill tape for labels!  So I decided to try it!  I bought some satin ribbon as well as some grosgrain to try.  And I also got some photo transfer paper.

so I used photoshop to create my pagefull of tabs.  The first thing I did was to create guides on my page for every .375 inches (the width of the ribbon).  Then I took my large Icon and resized it to .375 inches tall.  Copy and paste a column, then to save time merge that column and copy and paste it over and over again.

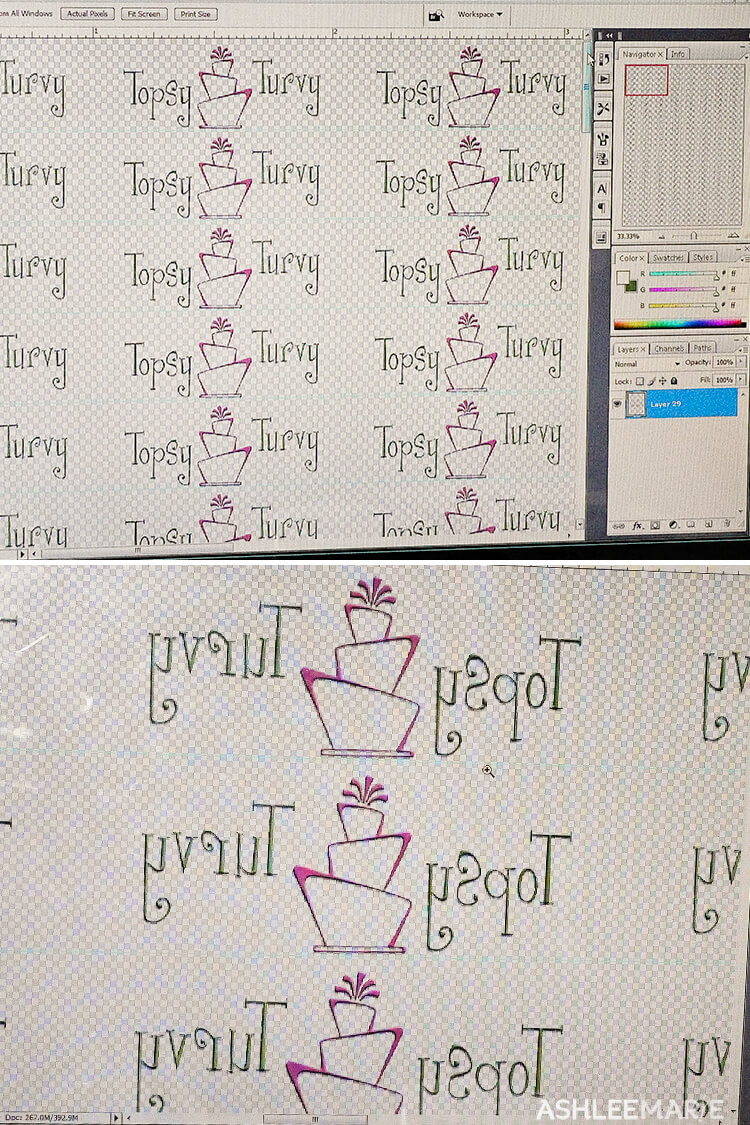
Once the page was finished I merged the page then flipped the image!  Then I printed it out following the instructions on the photo paper.  Of course the instructions weren’t super clear.  It said to print on the shiny side.  So I did.  Apparently they didn’t realize the backing was shiny when they printed the instructions!  I totally printed it on the wrong side.

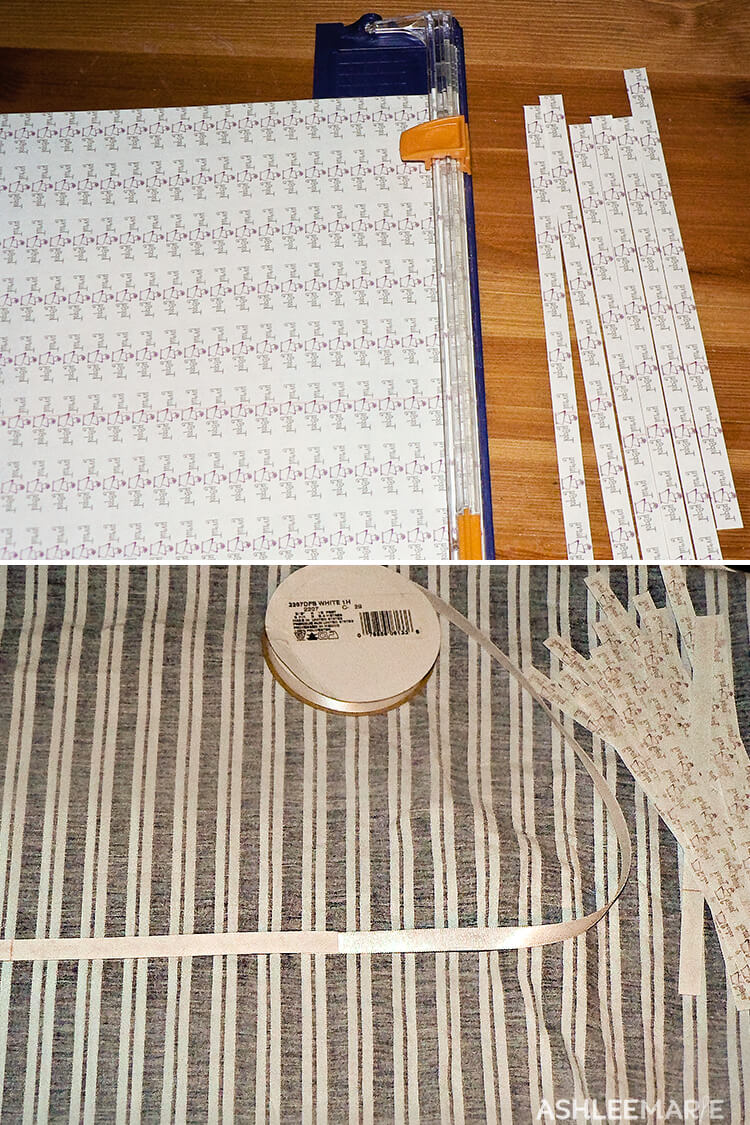
That wouldn’t have been a problem, just flip it and print on the other side, right?  But I didn’t notice until AFTER I’d done the next step!  After you print on the RIGHT side cut it into strips.  Since I had already cut my strips I couldn’t print on the other side so I printed a new page and cut MORE rows!

This is the step when I realized my printing mistake.  I cut off one small image to test it.  And instead of sticking to the ribbon it stuck to my hot iron!  NOT a good thing.  So when I finally got it right and was read to go I ironed one icon onto each ribbon style.  The satin ribbon worked well. But the grosgrain was terrible.  So I used the rest of the strips on the roll of satin.  I didn’t bother taking any backing off until I finished the whole roll.

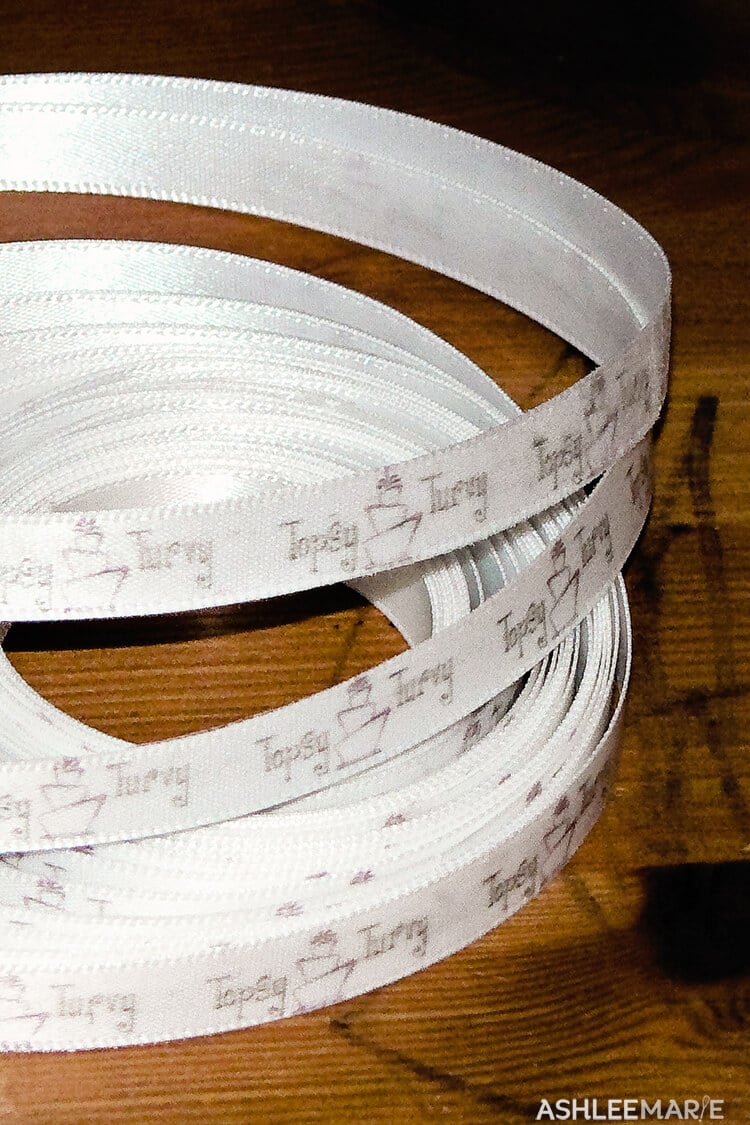
My one transfer page filled an entire 18 feet, not bad, huh?  Now I have personalized business ribbon to wrap around cellophane bags with cookies or cake pops!  Endless possibilities, children’s names, events, personalizing a scrapbooking page, etc…  I’d still like to find some twill to create labels for sewing/quiting projects as well as this ribbon!

Related Posts:

  • Washi Tape Crafts
    Washi Tape Crafts
  • Child's Silhouette Shirt
    Child's Silhouette Shirt
  • How to create a watermark action in photoshop
    How to create a watermark action in photoshop

JOIN MY NEWSLETTER!

Become an insider and receive this FREE Maple Icing Recipe (not seen on the blog!)

You have Successfully Subscribed!

Privacy Policy: We hate spam and promise to keep your email address safe. You'll receive email updates through AshleeMarie.com. You can unsubscribe at anytime.

  • Facebook
  • Twitter
  • Yummly
ashlee marie

About Ashlee

With the right tips and tricks, I believe YOU can make, bake, or create anything. This is what I love to do - make some awesome, teach you how, and give you that boost of culinary confidence you need to rock your own kitchen! Read more...

youtube facebook instagram twitter pinterest email rss

Reader Interactions

Comments

    Leave a Reply Cancel reply

    Your email address will not be published. Required fields are marked *

    Recipe Rating


  1. fethiye

    August 19, 2010 at 10:44 pm

    Hey, I was wondering how well these ribbons have been holding up. I cannot find twill tape as that tutorial suggested, may go with your idea…

    Reply
    • Ashlee

      August 21, 2010 at 2:53 pm

      you know I made them, and then havn’t had a chance to use them yet. So they are floating around my office getting kicked around my my kids, and they seem to be holding up fine. Thanks for the reminder. I’ve got to start wrapping it around the items from my store when I ship them out!

  2. Kayfay

    February 6, 2012 at 11:08 am

    IDea: I don’t know from Twill tape, but look into bias tape that they sell in fabric stores. it tends to be flat, matte, and cotton or another natural material.

    Reply
    • Ashlee

      February 17, 2012 at 5:43 pm

      Thats a good idea! Thanks!

  3. Nataly

    March 29, 2015 at 7:49 am

    What a nice blog!
    The idea to print satin ribbon at home is perfect for me.
    Thank you for this nice article.

    Not only nice to wrap but also to decorate.

    Greetings from the Netherlands.
    Nataly

    Reply
    • Ashlee

      April 7, 2015 at 11:38 pm

      yes it would be great for wrapping gifts! I’d love to see what you do with it

  4. Elena

    August 3, 2015 at 11:35 am

    Hello, I tried to with the transfer paper, but it can always see the transfer paper y the sections there is nothing printed… any ideas or recomendations?
    🙁

    Reply
    • Ashlee

      November 15, 2015 at 2:05 am

      me too, that’s the non perfect side of it all.

    • Delmy

      September 1, 2018 at 9:03 am

      When cutting your strips cut it to the exact size of the ribbon size you want.

Primary Sidebar

about ashlee marie
youtube facebook instagram twitter pinterest email rss

You have Successfully Subscribed!

Privacy Policy: We hate spam and promise to keep your email address safe. You'll receive email updates through AshleeMarie.com. You can unsubscribe at anytime.

Popular Posts

Homemade deep-fried monte cristo sandwich
homemade choco taco
one pot loaded baked potato soup
tamatoa cake - moana - disney
I love these candied strawberries, like a candied apple, a glorious crunch with a ripe strawberry center!

Footer

SEEN ON

as seen on
  • TV and Media
  • Privacy Policy

COPYRIGHT © 2007–2023 Ashlee Marie - Real Fun with Real Food

ashlee marie lets make some awesome
  • Recipes
    • Main Dish
    • Desserts
    • Breakfast
    • Sides
    • Bread
    • Soups & Salads
    • Drinks
    • Food Tutorials
    • Back
  • Cakes
    • Cake Recipes
    • Cake Tutorials
    • Carved Cakes
    • Wedding Cakes
    • Smash Cakes
    • Party Cakes
    • How to Video Series
    • Back
  • Parties
    • Complete Parties
    • Party Cakes
    • Party Food
    • Party Crafts & Decorations
    • Printables
    • Invitations
    • Back
  • Holidays
    • Valentines
    • St. Patricks Day
    • Easter
    • Cinco De Mayo
    • Mothers Day
    • 4th of July
    • Halloween
    • Thanksgiving
    • Christmas
    • Back
  • Travel
    • Culinary Travel – Cooking Schools
    • Family Travel
    • Disney
    • Universal Studios
    • Blogger Trips
    • Back
  • Videos
    • Recipe Videos
    • Short Videos
    • Kitchen Tip Videos
    • Video equipment links
    • Back
  • Crafts
    • How to & Craft Tutorials
    • Crochet & Knit Patterns
    • Decorations
    • Photoshop
    • Sewing Projects
    • Back
  • Shop
    • Video equipment links
    • Baking and Kitchen equipment
    • Back