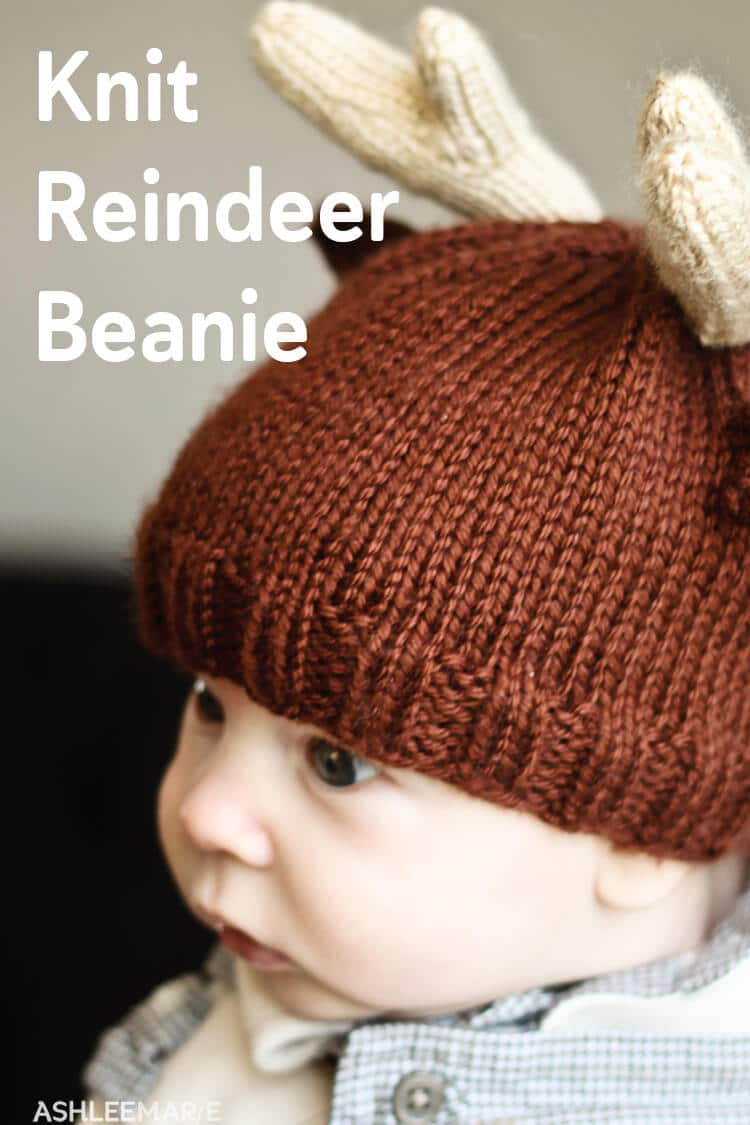
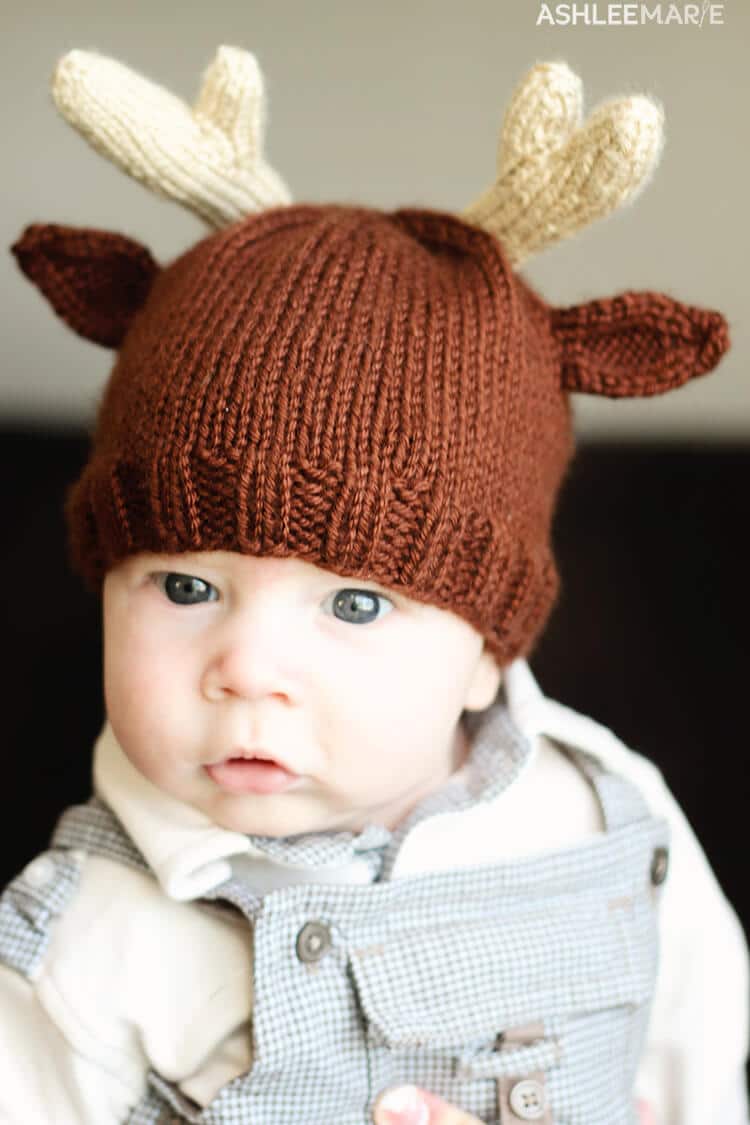
This knit reindeer beanie is quick to whip up and perfect for the holidays. Make the beanie any size you want so it can fit anyone of any age.
I have been on quite the yarn kick lately. I have been loving both crocheting and knitting again, and especially hats.
After our pumpkin beanie and then the Turkey leg Thanksgiving hat I had to come up with something for winter!
I actually finished this just a few days AFTER Christmas, bummer, but I did make the hat bigger so MAYBE he’ll fit it next year (or my sisters new baby will?!?!).
But for now it’s a cute winter hat, esp since he spends most of his time in the Moby wrap and his head is the only thing people ever really see!
And could be be any cuter? I can’t BELIEVE he’s 3 months old already, the time goes WAY to fast for my liking.
Buy the Ad-Free pattern pdf here!
Materials:
Baby soft yarn- brown for this hat (I like Caron Simply soft)
size 6 double pointed needles (I use a long needle for the cast on)
Abbreviations:
k- Knit
p- Purl
k2tog- Knit two together (decrease)
ssk- slip one knitwise, slip another knitwise, insert left needle into front of both slipped stitches and knit (decrease)
Gauge:
10 stitches per 2 inches
Cast on: 72 (6 months- 84, 12 months- 96, toddler- 108)
I prefer to use the long tail cast on for hats, it leaves a clean and flexible edge.
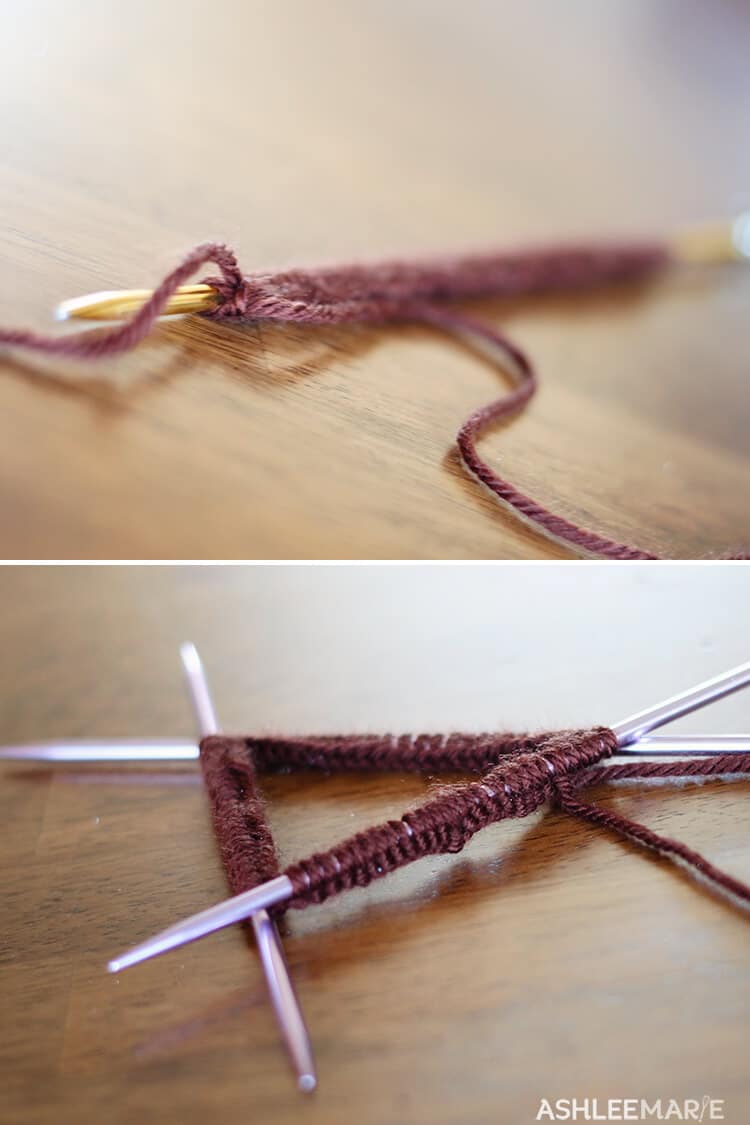
divide stitches evenly onto double pointed needles and join
First 8 rows a simple rib pattern: k2, p2 around
knit around until the hat is as tall as you want it. I stopped mine at 4 3/4 inches and it’s a tad bit too long, I wish I’d stopped at 4 1/4 or 4 1/2. But some basic size estimates is newborn- 4.5″, 6 months- 5.5″, 12 months- 6″ and toddler- 6.5 inches
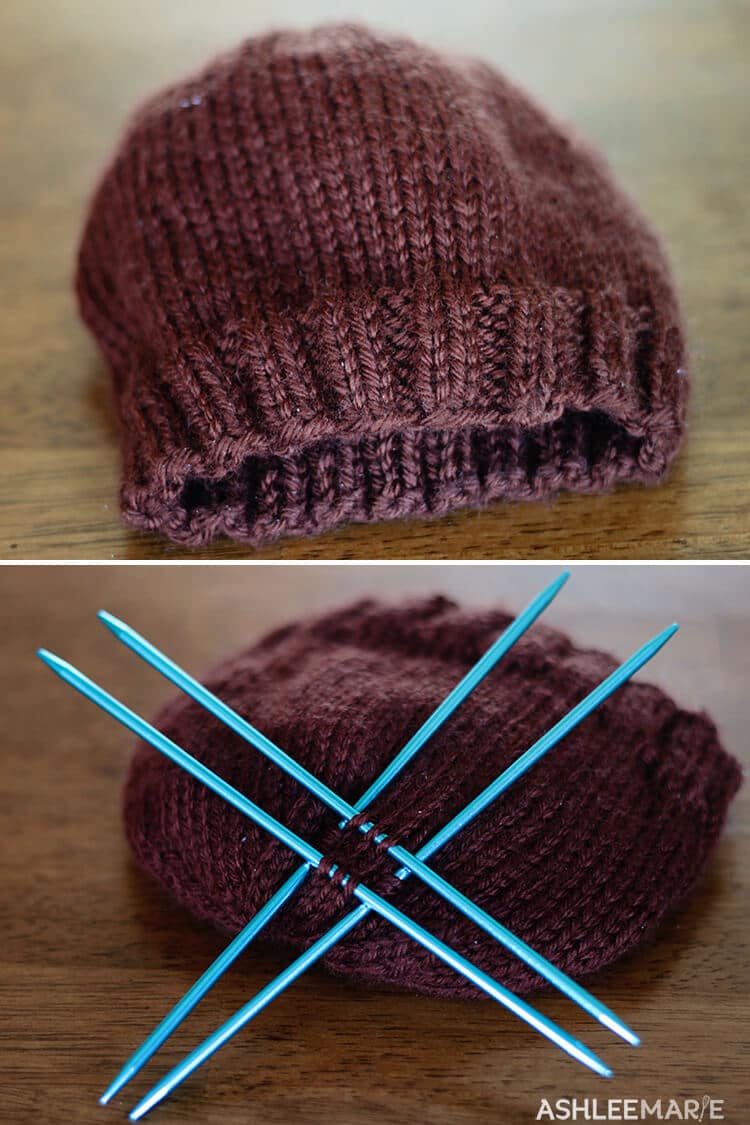
now to start decreasing for the crowns, the k2tog then ssk creates nice even lines up to the crown instead of having your decreases curve around your beanie. It’s a bit trickier, but totally worth it in the end in my opinion.
Crown:
row 1- k4, k2tog, ssk, k4 around (so there will be k8 in between the decreases)
row 2- k around
row 3- k3, k2tog, ssk, k3 around (now k6 between the decreases)
row 4- k around
row 5- k2, k2tog, ssk, k2 around
row 6- k around
row 7- k1, k2tog, ssk, k1 around
row 8- k around
row 9- k2tog, ssk
cut the yarn with several inches left. With a needle pull the yarn through all the remaining loops, secure and weave in end.
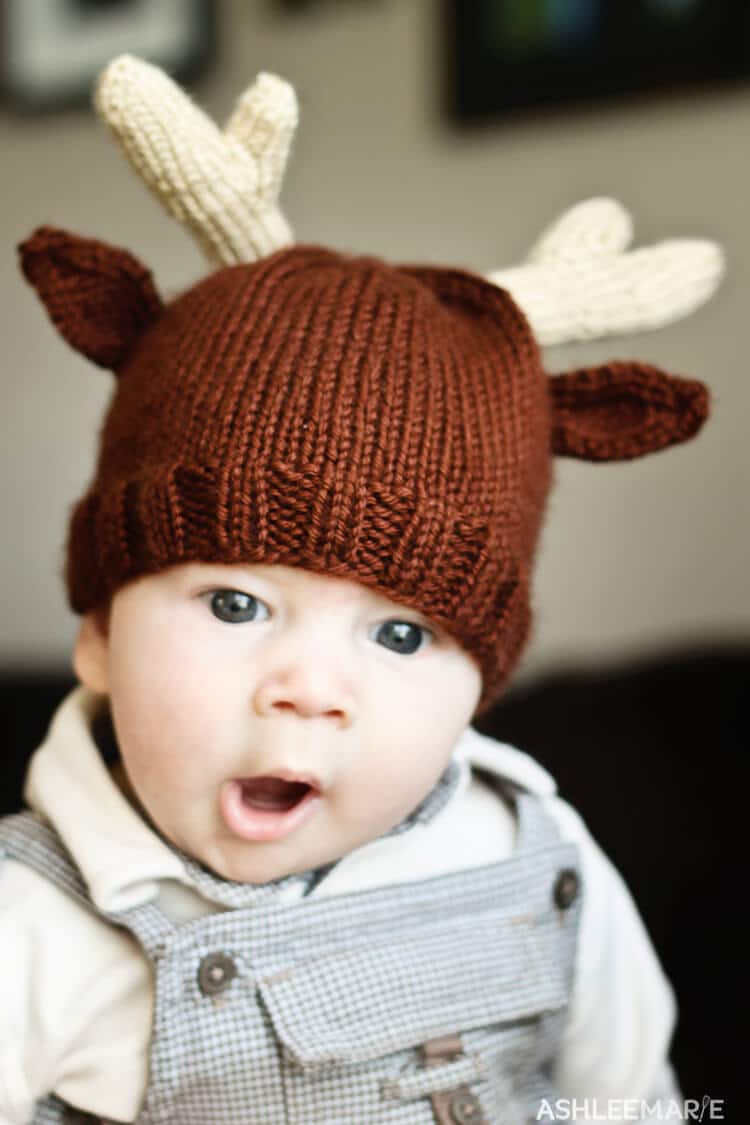
And the beanie is done! A great base for any baby hat!
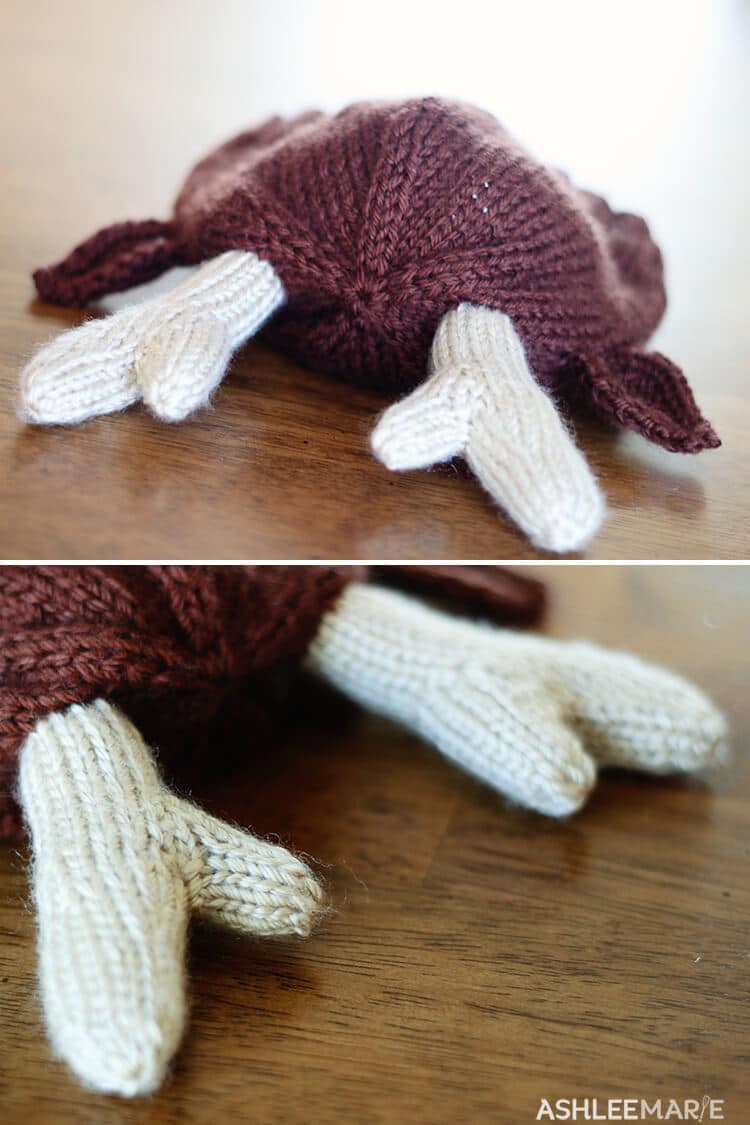
For the antlers you have two choices, using double pointed needles you can make them separately and attach them later or, like me, knit them directly onto the hat! Pick where you want your antlers (mine centered on each side, 4 rows down from the center- in hindsight I WISH I’d done my antlers more forward from the center) and slide 4 needles through 3 stitches on each side creating a square. We want to start with 12 stitches. Stuff it as you go.
Antlers
Materials:
baby soft yarn- tan (caron simply soft)
size 4 double pointed needles
filling
Abbreviations:
k- Knit
p- Purl
k2tog- Knit two together (decrease)
ssk- slip one knitwise, slip another knitwise, insert left needle into front of both slipped stitches and knit (decrease)
kfb- knit front and back (increase)
Rows 1-9- k around (12 stitches) starting on the right side, then the bottom, then the left side, and finally the top
row 10- k9, kfb, k1, kfb (14)
row 11- k around
row 12- k3, kfb, k1, kfb, k3, kfb, k3, kfb (18)
row 13- k around
row 14- k11, kfb, k5, kfb (20)
row 15- k12, cast on 2 skip 7, k1 (15- with 7 left on a separate needle for later) (don’t forget to stuff as you go)
row 16- k3, kfb, k3, kfb, k7 (17)
row 17- k around
row 18- ssk, k9, k2tog, k4 (15)
row 19- knit around
row 20- ssk, k7, k2tog, k4 (13)
rows 21-23- k around
row 24- k2, ssk, k1, k2tog, k6 (11)
row 25- k around
row 26- k2tog, k3, ssk, k4 (9)
cut the yarn with several inches left. With a needle pull the yarn through all the remaining loops, secure and weave in end (remember the stuffing).
going back to the skipped 7, add the cast on 2 stitches for a total of 9 and spread out evenly over 3 double pointed needles.
rows 1-4- k around (9)
row 5- k2, ssk, k1, k2tog, k2 (7)
cut the yarn with several inches left. With a needle pull the yarn through all the remaining loops, secure and weave in end (don’t forget to stuff).
I had some wide holes where I knit the first row, so when I was done I took some extra yarn and sewed it a bit, tightening up the gaps, you can’t even see the gaps anymore!
I did the same thing here that I did for the antlers, knit right onto the hat. I slipped one of the double pointed needles right into the hat. I started my ears 4 rows below the antlers
Ears
Materials:
baby soft yarn- brown (caron simply soft)
size 4 needles (I just used the double pointed ones I was already using)
Abbreviations:
k- Knit
p- Purl
p2tog- purl two together (decrease)
k2tog- Knit two together (decrease)
ssk- slip one knitwise, slip another knitwise, insert left needle into front of both slipped stitches and knit (decrease)
pfb- purl front and back (increase)
slip needle into 6 stitches of a column on the beanie wherever you want the ears
row 1- k6
row 2- p2, k2, p2
row 3- k2, pfb, pfb, k2
row 4- p2, k4, p2
row 5- k2, pfb, p2, pfb, k2
row 6- p2, k6, p2
row 7- k2, p6, k2
row 8- p2, k6, p2
row 9- k2, p2tog, p2, p2tog, k2
row 10- p2, k4, p2
row 11- k2, p2tog, p2tog, k2
row 12- p2, k2, p2
row 13- k1, ssk, k2tog, k1
row 14- p4
row 15, ssk, k2tog, binding off as you go
Weave in ends
And it’s done!!! I love it! I’m sure there are better ways to create this, and I’m still a newbie, but I’m so tickled it turned out so well!
And here you can see what I was talking about earlier on the crown of the beanie. The k2tog, ssk creates these beautiful and straight ribbed lines instead of a curved line from using just k2tog each round. It’s personal preference, but this totally fits my style!
")


Jill highhill
I love the hat and will have to make one or more.
Ashlee
Thanks!!!! I love it too! I made it big enough that I HOPE Baby boy can wear it next year too, but I’m thinking of adding a red nose for next Christmas!!!
Randi
Absolutely adorable! I just love it!
Ashlee
Thanks so much!
Meghan
Love it! I have a question about the antlers. You wrote; “going back to the skipped 7, add the cast on 2 stitches for a total of 9 and spread out evenly over 3 double pointed needles.” could you explain this a bit more? For some reason I cannot visualize it. So I have 7 stitches on a needle. Then do I cast on two more stitches at the end of that needle? Where does the cast on 2 come in? Thanks for your help! Cannot wait to make it!
Ashlee
in row 15 you cast on 2 and then skipped 7, leaving them on another needle. Now your going back to those 7, but if you just knit those 7 you’d have a huge gap, you need to take those 2 you cast on in row 15 and pick them up with a needle, DON’T cast 2 more on. does that help?
Valerie
This is so adorable, I’m definately going to tackle this project right away! Is there an adult version for this pattern? I was thinking about making the whole family reindeer hats for Christmas.
Ashlee
there isn’t, but if you make an adult beanie you can simply add the same ears and antlers to it!
Denielle
Very cute hat and great pattern. Thank you for sharing.
I did however want to point out an error that I discovered while making this hat In row 10 of making the ears you wrote k2, p4, k2. However, I think you meant to write P2, K4, P2 as you are essentially working in a STST pattern in the center and written the original way creates an inconsistency in the piece.
Ashlee
you are SO right! Thank you so much, I fixed it! Thanks for taking the time to let me know!
Amanda
Thank you for this adorable pattern!! I do have a question – I’m confused on the antlers where we’re skipping 7, on Row 15.
When I get to that part, it’s the last needle – I have 9 stitches on there. I had to knit 1 to complete the previous instruction of knitting 12, then I cast 2 on using cable cast on. If I skip 7, I will not have a free needle, and I will also have a piece of yarn draping behind the skipped 7, and that leaves 1 stitch still on the needle that I can’t knit unless I move it to the first needle.
Did I do something wrong? Should I cast the 2 on at the end of the 7? I’m really confused on how to skip these 7! It reminds me of the technique I used when making baby socks, but it’s been so long since I did that that I can’t quite remember how I left stitches behind on needles..
Ashlee
I saw that you figured it out, but wanted to make a note for anyone else you might be struggling. My double pouinted needles in this size cake with FIVE needles, so I have those 7 on the 5th needle while still working with the other 4. or you could use a needle a size down or, like you ended up doing, waste yarn.
Amanda
Actually, I figured it out.. I put the 7 stitches on waste yarn. Simple enough!
Lily
This pattern is brillant. I am currently knitting this hat in the toddler size. It does seem big, it might even fit me, but I will have too see when it is finished. I’m sure it will work out great. Thank you for sharing this pattern with e world. By the way your babe is beautiful.
From Lily from Northern Ireland.
Ashlee
I’m so sorry, I wonder are you using a different weight yarn? I always end up adjusting patterns I read a bit cause I either knit/crochet too tight or too loose, feel free to adjust it to what ever size you need.. and thank you, he’s a pretty precious little guy!
Andrea
Thanks for sharing your pattern! I added felt eyes & a red pom Pom to make it Rudolph. So cute!
Ashlee
Adorable! I totally debated doing that last year!
patience
hi im working on the hat right now but im worried the atlers will lay over what can i do to make sure that doesnt happen?
Ashlee
mine kept falling back a bit too, to help knit tightly and fill as you go, don’t overfill or under fill, either will cause problems, you want it snug, but not stretched out. But mine did flop around a bit, I just kept pushing them forward. sorry i don’t have a better answer for you!
Patty
Problem for me if I follow exactly for antler, I end up wi two exactly the same…… Not facing each other! how do you make one left and one rt one. ?.
Directions don’t say what “position”to start for second antler. I want them facing each other. I am doing the knit on method. Please help !!! It is a very cut hat ! Thanks
Patty
Ashlee
decide on the two squares where they are going to be, start one from the front and one from the back and you’ll end up with opposite antlers. Does that help? if it doesn’t let me know.
Siobhan
Okay, so I got overly ambitious tackling this project, and since I’ve never used dpns before I decided to use a circular and do magic loop instead.
Except now that I’m at Row 15 in the antlers, I’m stuck. Is there any way to continue without running out to get dpns? Thanks.
Ashlee
I never used a circular needle on something so small, just huge cowls. I would have NO idea how to do this any other way that double pointed, I am so sorry!
Courtney
Siobhan – I’m curious if you were able to finish the antlers with the magic loop method? I despise dpns, so was wanting to try this project with magic loop instead.
Sarah
So when I start the antlers, which side do I start on to keep the branched part facing the center? Also, when I did start the antlers, the u shaped ridges ended up on the outside, not the inside as shown. What am I doing wrong? Thanks in advance for any help you can offer 🙂
Ashlee
Man it’s been awhile since I made this, trying to describe how to start the anters was the toughest part of writing this pattern. Hold the beanie with the crown towards you and the bottom (opening) away from you (for both antlers, then k around (12 stitches) starting on the right side, then the bottom (hat opening), then the left side, and finally the top (crown). Does that help?
And when you say the u shaped ridges on the outside not the inside? I have NO idea what you mean, but if it’s where your adding your needles it doesn’t matter as much, as long as your happy with the placement, does that answer your question?
Heather
Row ten says you should knit 9, knit front and back, knit 1, knit front to back and end with 14 stitches. However, I’m left with 18 stitches..
Ashlee
you start with 12 stitches and since there is only two increases (kfb) that is two extra sitches – 14 not sure why your getting 4 extra stitches unless your starting with too many or your doing too many increase
Heather
And that’s because I’m a tart and cast on 16! 😉
Ashlee
ah got it figured out, great!
Lynn
I can not, will never be able to knit. It is just a fact. Moving on; I can sure crochet! LOL
Have you considered creating a crochet pattern for the antlers. I could then add it to other hats I have made with ears.
Thank you
Ashlee
I haven’t. I just love the way knit looks, and the crochet doesn’t stuff as well IMO, the stitches are too thick and they have so much spacing. But I do have a crochet SANTA hat with beard!
ruby
any one have a pattern for this hat in crochet?
Ashlee
try etsy or ravelry- I know personally know of any crochet versions
Kathy
So cute! And the hat’s cute as well! I may have to work one up for my “hope chest” – hoping for great-grandchildren! All of my kids and grandkids are “too old” to wear something like this!
Ashlee
awww never too old, I’d totally wear this.. if I had the patience to knit an adult beanie!
Sandra
Please make this in adult sizes also….for those “kids” in the Florida retirement community!
Ashlee
you can just add the same antlers and ears to any size knit beanie.