• Skip to primary navigation
  • Skip to main content
  • Skip to primary sidebar
  • Skip to footer

Ashlee Marie - real fun with real food

  • Recipes
    • Main Dish
    • Desserts
    • Breakfast
    • Sides
    • Bread
    • Soups & Salads
    • Drinks
    • Food Tutorials
  • Cakes
    • Cake Recipes
    • Cake Tutorials
    • Carved Cakes
    • Wedding Cakes
    • Smash Cakes
    • Party Cakes
    • How to Video Series
  • Parties
    • Complete Parties
    • Party Cakes
    • Party Food
    • Party Crafts & Decorations
    • Printables
    • Invitations
  • Holidays
    • Valentines
    • St. Patricks Day
    • Easter
    • Cinco De Mayo
    • Mothers Day
    • 4th of July
    • Halloween
    • Thanksgiving
    • Christmas
  • Travel
    • Culinary Travel – Cooking Schools
    • Family Travel
    • Disney
    • Universal Studios
    • Blogger Trips
  • Videos
    • Recipe Videos
    • Short Videos
    • Kitchen Tip Videos
    • Video equipment links
  • Crafts
    • How to & Craft Tutorials
    • Crochet & Knit Patterns
    • Decorations
    • Photoshop
    • Sewing Projects
  • Shop
    • Video equipment links
    • Baking and Kitchen equipment
Home » Parties » baby shower

Argyle baby shower invitation tutorial

Published: February 18, 2011 | Updated: September 3, 2018 | By Ashlee

  • Facebook
  • Twitter
  • Yummly

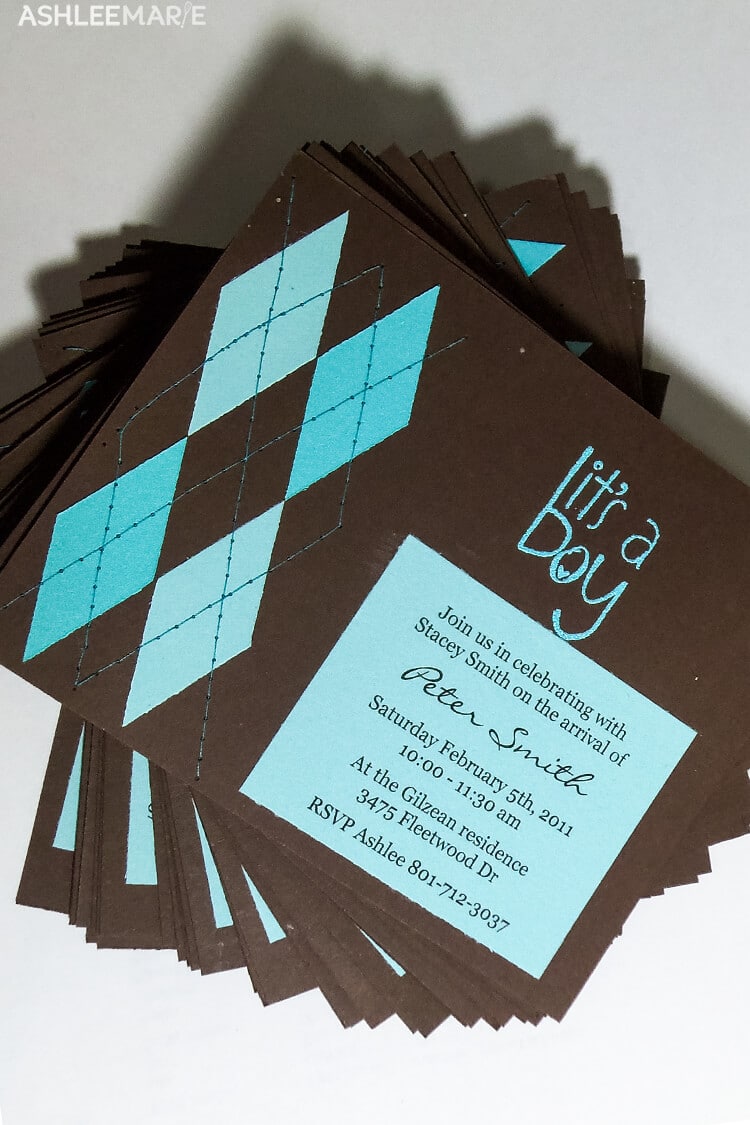
I made these last month for the baby shower of a close friend.  It’s her first boy, so we had to celebrate!  She doesn’t have a nursery, but she was making a blanket in brown and blue, so I figured it was a great chance to work with an argyle pattern I’d been hoping to use!

baby shower invitation argyle

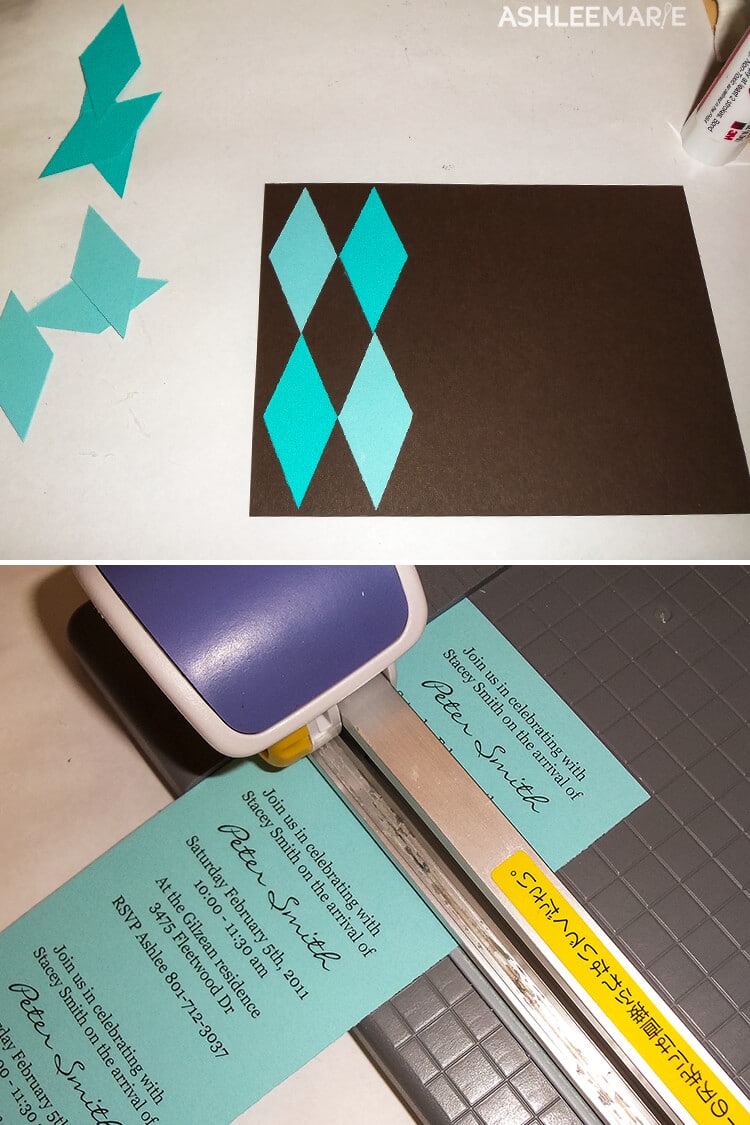
I started by cutting out two different shades of blue card stock.  I just have a normal paper cutter, so I just angled the paper to get the shapes I wanted.

I also printed off the invitation on the blue card stock and cut it out too!

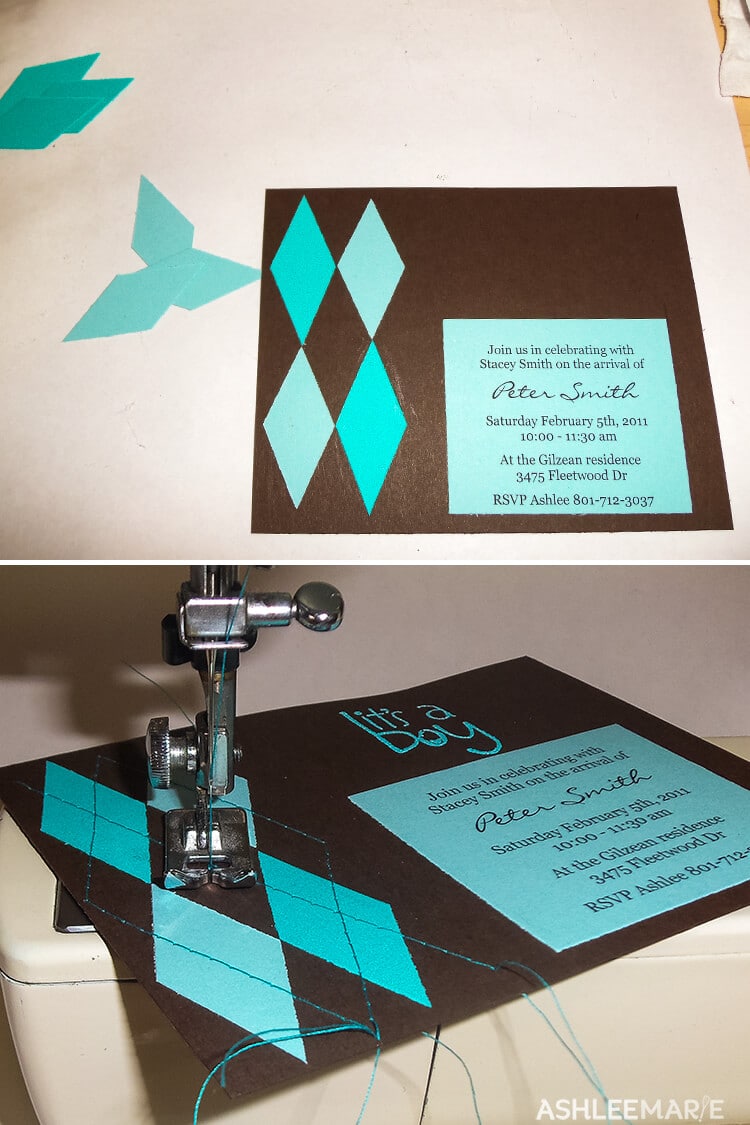
Next I glued it onto the brown card stock (cut into 4ths)

argyle baby shower invitation

Next up stamp embossing!  I have embossing powder in the same shade of blue!!!

Now for my favorite part…  Sewing the details onto the card.  Using a darker shade of blue thread I first created a diamond shape.

Now to X through the design.

Almost finished!

baby boy argyle invitation

Pull the threads through the holes and knot and trim each end.

And all done!  Put them in envelops and mail them and your all ready for the party!

Related Posts:

  • Gender reveal party printable pack and 15 more baby showers in one
    Gender reveal party printable pack and 15 more baby showers…
  • Double loop crochet Santa beanie pattern - infant to adult
    Double loop crochet Santa beanie pattern - infant to adult
  • Airplane Baby Shower
    Airplane Baby Shower

JOIN MY NEWSLETTER!

Become an insider and receive this FREE Maple Icing Recipe (not seen on the blog!)

You have Successfully Subscribed!

Privacy Policy: We hate spam and promise to keep your email address safe. You'll receive email updates through AshleeMarie.com. You can unsubscribe at anytime.

  • Facebook
  • Twitter
  • Yummly
ashlee marie

About Ashlee

With the right tips and tricks, I believe YOU can make, bake, or create anything. This is what I love to do - make some awesome, teach you how, and give you that boost of culinary confidence you need to rock your own kitchen! Read more...

youtube facebook instagram twitter pinterest email rss

Reader Interactions

Comments

    Leave a Reply Cancel reply

    Your email address will not be published. Required fields are marked *

    Recipe Rating


  1. Randi

    February 18, 2011 at 8:46 am

    Those are so fantastic! I used argyle accents at a recent birthday party and I wish I had thought to do that for the invitations. Thanks for sharing!

    Reply
    • Ashlee

      February 21, 2011 at 11:05 am

      Thanks! I’ve been in love with argyle for a few months now, just trying to come up with ways to use it!

  2. Mandi

    February 18, 2011 at 9:10 am

    Oh ma gosh those are so flippin cute!

    Reply
    • Ashlee

      February 21, 2011 at 11:08 am

      Thanks Mandi! They were really fun to make and deliver!

  3. Mychel

    February 18, 2011 at 9:29 am

    Wow, yeah those are some of the cutest cards I’ve ever seen! You could totally do that for a girl…just brown and pink. Thanks for the amazing idea 😀

    Reply
    • Ashlee

      February 21, 2011 at 11:08 am

      you totally could! I even have the It’s a Girl stamp! Let me know if you use it!

  4. Amy

    February 18, 2011 at 2:44 pm

    These are darling! What a lot of details- totally worth it!
    xoxo,
    Amy

    Reply
    • Ashlee

      February 21, 2011 at 11:09 am

      Thanks! They did take awhile, but the thing that took the most time was the knot tying. Maybe an unnecessary step, but they would have just unraveled quickly without it…

  5. Beverly @ Flamingotoes.com

    February 18, 2011 at 8:56 pm

    These are the cutest cards ever!!! I love the argyle and stitching!! I’m sharing on my Facebook page!

    Reply
    • Ashlee

      February 21, 2011 at 11:16 am

      Thank you so much Beverly!!! You would know good stitching projects! And thanks for sharing it! Your so sweet!

  6. Amy @ Positively Splendid

    February 21, 2011 at 9:47 am

    Ashlee, these are seriously darling! Love that stitching!!

    Reply
    • Ashlee

      February 21, 2011 at 11:58 am

      Thank you so much Amy! They were super fun to make! Way to go on SYTYC! Keep up the good work!

  7. Kathy

    January 16, 2012 at 2:51 pm

    Did you use 8 1/2 x 11 sheet or a 12 x 12 sheet? For the main part.

    Reply
    • Ashlee

      January 17, 2012 at 5:49 pm

      I used regular card stock 8 1/2 x 11 and cut it into 4 pieces for the base of the invitations. So each one was 4 1/4 x 5 1/2

  8. andrew raynor new Hampshire

    April 9, 2016 at 11:33 am

    I take pride inn hobbvy and my work, its clear that you do
    together with your informative site post.
    I had been fortunate to find it here. So that I can find my way
    back here, thanmks for posting this info and I Have saved the site!

    Reply
    • Ashlee

      May 23, 2016 at 11:28 pm

      yes i do truly love what I do, glad you have found that happiness as well!

Primary Sidebar

about ashlee marie
youtube facebook instagram twitter pinterest email rss

You have Successfully Subscribed!

Privacy Policy: We hate spam and promise to keep your email address safe. You'll receive email updates through AshleeMarie.com. You can unsubscribe at anytime.

Popular Posts

Homemade deep-fried monte cristo sandwich
homemade choco taco
one pot loaded baked potato soup
tamatoa cake - moana - disney
I love these candied strawberries, like a candied apple, a glorious crunch with a ripe strawberry center!

Footer

SEEN ON

as seen on
  • TV and Media
  • Privacy Policy

COPYRIGHT © 2007–2023 Ashlee Marie - Real Fun with Real Food

ashlee marie lets make some awesome
  • Recipes
    • Main Dish
    • Desserts
    • Breakfast
    • Sides
    • Bread
    • Soups & Salads
    • Drinks
    • Food Tutorials
    • Back
  • Cakes
    • Cake Recipes
    • Cake Tutorials
    • Carved Cakes
    • Wedding Cakes
    • Smash Cakes
    • Party Cakes
    • How to Video Series
    • Back
  • Parties
    • Complete Parties
    • Party Cakes
    • Party Food
    • Party Crafts & Decorations
    • Printables
    • Invitations
    • Back
  • Holidays
    • Valentines
    • St. Patricks Day
    • Easter
    • Cinco De Mayo
    • Mothers Day
    • 4th of July
    • Halloween
    • Thanksgiving
    • Christmas
    • Back
  • Travel
    • Culinary Travel – Cooking Schools
    • Family Travel
    • Disney
    • Universal Studios
    • Blogger Trips
    • Back
  • Videos
    • Recipe Videos
    • Short Videos
    • Kitchen Tip Videos
    • Video equipment links
    • Back
  • Crafts
    • How to & Craft Tutorials
    • Crochet & Knit Patterns
    • Decorations
    • Photoshop
    • Sewing Projects
    • Back
  • Shop
    • Video equipment links
    • Baking and Kitchen equipment
    • Back